Owncloud community officially released the ownCloud 9.0 on March 08 2016 with delivering new collaboration features like commenting and tags, big scalability improvements and more advanced federation capabilities. It is time to upgrade your ownCloud server. We already discussed about Owncloud upgrade all the series such as ownCloud 6.x, ownCloud 7.x & ownCloud 8.x and follow the same procedure for ownCloud 9.x upgrade also. Here I’m going to show what’s new in 9.0 and upgraded screen shots. ownCloud 9.0 included lot of new features. Alternatively read on other Owncloud useful articles too.
1) Take backup of your owncloud directory and database for safety purpose, before proceeding owncloud upgrade.
# tar -zcvf /opt/owncloud8-10-Mar-2016.tar.gz /var/www/dev.2daygeek.com/public_html/owncloud

# mysqldump -u root -p owncloud > /opt/owncloud.sql
Enter Password *****
2) Download the latest version of owncloud archive file using wget command under /opt directory and extract, then remove config directory.
# /opt
# wget https://download.owncloud.org/community/owncloud-9.0.0.tar.bz2
# tar -xjvf owncloud-9.0.0.tar.bz2
# rm -Rf config
# chown -R USER:USER /opt/owncloud
3) Deactivate all third party applications. (Its not necessary, anyhow will deactivate as per owncloud instruction)
>> admin >> + Apps >> plugin name 3rd party >> If so, deactivate.
4) Delete everything from your ownCloud installation directory, except data and config folder. Make sure you should remove hiden files too.
# rm -Rf 3rdparty apps AUTHORS console.php COPYING-AGPL core cron.php db_structure.xml index.html index.php indie.json l10n lib occ ocs ocs-provider public.php remote.php resources robots.txt settings status.php themes version.php .htaccess .tag .user.ini
5) Move all the files and folder to your owncloud installation directory from /opt/owncloud. Make sure you should move hidden files too.
# mv /opt/owncloud/* /var/www/dev.2daygeek.com/public_html/owncloud
# mv /opt/owncloud/.htaccess .tag .user.ini /var/www/dev.2daygeek.com/public_html/owncloud
6) Navigate your browser to owncloud installation link. In my case http://dev.2daygeek.com/owncloud/ and it will shows blow screen shot. Don’t Hit Start update button because this will timeout or throught some error if you have big environment.
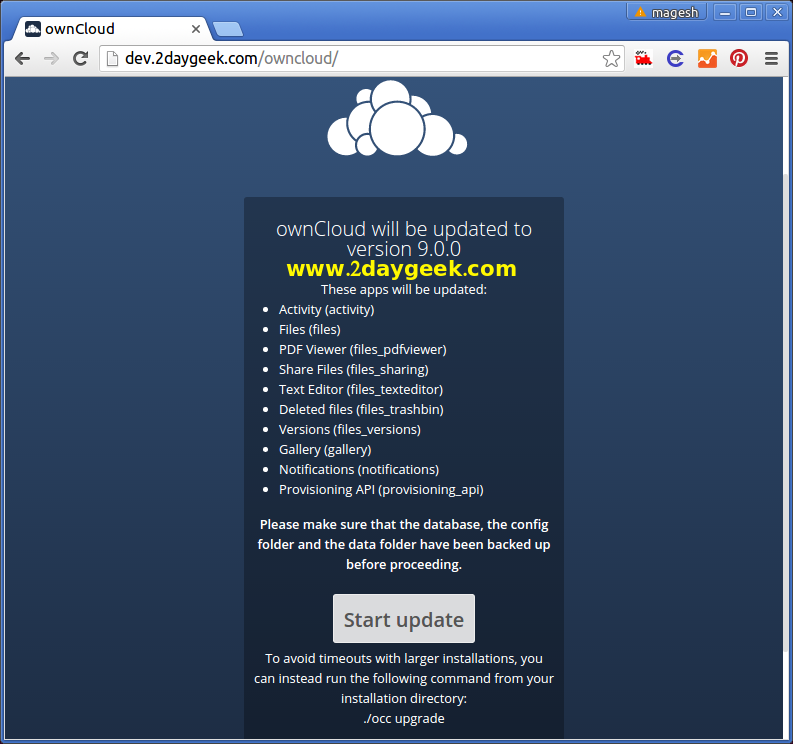
7) Enable the Maintenance Mode by running below command. Make sure, you have to change the apache username according your Linux Distribution.
$ sudo -u www-data php occ maintenance:mode --on
Maintenance mode enabled
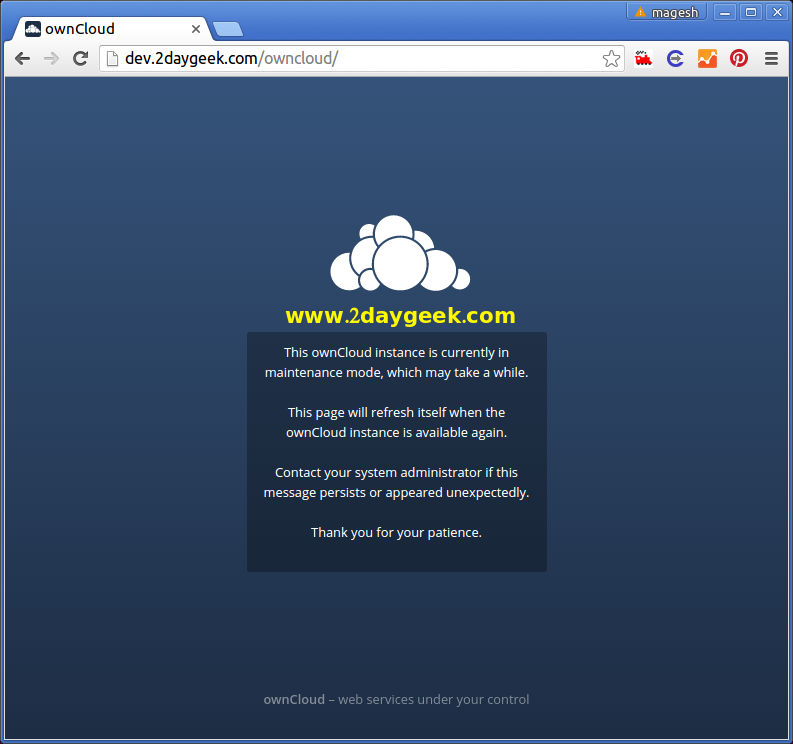
8) Nagivate to ownCloud direcotry and initiate ownCloud upgrade to 9.0 by running below command. Make sure, you have to change the apache username according your Linux Distribution.
$ sudo -u www-data php occ upgrade
Set log level to debug
Checking whether the database schema can be updated (this can take a long time depending on the database size)
Checked database schema update
Checking updates of apps
.
.
Checked database schema update for apps
Updating database schema
Updated database
Disabled 3rd-party app: files_videoviewer
Disabled 3rd-party app: updater
.
.
Starting code integrity check...
Finished code integrity check
Update successful
Maintenance mode is kept active
Reset log level
9) Disable the Maintenance Mode by running below command. Make sure, you have to change the apache username according your Linux Distribution.
$ sudo -u www-data php occ maintenance:mode --off
ownCloud is in maintenance mode - no app have been loaded
Maintenance mode disabled
10) Navigate your browser to owncloud installation link. In my case http://dev.2daygeek.com/owncloud/ and refresh the page, it will ask you to enter the login details.
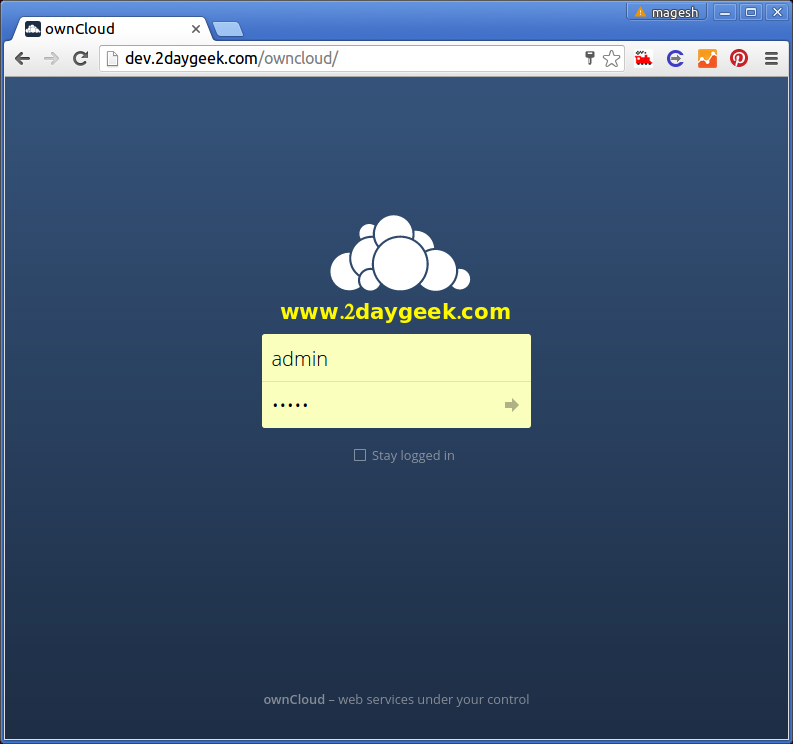
11) Checking upgraded ownCloud 9.0 Version.
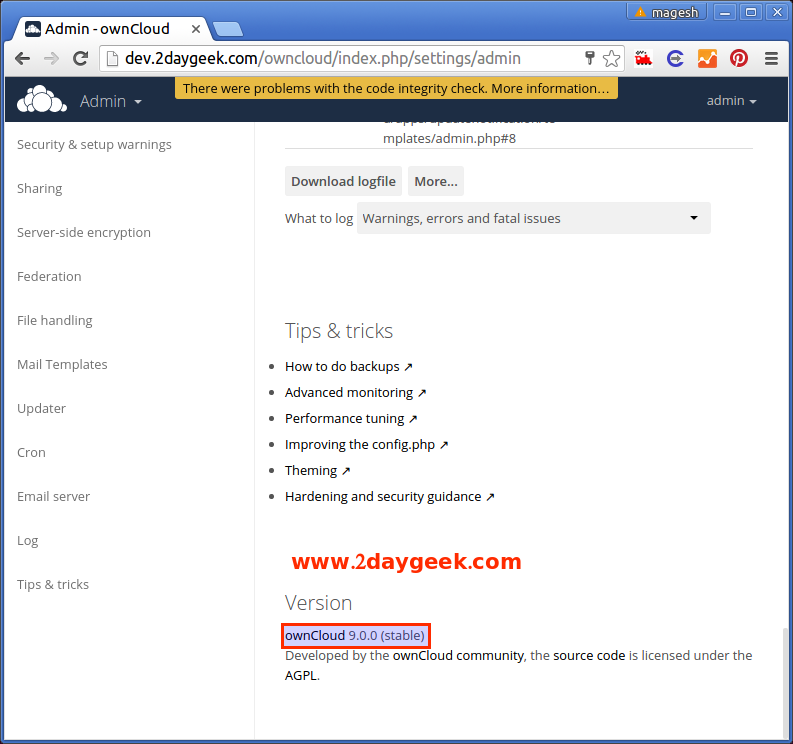
12) ownCloud 9.0 having below bug over DEB based systems and i didn’t found in RPM based system, this was already rgistered with ownCloud bugs and the team promised this will fix next update of 9.0 series 9.1.
Undefined index: newVersionString at /var/www/dev.2daygeek.com/public_html/owncloud/apps/updatenotification/templates/admin.php#8
Enjoy…)

