We have already covered Webmin installation in our previous article and here i’m going to show you how to install services (Apache) in webmin. By default nothing was installed in webmin control panel such as Apache, MySQL, DNS, Mail Services. We can install all of the services easily via webmin GUI interface.
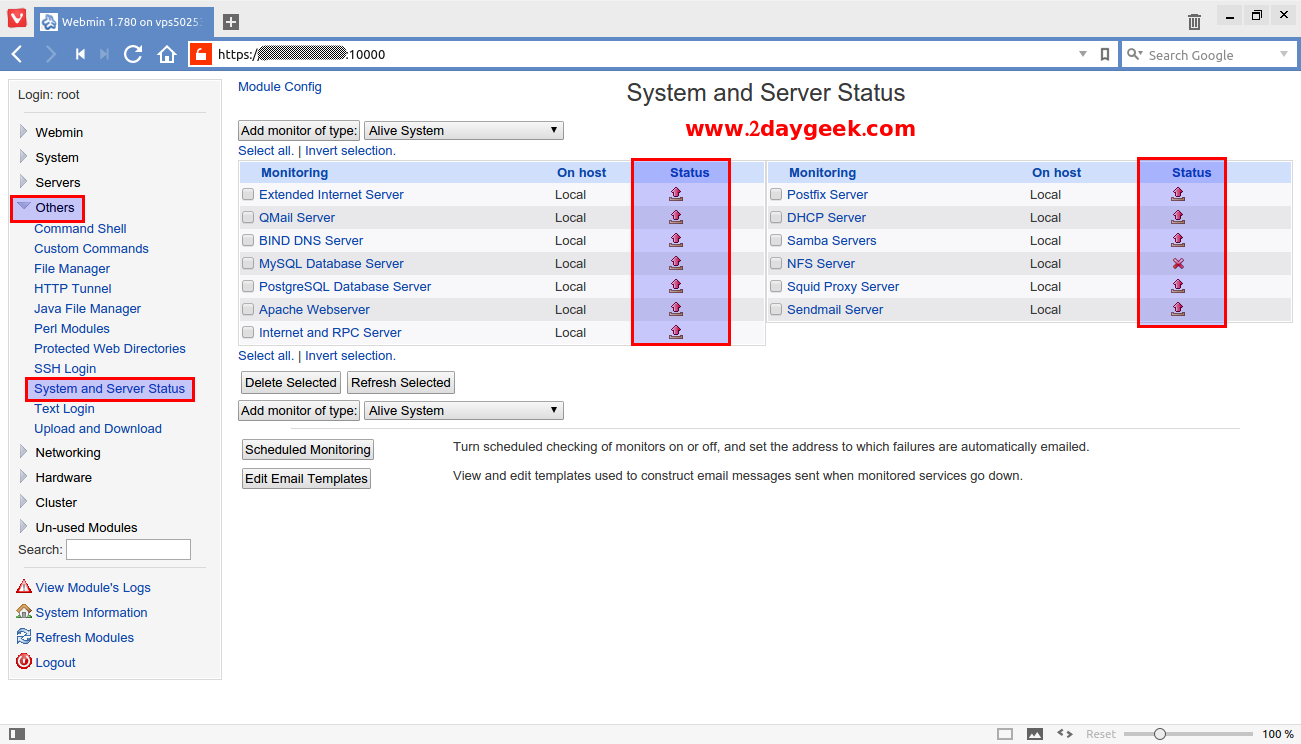
See the below screenshots, by default none of the services was installed. You can See this by navigating Others >> System and Server Status.
Here i’m going to install Apache Web Server. We can install Apache by navigating Un-used Modules Choose “Apache Webserver” then you can see the details about apache information in that, you will get the link to install Apache Module, Just Click the Hyper-link and it will automatically downland the Apache and install. See the below screenshot.
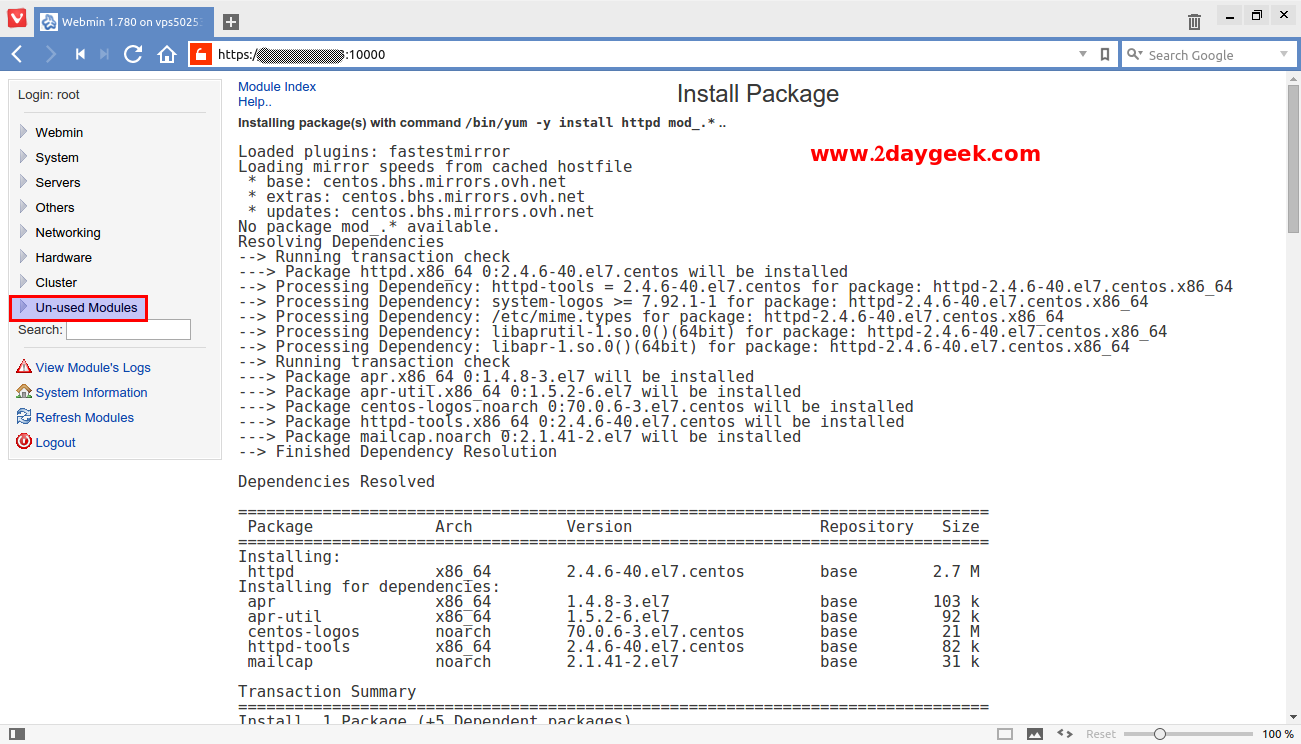
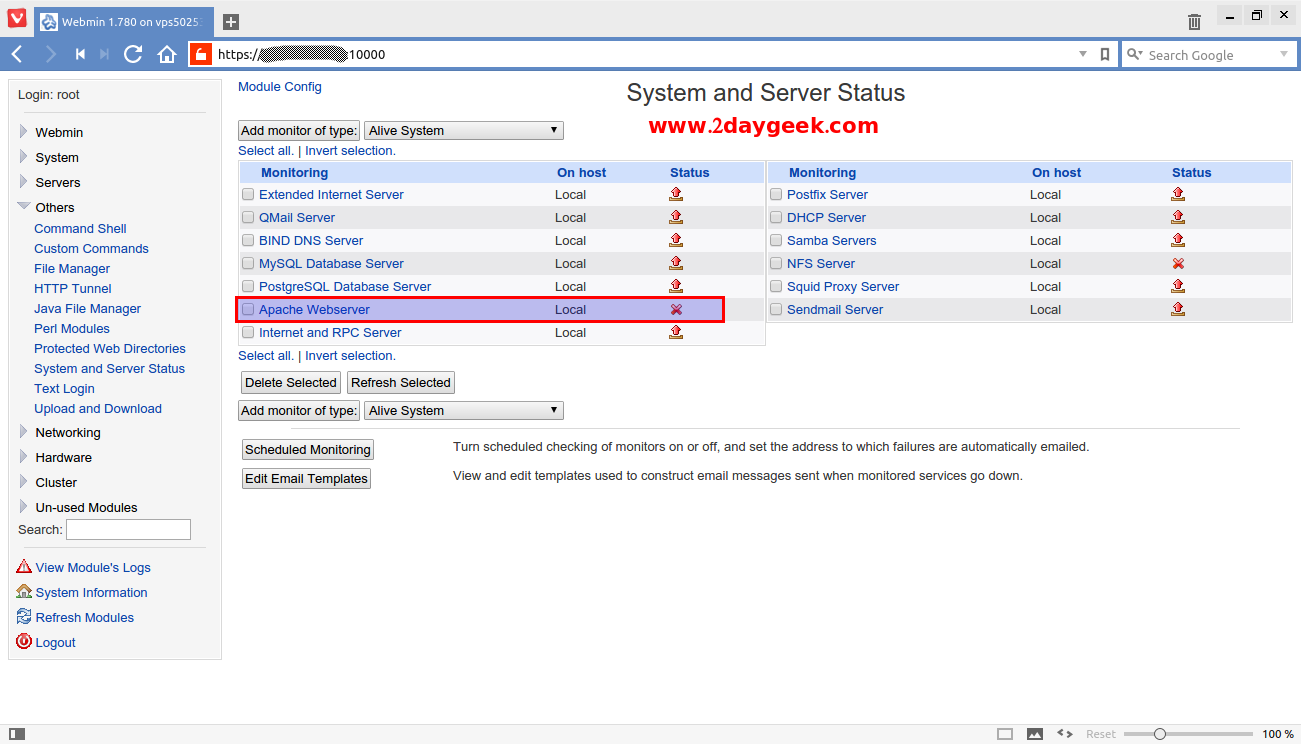
By default it wont start the Apache Web Server after installed, See the below screenshot.
Once the Service installed, Automatically it will comes under “Servers” menu. Here you need to “Start Apache” Service.
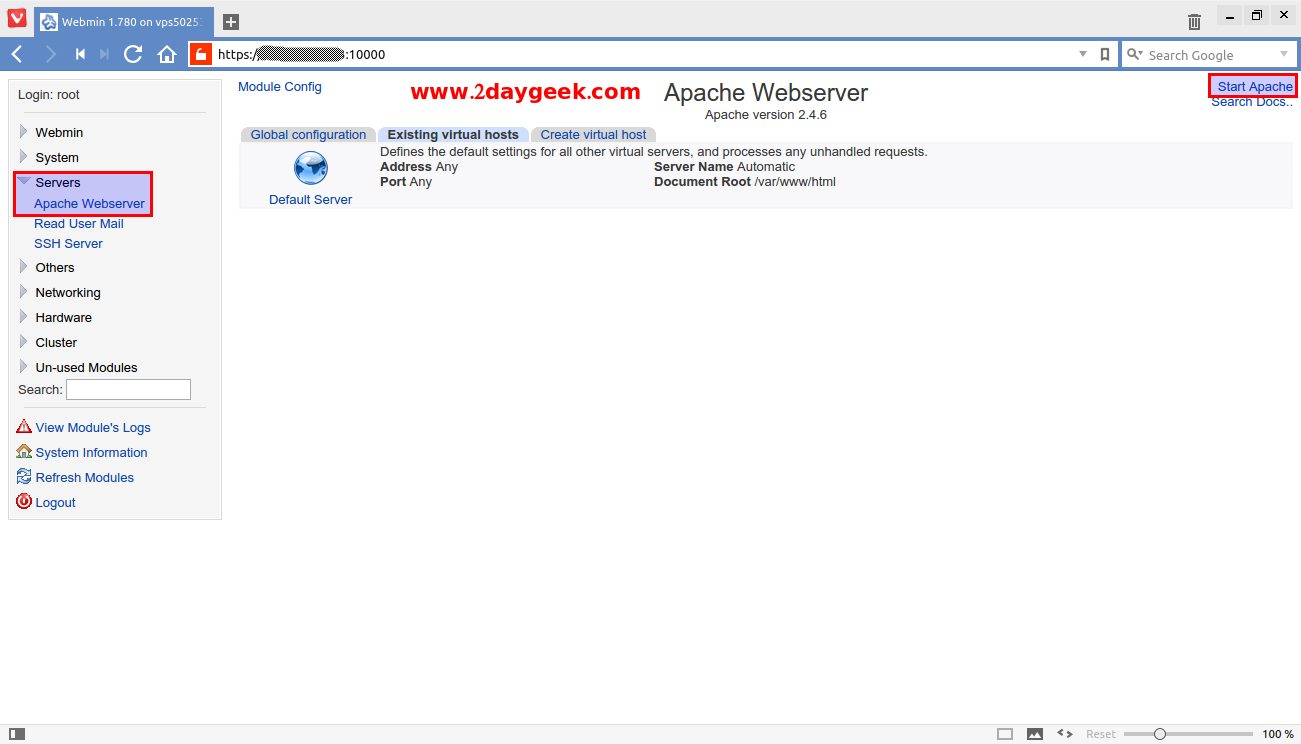
After starting the Apache Service, we need to Click “Apply Changes” link to complete the service activation.
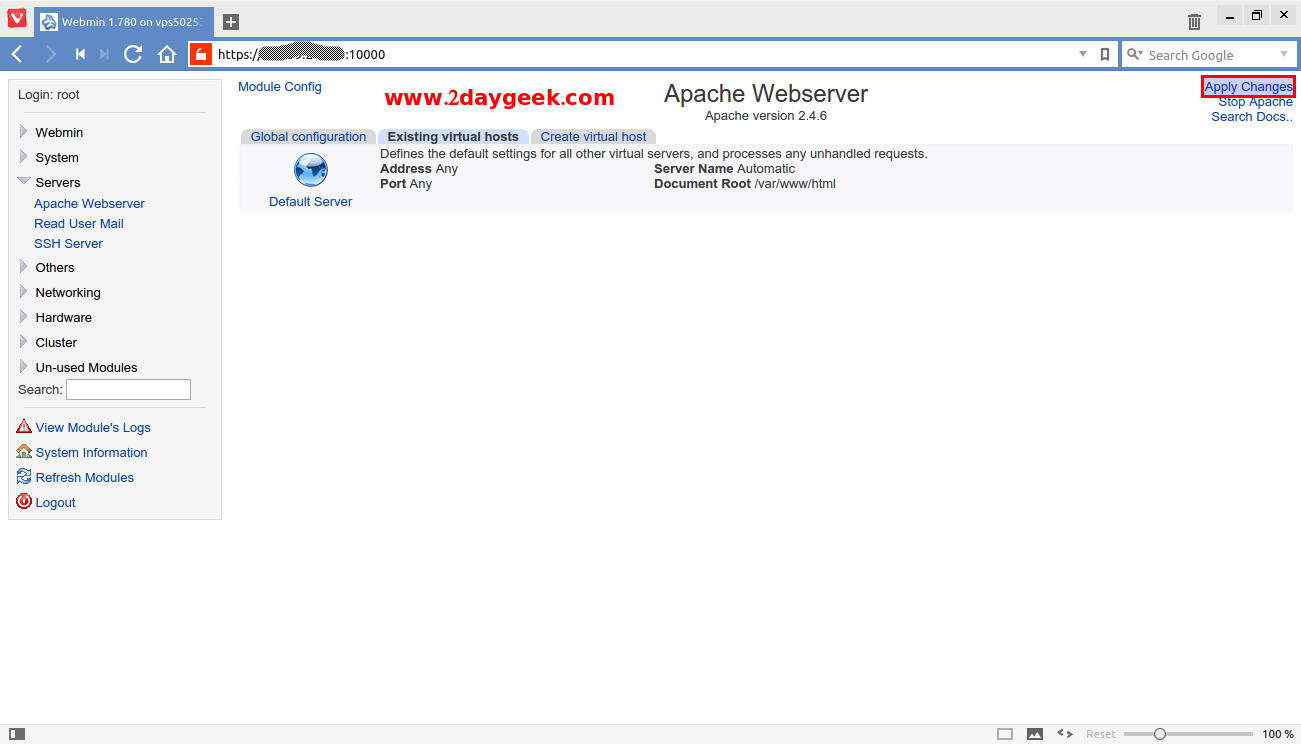
Now, Apache successfully installed and activated in Webmin panel.
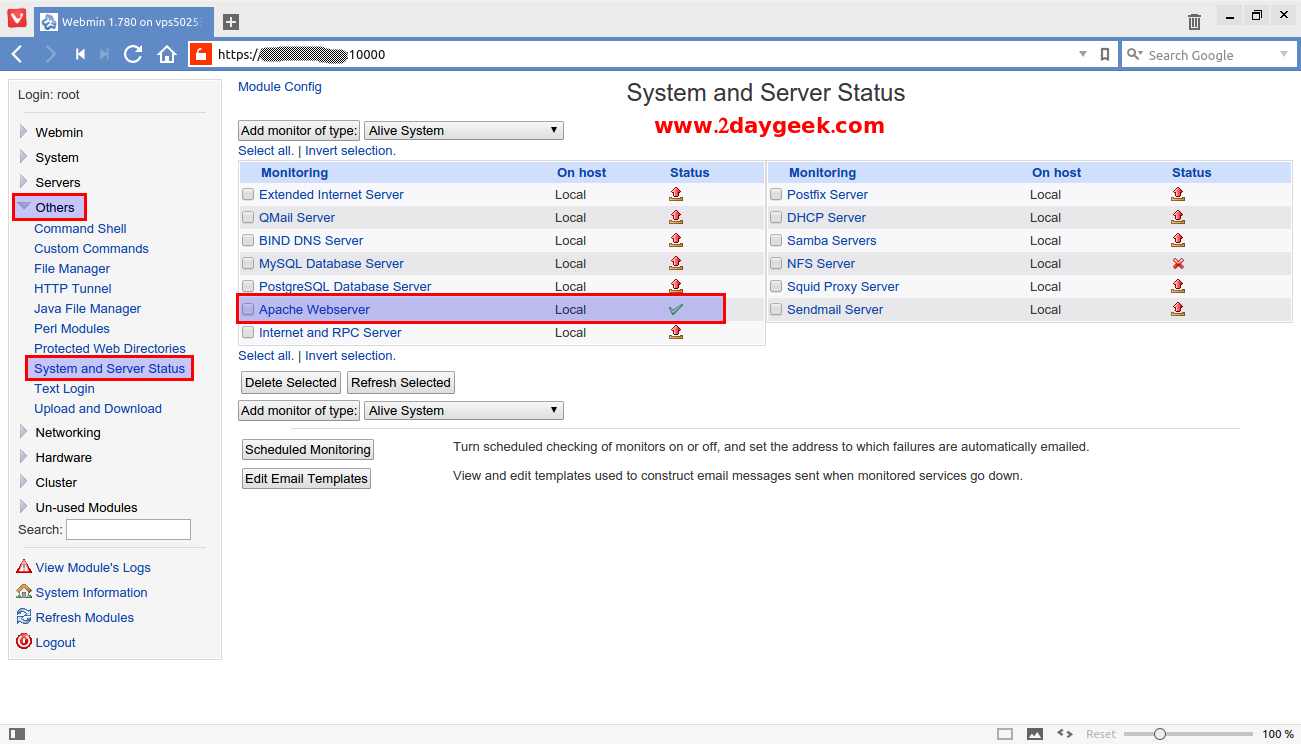
Do the same procedure for rest of the services whichever you want. Cool….)


