Cacti is an open source Network monitoring tool, it’s 100% FREE for everyone in this world. Cacti is a complete network graphing solution designed with RRDTool’s data storage and graphing functionality. Using Cacti you can easily monitor the performance of your computers, networks, servers, router, switch, services (apache, mysql, dns, harddisk, mail server), SANs, applications, weather measurements, etc… Cacti using snmp to collect the data from other devices. Cacti announced the latest release of Cacti 0.8.8f version on July 19, 2015. Also read about Cacti installation on Ubuntu, Debian & Mint Systems. Alternatively you can install other network monitoring tools such as Zabbix, Nagios, Monitorix, Munin & Icinga2.
1) Prerequisites for Cacti
You should install LAMP stack & EPEL Repository before proceeding Cacti installation. Also you need few packages which are listed below.
Make a note use dnf instead of yum on Fedora 22 & later systems.
# Update your system #
# yum update

# PHP Modules #
# yum install php-mysql php-pear php-common php-gd php-devel php php-mbstring php-cli php-mysql httpd-devel -y

# Install RRDtool #
# yum install rrdtool

# Install PHP-SNMP #
# yum install php-snmp

# Install NET-SNMP #
# yum install net-snmp-utils net-snmp-libs

# Start SNMP Deamon #
# service snmpd start                # [For SysVinit Systems]
# systemctl start snmpd.service      # [For systemd Systems]
2) Instal Cacti
Check the available version of Cacti on your system then simply type the below command to install it.
# yum install cacti
3) Create Database for Cacti
Create MySQL database, database username and assign the user to cacti database and import cacti pre defined tables.
# mysql -u root -p
MariaDB [(none)]> create database cacti;
MariaDB [(none)]> GRANT ALL ON cacti.* TO cacti@localhost IDENTIFIED BY '2daygeek';
MariaDB [(none)]> FLUSH privileges;
MariaDB [(none)]> quit;
Now import Cacti Tables to Cacti Database, Find the location of cacti.sql file then import it.
# find cacti.sql file #
# rpm -ql cacti | grep cacti.sql
/usr/share/doc/cacti-0.8.8b/cacti.sql

# Import cacti.sql file #
# mysql -u cacti -p cacti < /usr/share/doc/cacti-0.8.8b/cacti.sql

# Modify db.php file #
# nano /etc/cacti/db.php
$database_type = "mysql";
$database_default = "cacti";
$database_hostname = "localhost";
$database_username = "cacti";
$database_password = "your-password-here";
$database_port = "3306";
$database_ssl = false;
4) Configure Apache server
By default cacti accessible on localhost and if you want access on your network & world then configure your IP according that.
# nano /etc/httpd/conf.d/cacti.conf

# For httpd 2.2 #
Allow from all

# For httpd 2.4 #
Require all granted
Configure Firewall for Cacti
# [For SysVinit Systems]
# iptables -A INPUT -p udp -m state --state NEW --dport 80 -j ACCEPT
# iptables -A INPUT -p tcp -m state --state NEW --dport 80 -j ACCEPT
# service iptables save

# [For Systmed Systems]
# firewall-cmd --permanent --zone=public --add-service=http
# firewall-cmd --permanent --zone=public --add-service=https
# firewall-cmd --reload
Setup Cron for Cacti : Open the file /etc/cron.d/cacti and uncomment the below line. The poller.php file will collects data of known host every 5 mins which is used by Cacti application to generate graphs.
# nano /etc/cron.d/cacti
*/5 * * * *     cacti   /usr/bin/php /usr/share/cacti/poller.php > /dev/null 2>&1
5) Setup Cacti
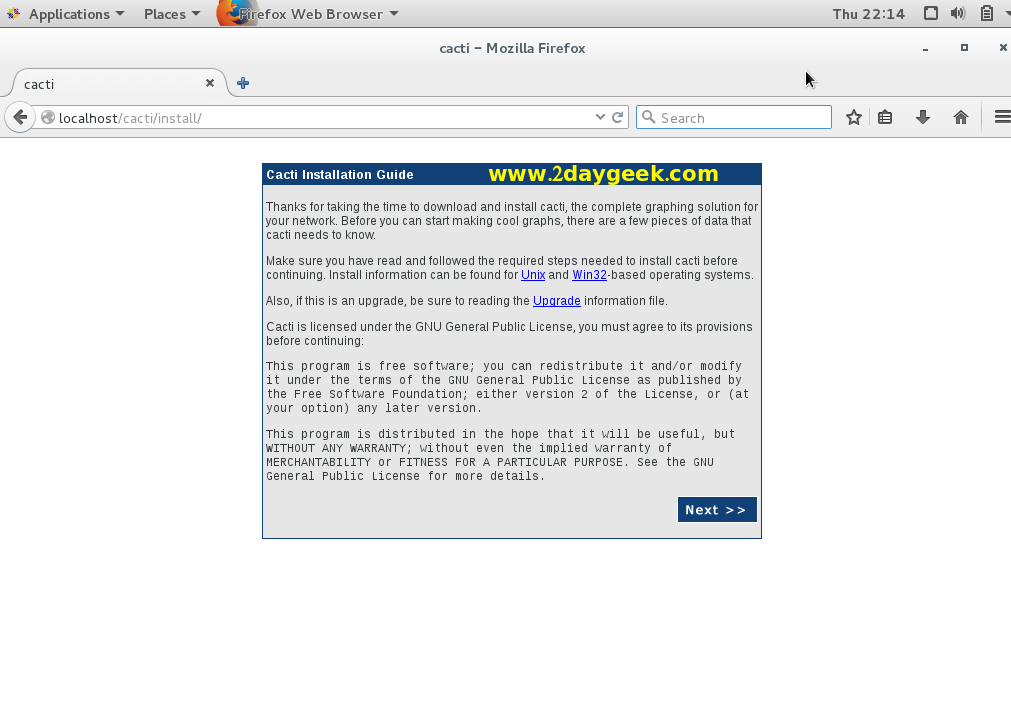
Follow the below instructions to setup the Cacti. Navigate your browser to http://localhost/cacti or http://IP-Address/cacti or http://Domain-Name/cacti and hit Next.
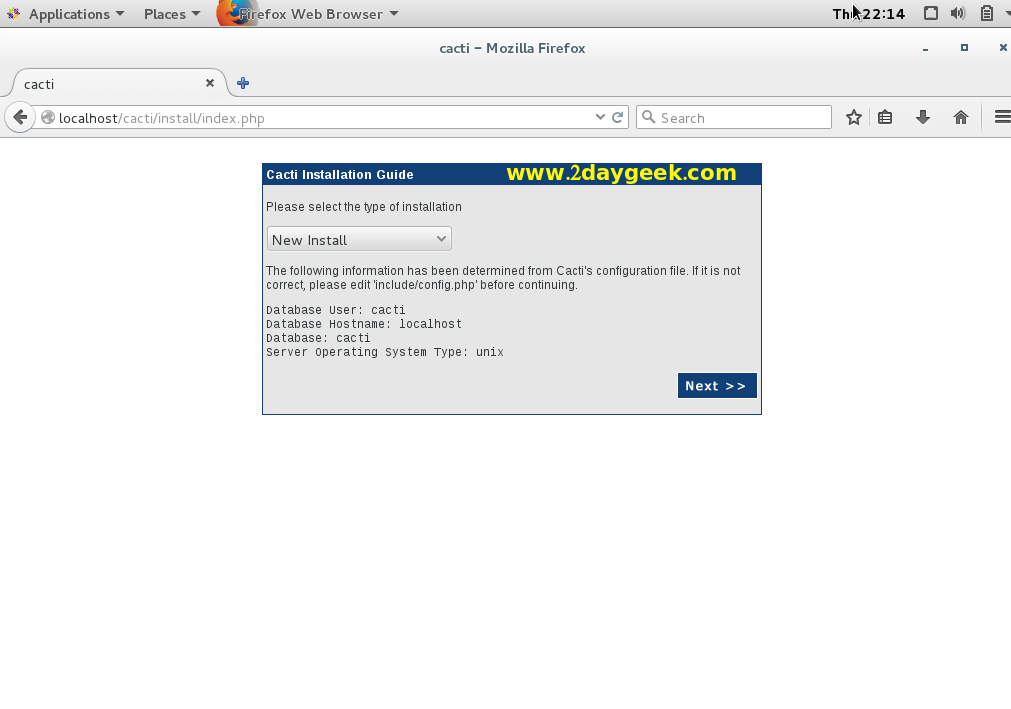
Choose the installation type, By default it chooses New Install, then hit Next.
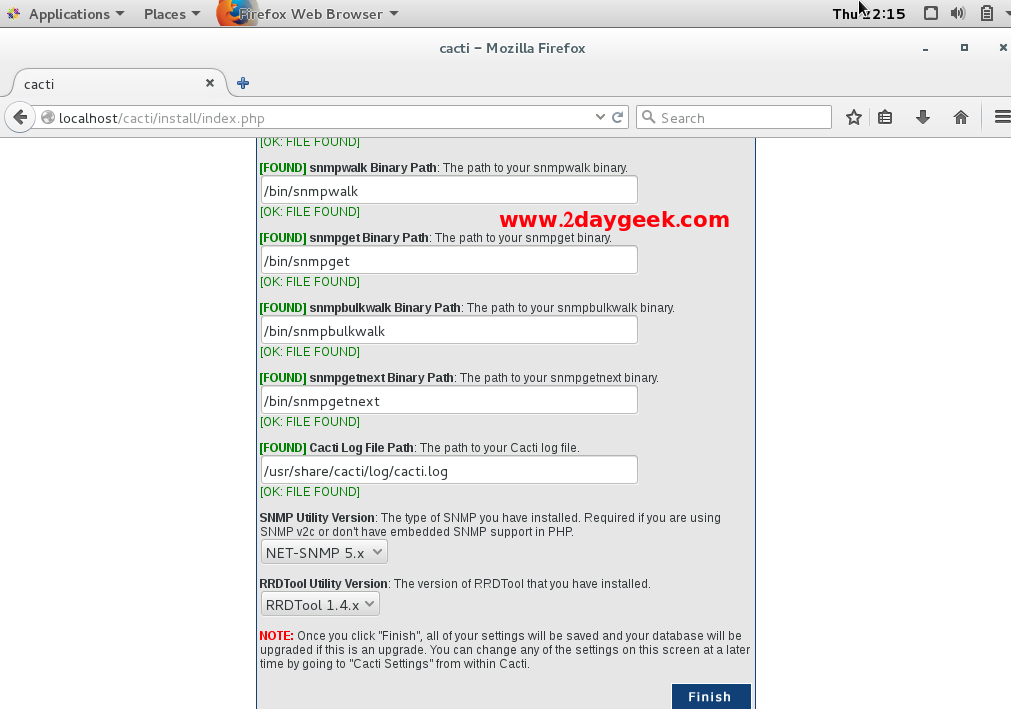
Check below Whether everything is GREEN, If so there is no error in your installation, then hit Finish.
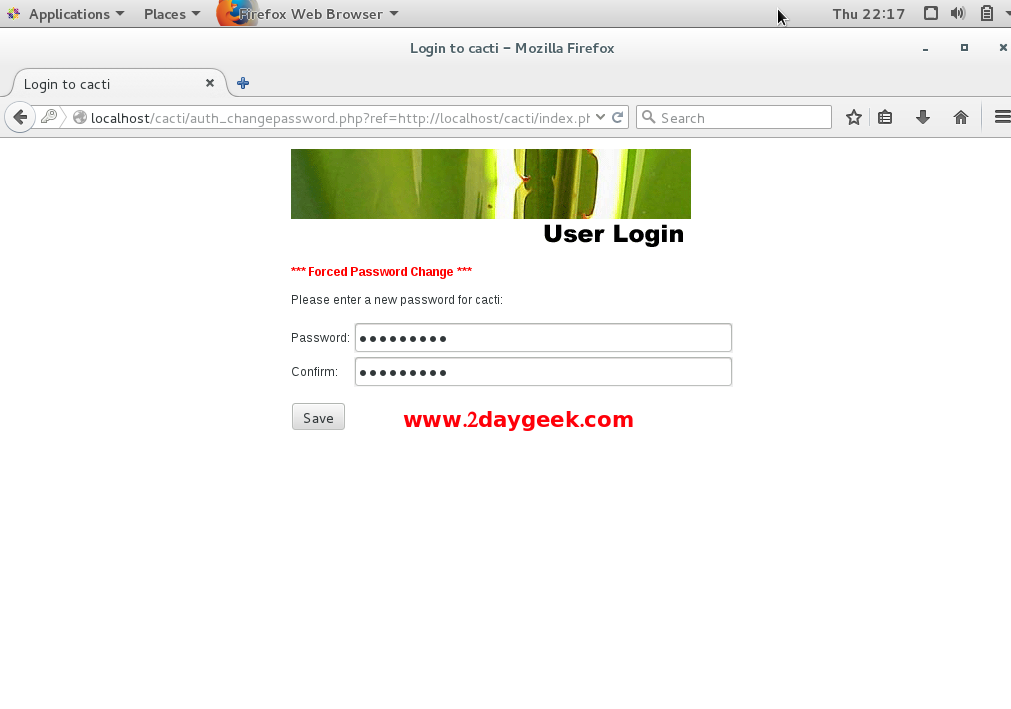
You will be re-directed to admin page, Here you need to enter admin username and its password. admin is default username and password for cacti.

For first time, you need to modify the default password.
Cacti Home page.

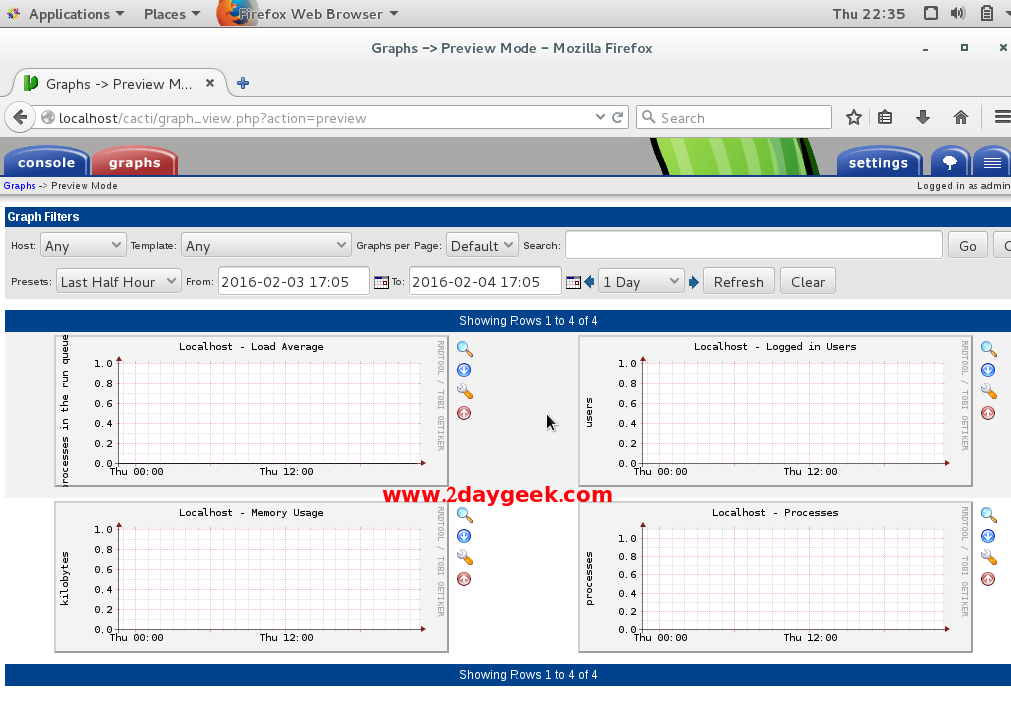
Cacti Graph page for localhost.
Stay tune with us will cover in next article, how to add Linux & windows hosts into cacti.


