Arch Anywhere ISO contains an automated install script which will give you, GUI interface to install a fully custom Arch Linux system in minutes with punch of software’s and Desktop environment. The built-in whiptail installer allowing you to install Arch Linux with a simple menu system, It’s allowing users to choose punch of necessary software’s, language, partitioning the drive & desktop environment and other programs from the official Arch Linux Repository. Also contains a built in Arch Linux Wiki. You may search any page on the Arch Wiki from the command line by firing arch-wiki followed by arch-wiki beginners guide which single space.
The Arch Anywhere ISO especially designed for beginners & advanced Arch users, who want to try Arch Linux because of the simplicity & grace you can try Arch Anywhere ISO for better understanding. This will install all the packages & core packages from Arch Official repository. Arch Linux, quick, easy, and straight forward, “Keep it simple stupid” to read full future about Arch Anywhere.
1) Download Arch Anywhere ISO
Visit Arch Anywhere ISO Download page and choose your download option either torrent file or direct ISO and download it.
2) Booting Computer with Arch Anywhere installation media
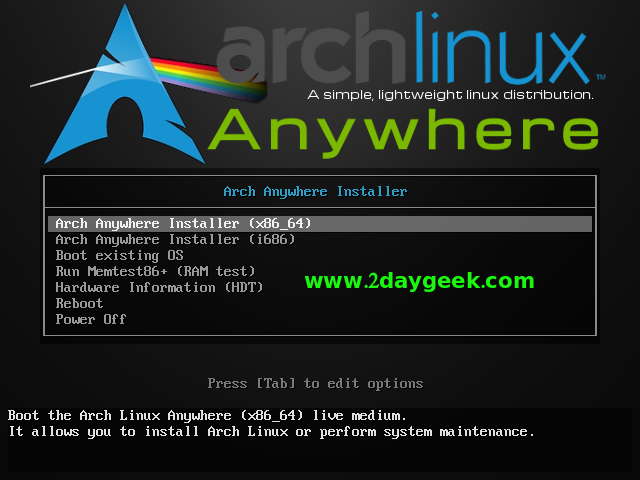
After downloading the Arch Anywhere ISO image, make it as bootable media such as (Burned CD/DVD or USB) and boot up your system with installation media. You will get below screen, choose 32-bit or 64-bit installation based on your architecture then hit Enter Key.
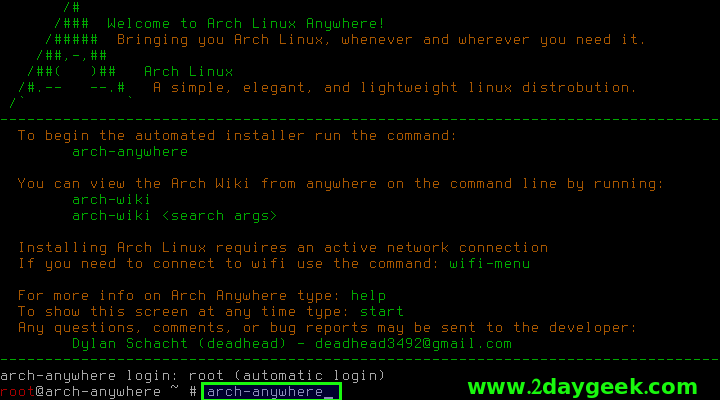
You will be getting below welcome screen. To kick start installation, just type arch-anywhere then hit Enter.
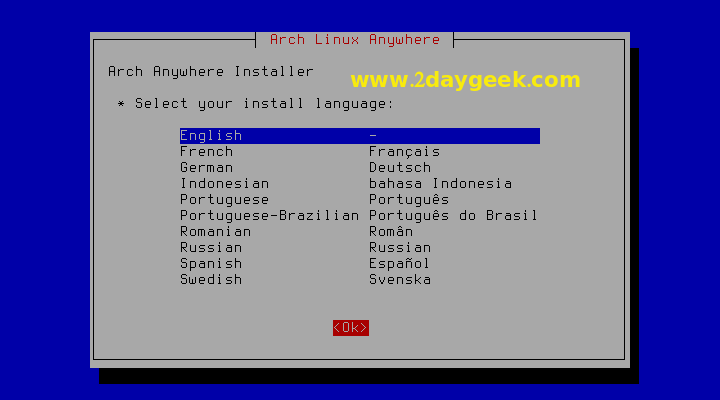
Select your language, English is default and still you have option to choose your own language, then hit Ok.
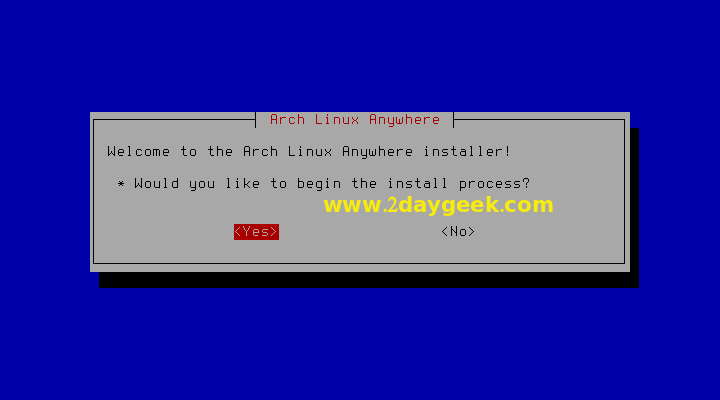
This is Arch Linux Anywhere installer welcome screen. Hit Yes to start Arch anywhere installer.
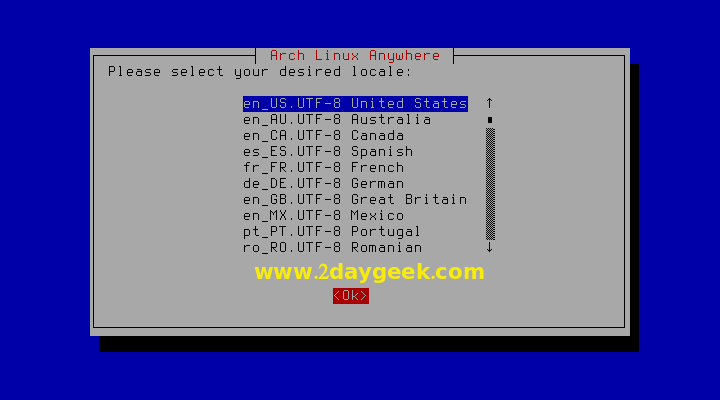
Select your desired locale then hit Ok.
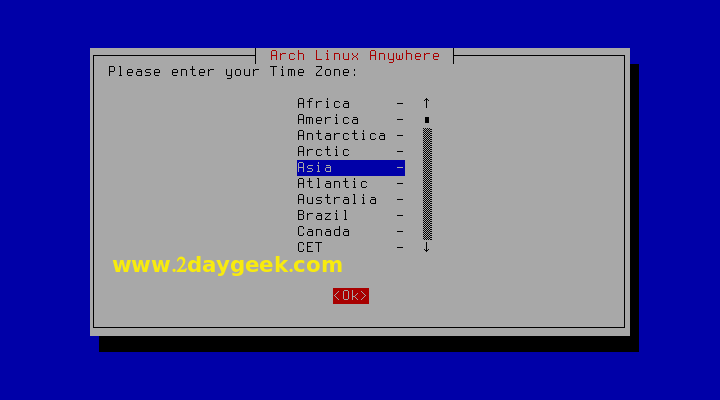
Select your Time Zone then hit Ok.
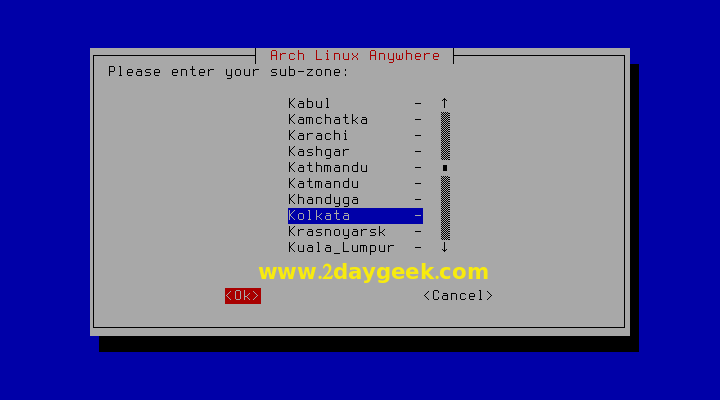
Select sub-zone then hit Ok.
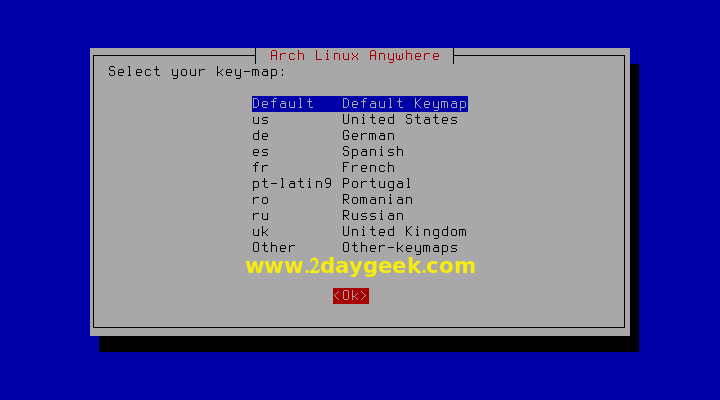
Select your keyboard then hit Ok.
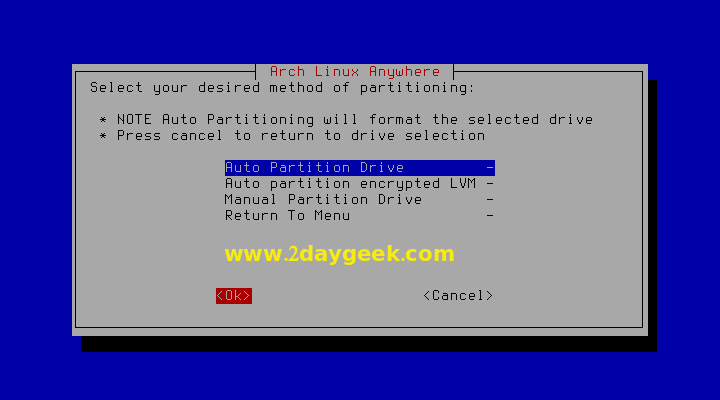
Choose your Partition method then hit Ok, by default Arch Anywhere installer support three types of partition, the details are below.
- Automatic partition
- Automatic partition with encrypted LVM
- Manual partition
This is testing purpose, so I’m going ahead and choose Automatic partition which is suitable for beginners.
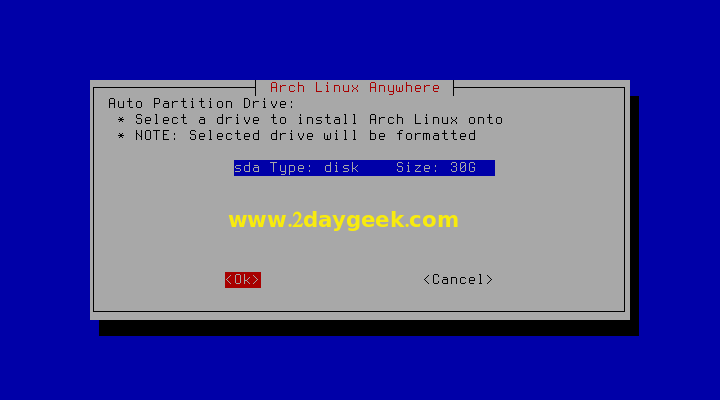
Select a drive to install Arch Linux on it then hit Ok. Make a note selected drive will be formatted.
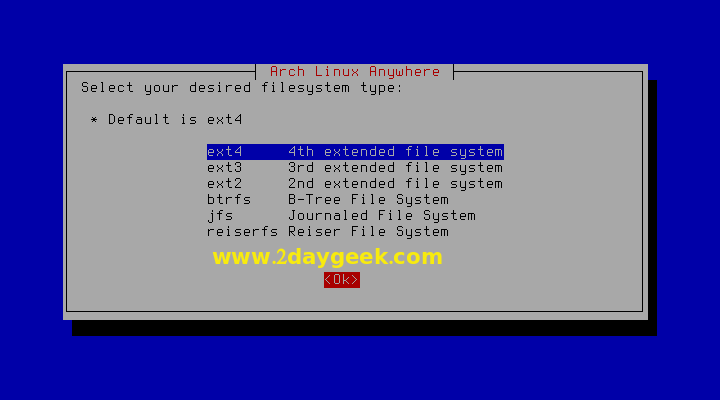
Select your desired file system type then hit Ok. By default most of the Linux distribution is preferring ext4 which was using widely, so i’m also going with ext4 file system.
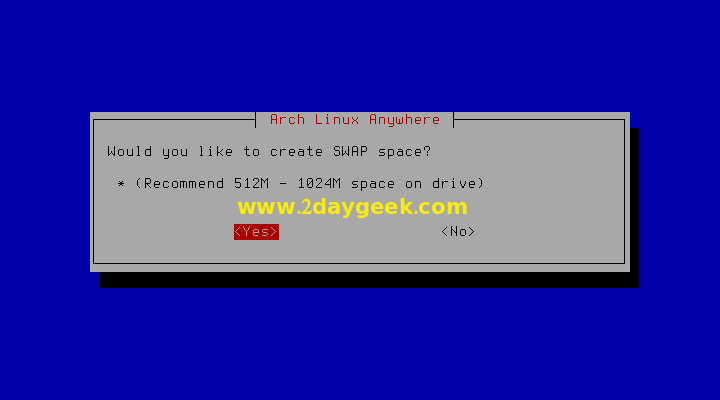
Creating swap partition on Linux system is mandatory one which will help us to keep the system live when we are facing lack of memory on it. Hit Yes to create swap partition.
By default swap partition size should be double size of RAM. For example, if you have 1GB of RAM, then your swap should be 2GB. Enter your swap partition size then hit Ok.
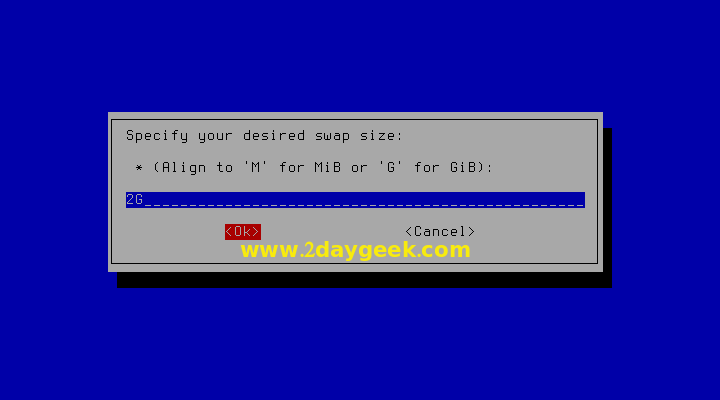
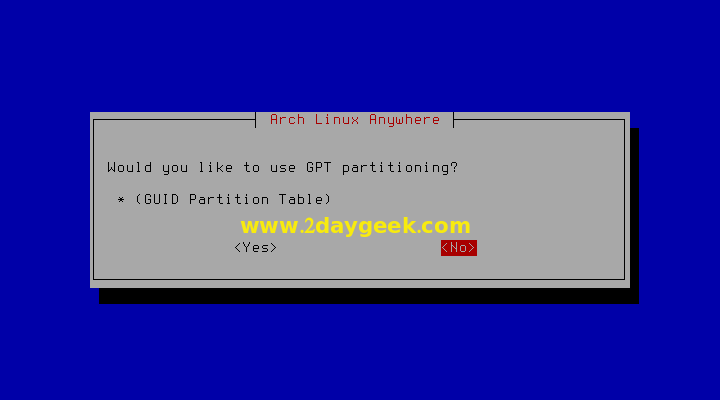
GUID Partition table is not mandatory, so choose No to move forward.
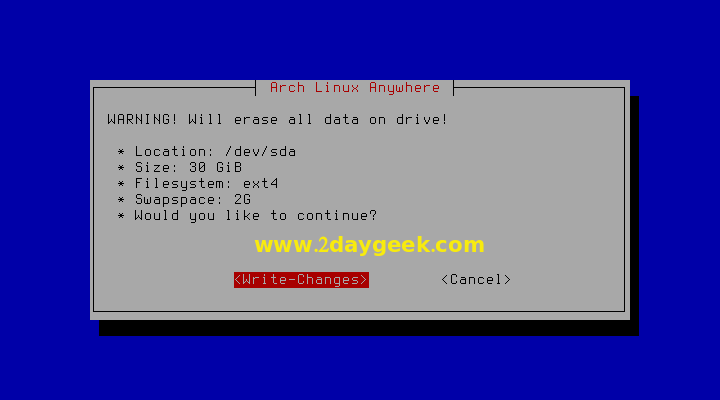
Verify the Partition details which are selected by us in previous steps. If so hit Write-Changes button to write the partition info on selected drive. Make a note selected drive will be formatted so take a backup of your drive in case if you have any data.
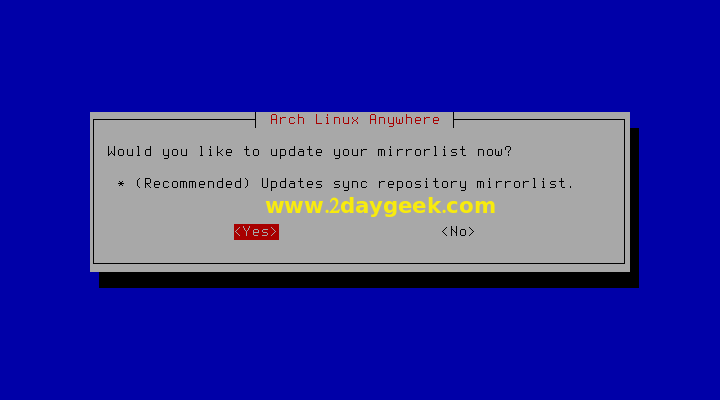
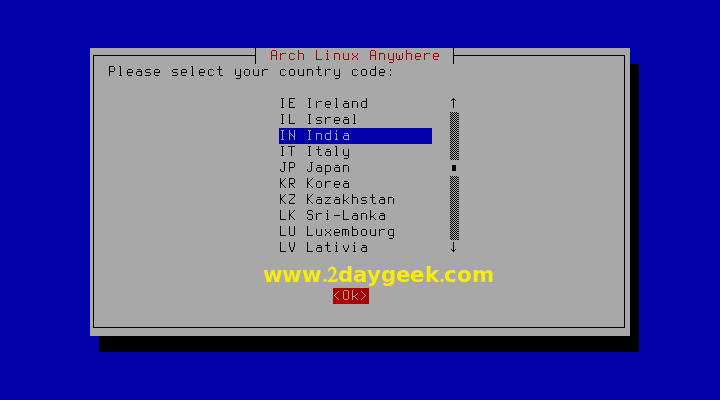
For better download speed & bandwidth saving we need to update the nearest mirror so hit Yes.
Check the list whether your country is available, if so choose the same otherwise choose nearest Country mirror then hit Ok.
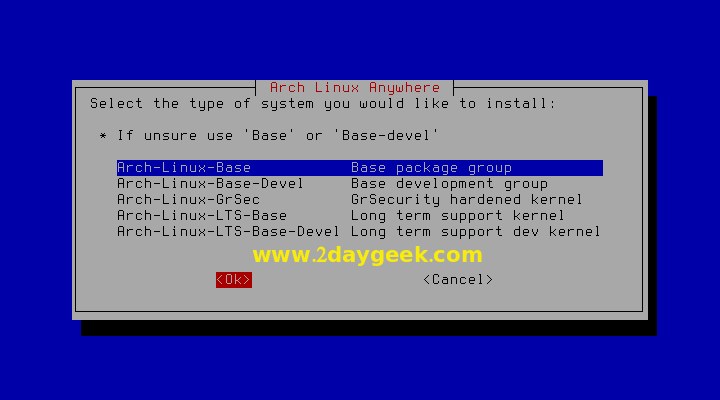
Choose the system types, are you going to install, for desktop choose Arch-Linux-Base then hit Ok.
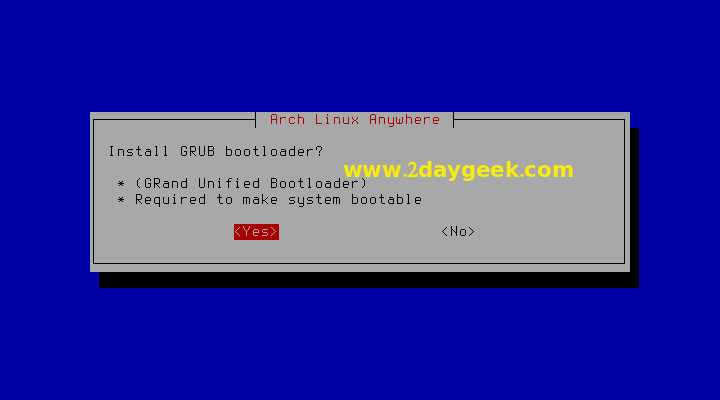
Select Yes to install GRUB boot loader which will help to boot system.
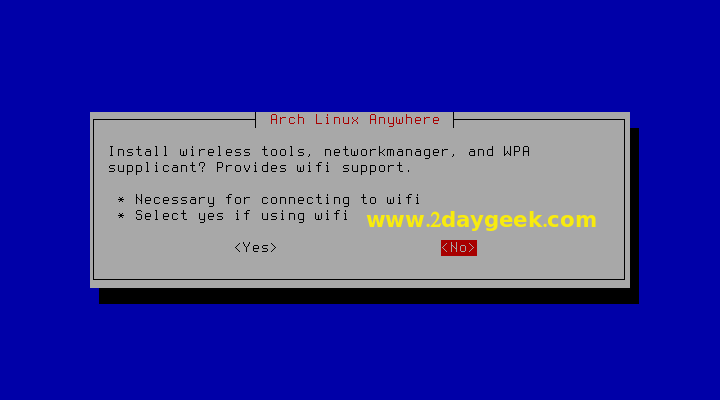
If you have wireless network card then install wireless tools otherwise choose No.
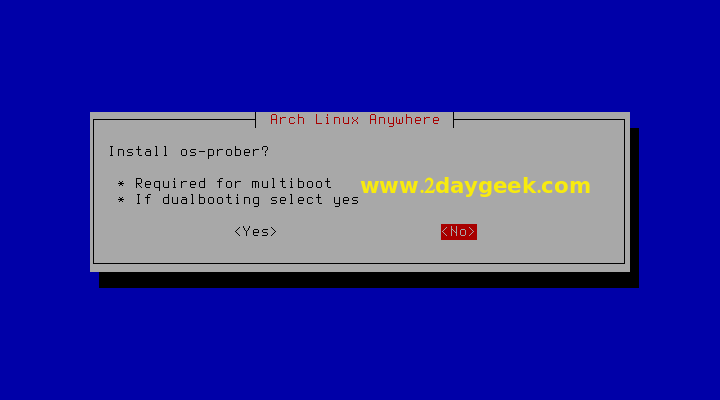
If you have plan to install more then one OS then choose os-prober yes, otherwise choose No.
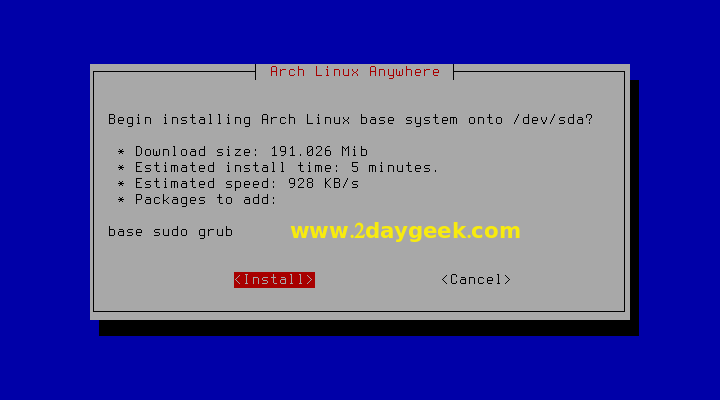
Hit Install button to run the Arch Linux installation and site back because it will take a while to complete based on your Internet connection.
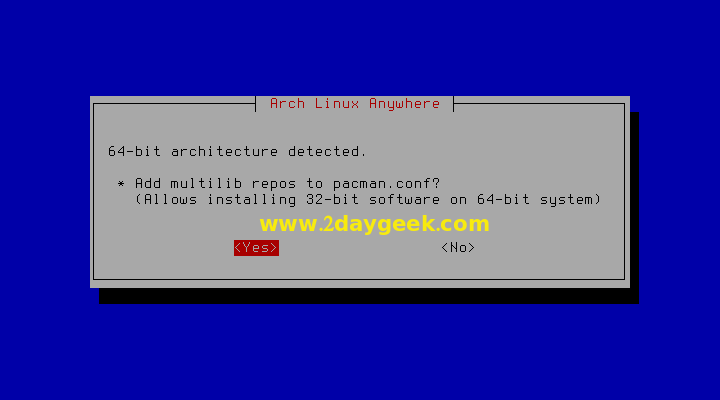
We are performing 64-bit OS installation, if you want to allow 32-bit architecture, you need to add multilib repository.
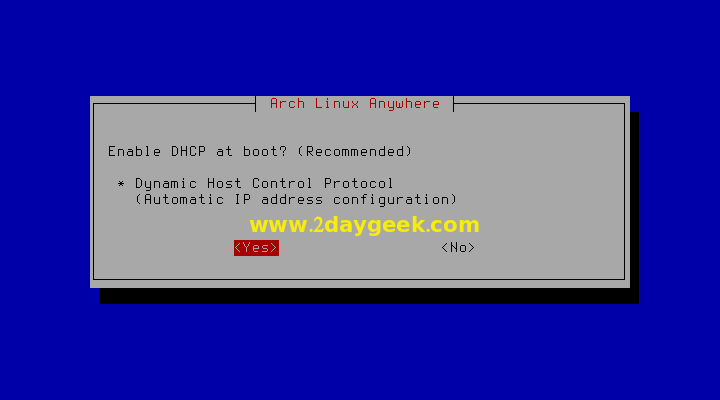
Select Yes to enable DHCP which will assign IP address automatically.
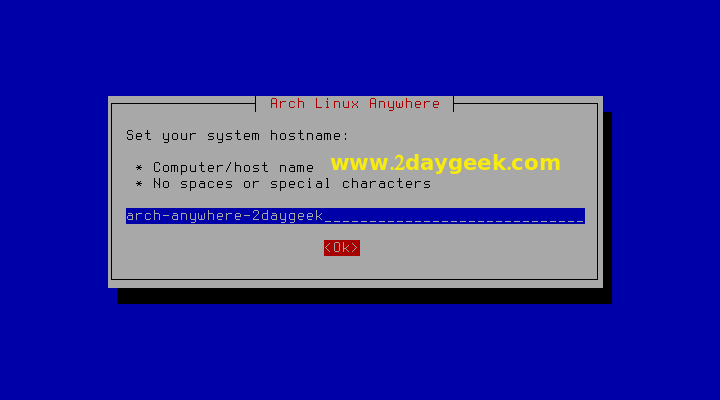
Enter your Host Name then hit Ok.
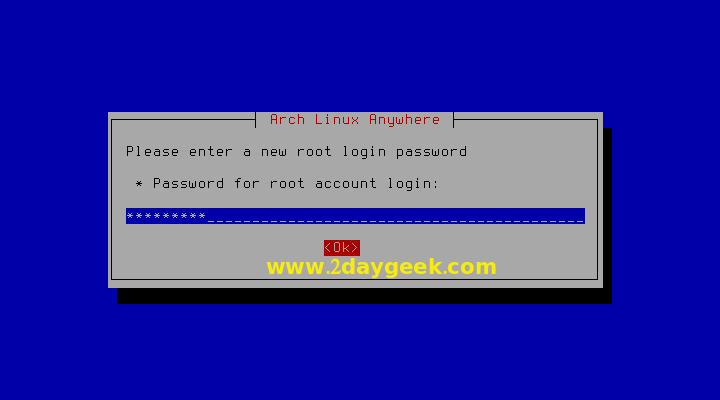
Set root password by entering twice to confirm.
Create new User Account and set password by entering twice to confirm.
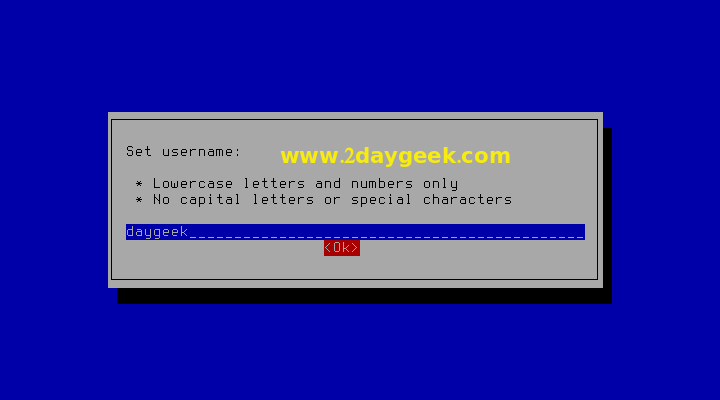
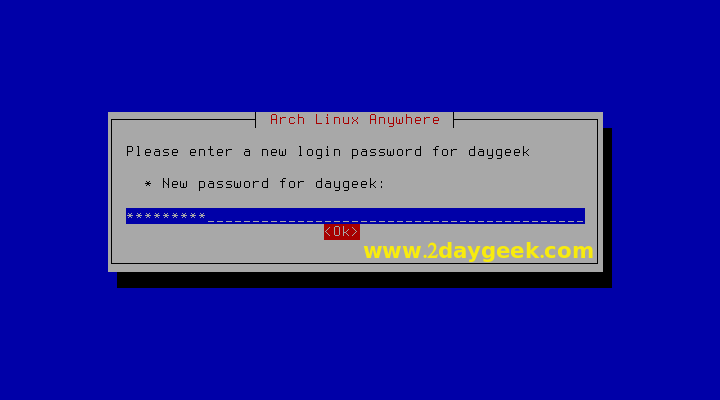
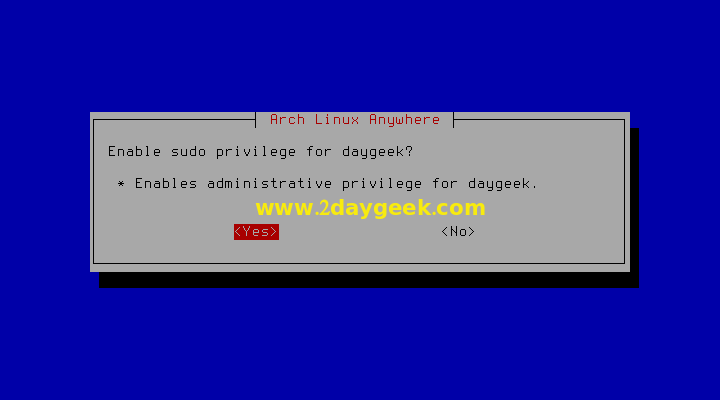
Also enable sudo privilege to the new user to perform administrator task when its required.
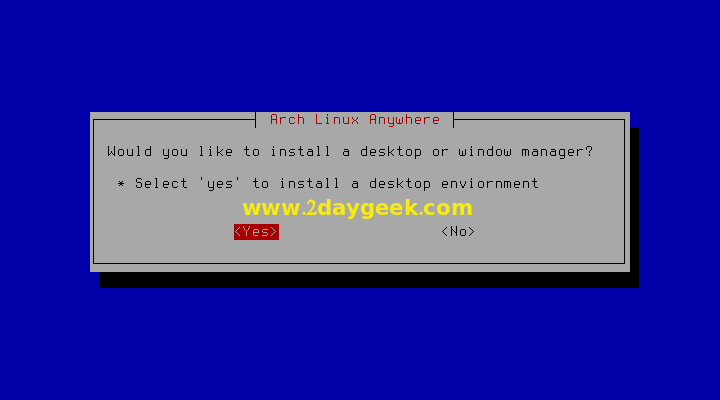
Hit Yes to choose Desktop Environment.
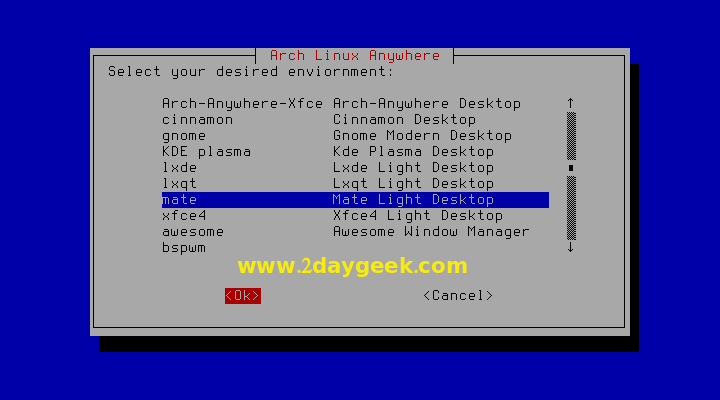
Select your desired Desktop Environment then hit Ok to install it.
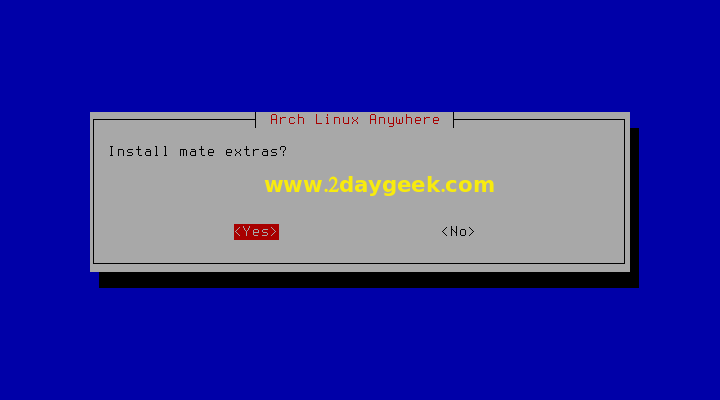
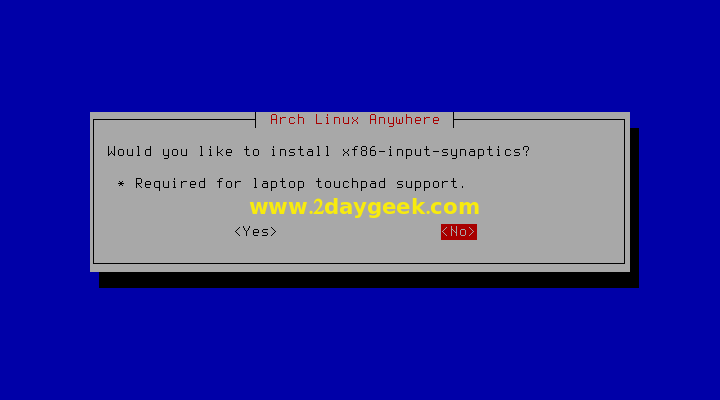
For Laptop user’s choose Yes to install Synaptic touchpad.
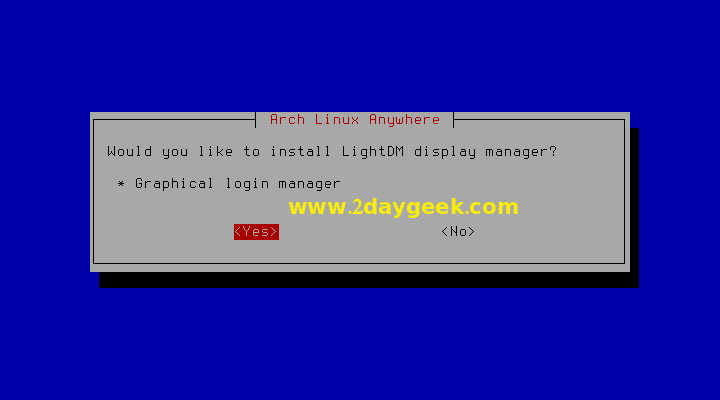
Hit Yes to install graphical login manager
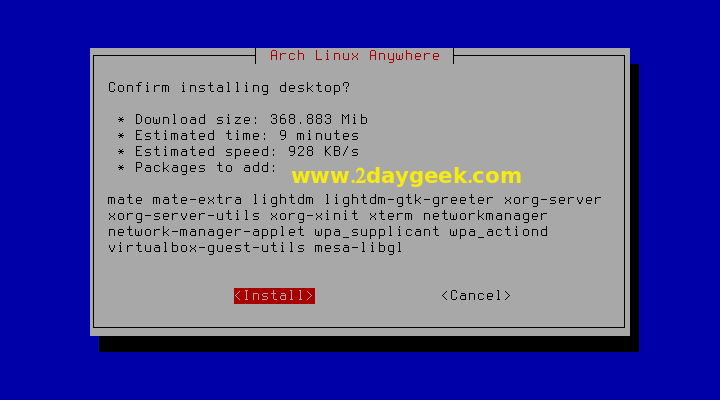
Finally Hit Install button to install Desktop Environment. Will take a while to complete based on your Internet connection.
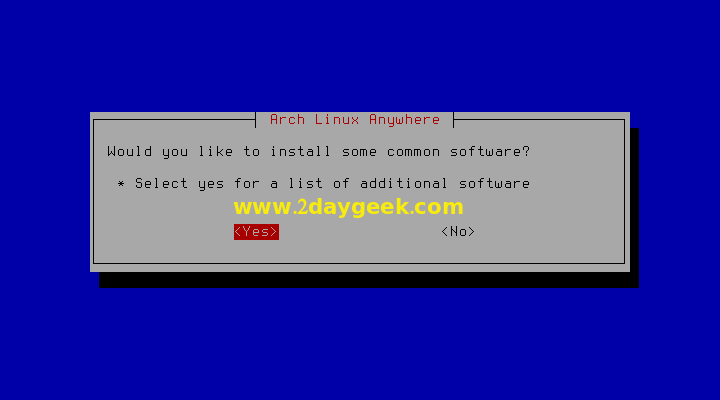
Hit Yes to install bunch of necessary software’s.
Go to each menu and select desired software’s using space bar then hit Add
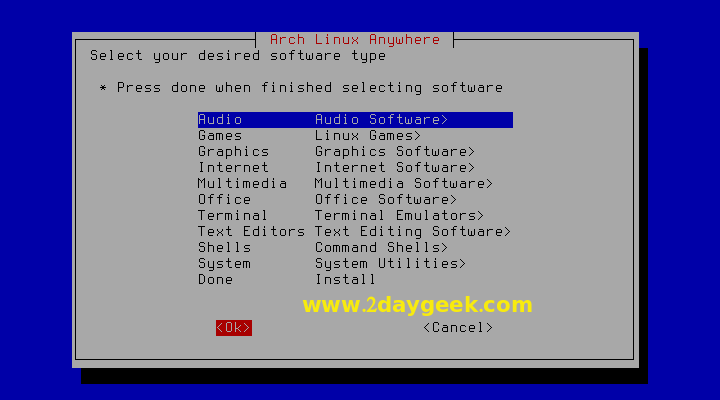
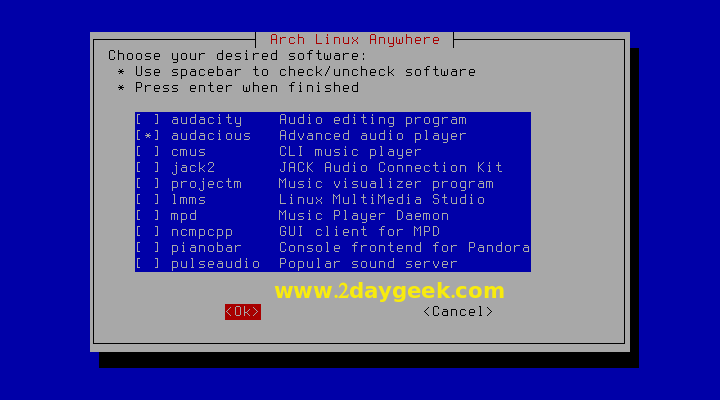
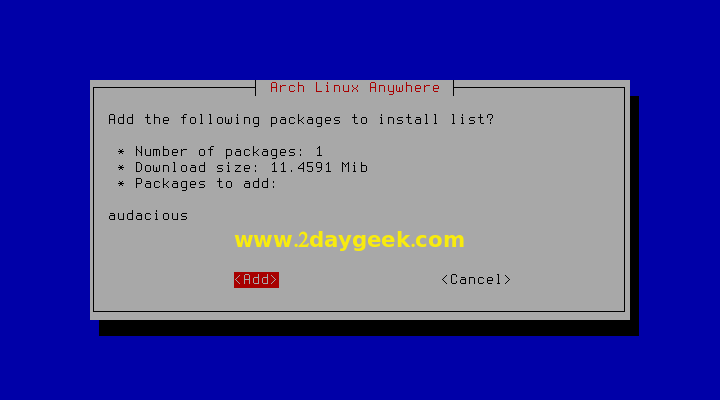
If you done your selection then choose Done and hit Ok
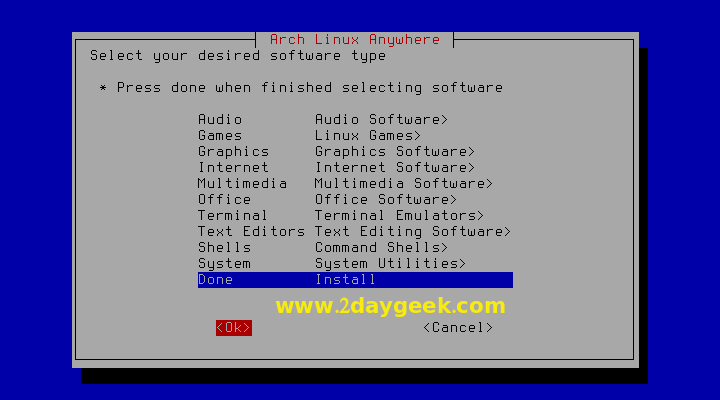
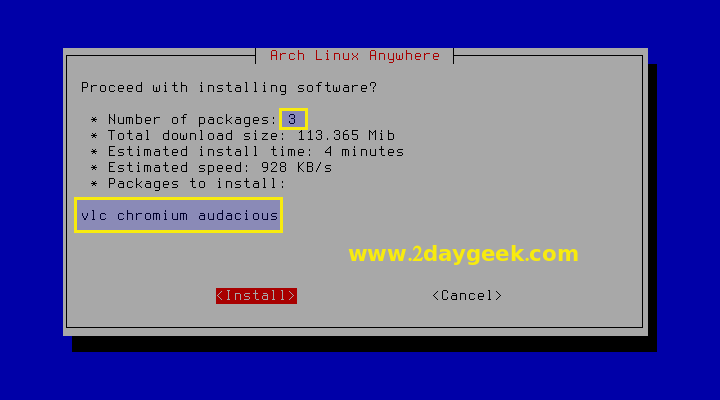
Finally hit Install button to install selected software’s.
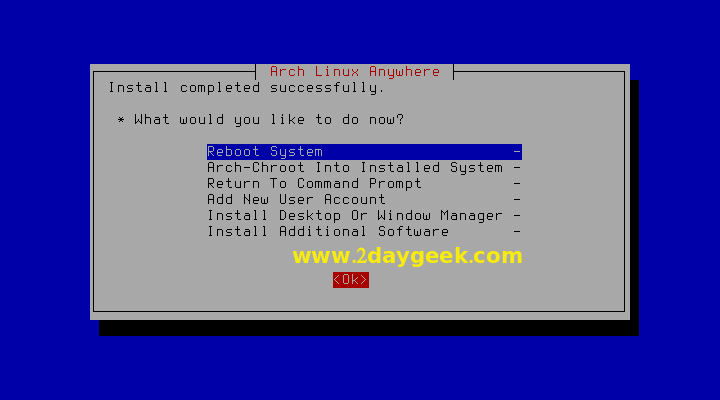
We have successfully installed Arch Linux with help of Arch-Anywhere. Remove your installation media then hit Reboot.
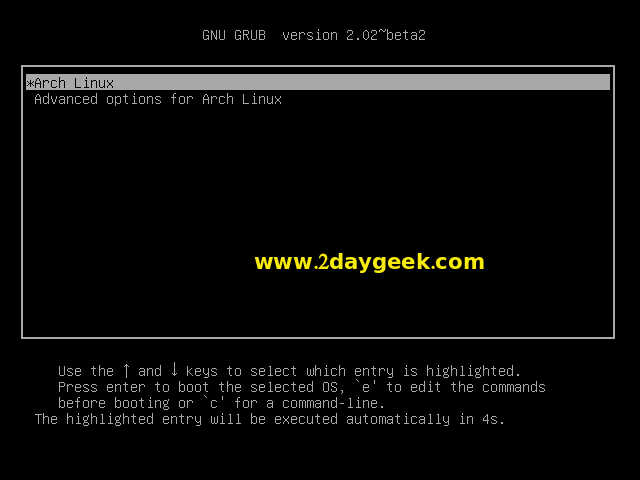
Grub boot loader screen shot.
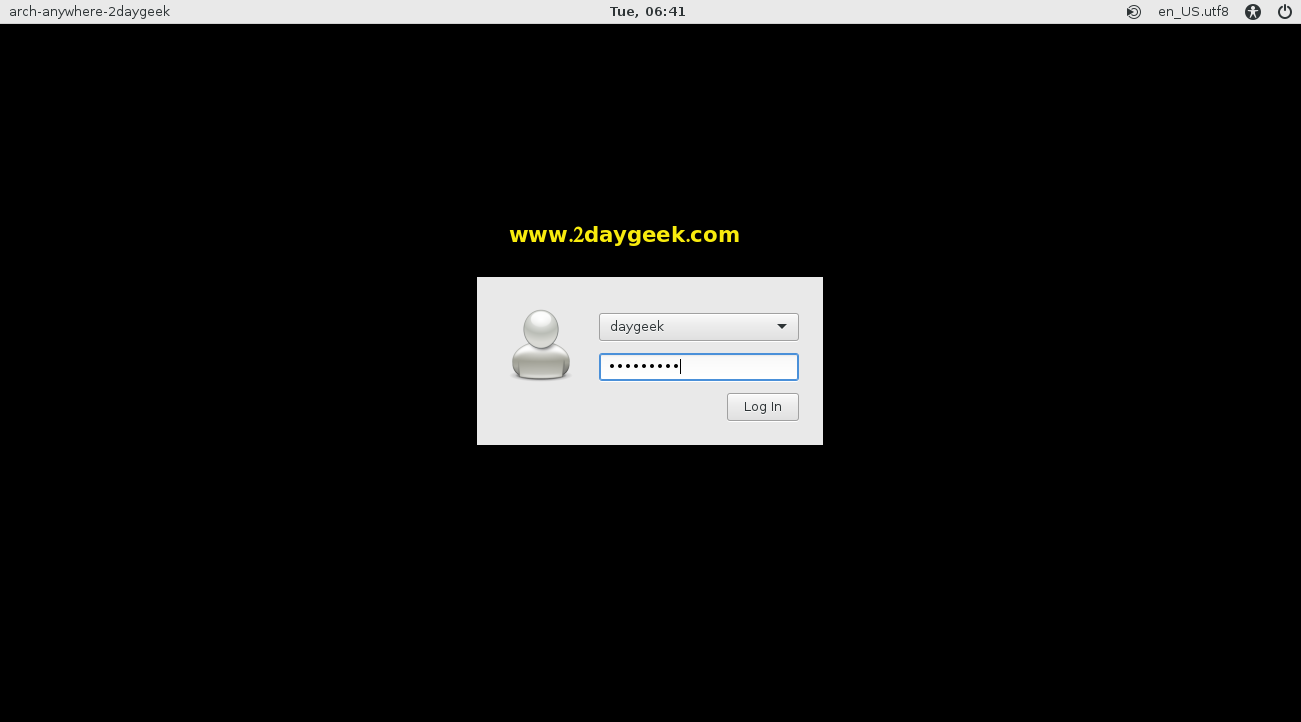
Login screen, Enter your User Name and password then hit Enter.
Home screen shot.
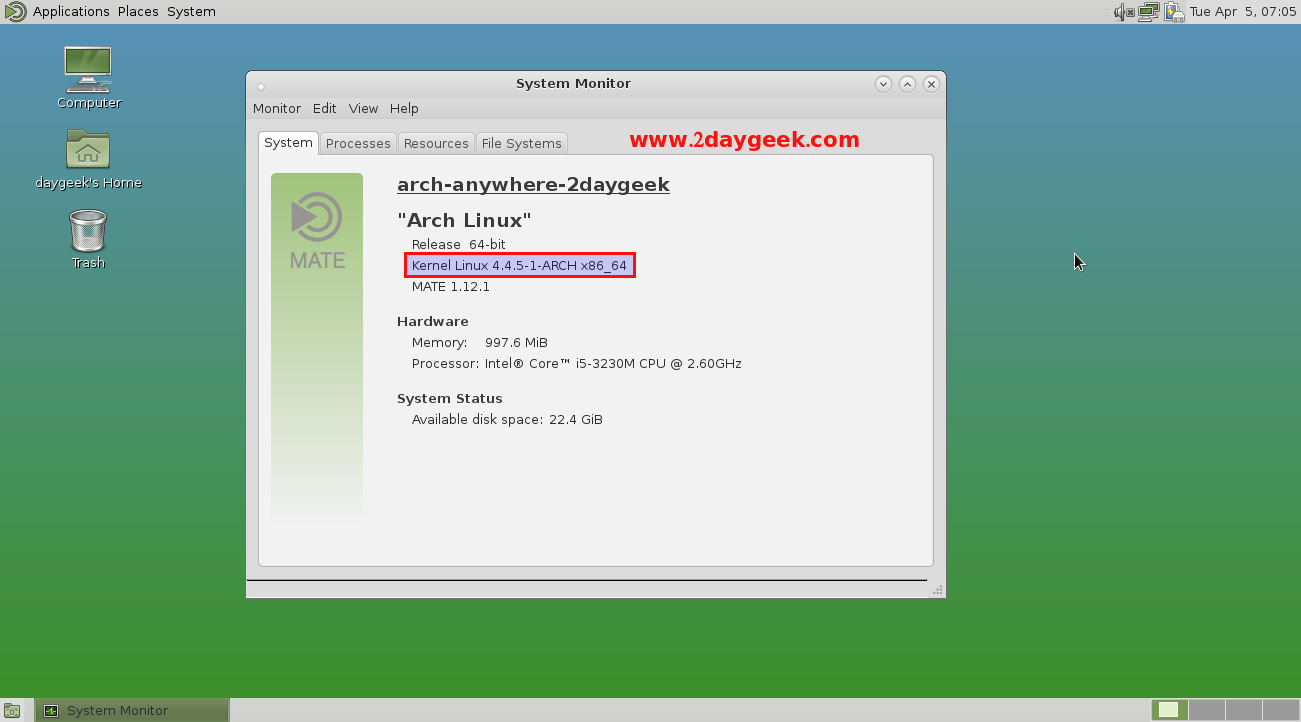
Enjoy..


@disqus_PNtvzccJVG:disqus ,
Welcome
Gracias por el tutorial, ya lo estoy por probar!
Como no lo encontré antes! saludos desde Argentina.
Thanks for the tutorial, and I am to try !
As I did not find it before! greetings from Argentina. (Google Translate)
Thanks for info.
How do we get a thogough guide as to how to install softwares or update the system after installing arch-anywhere?
Kindly help.
Kumar,
I have added list of article in my todo list for arch-anywhere. Please stay tune with us to get the update.
as a hint: if you want install yaourt in easy way, then you must choose the second: arch-devel. later you see the menu and you can exit the installation, but… choose chroot and then type simply yaourt followed with the return key. follow the instructions on the scrren. and if finished you can install software from community-repository too.
@heiko,
Thanks for your info but still we have option to add Yaourt post installation too.
# nano /etc/pacman.conf
[archlinuxfr]
SigLevel = Never
Server = http://repo.archlinux.fr/$arch
[Install Yaourt]
# pacman -Syu yaourt