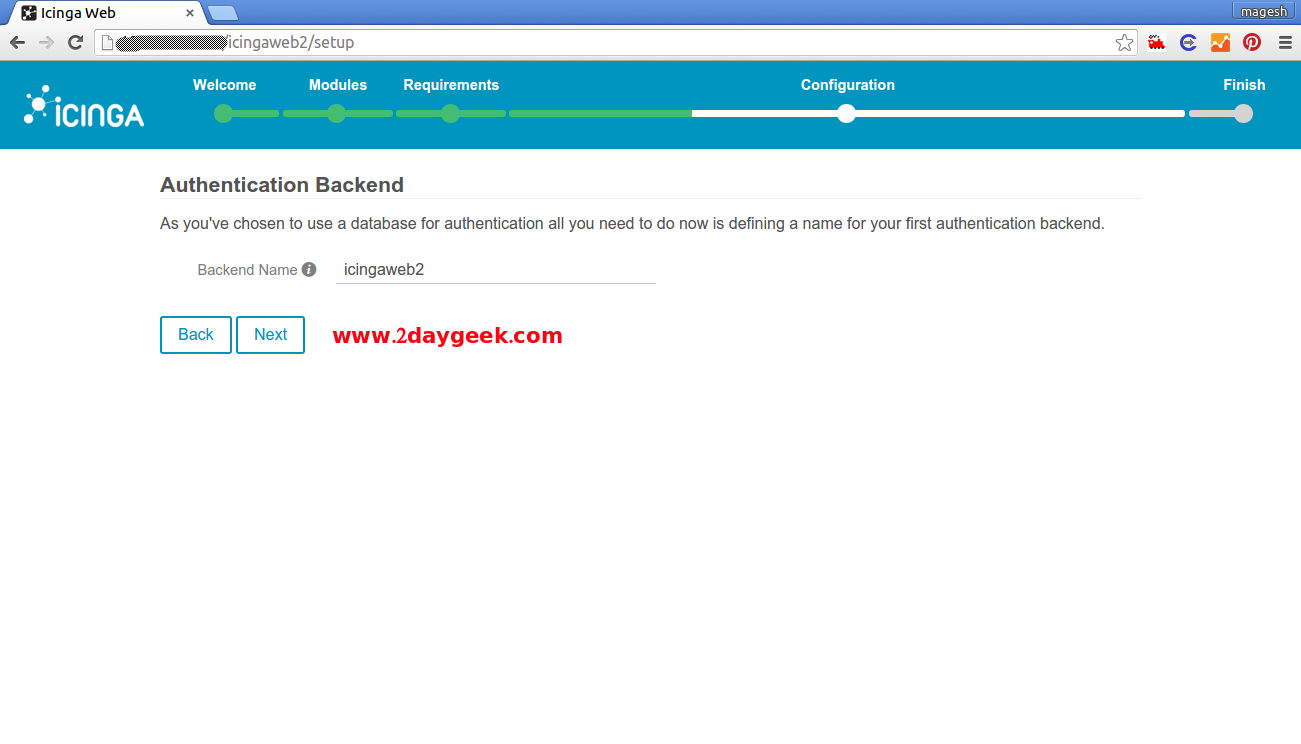
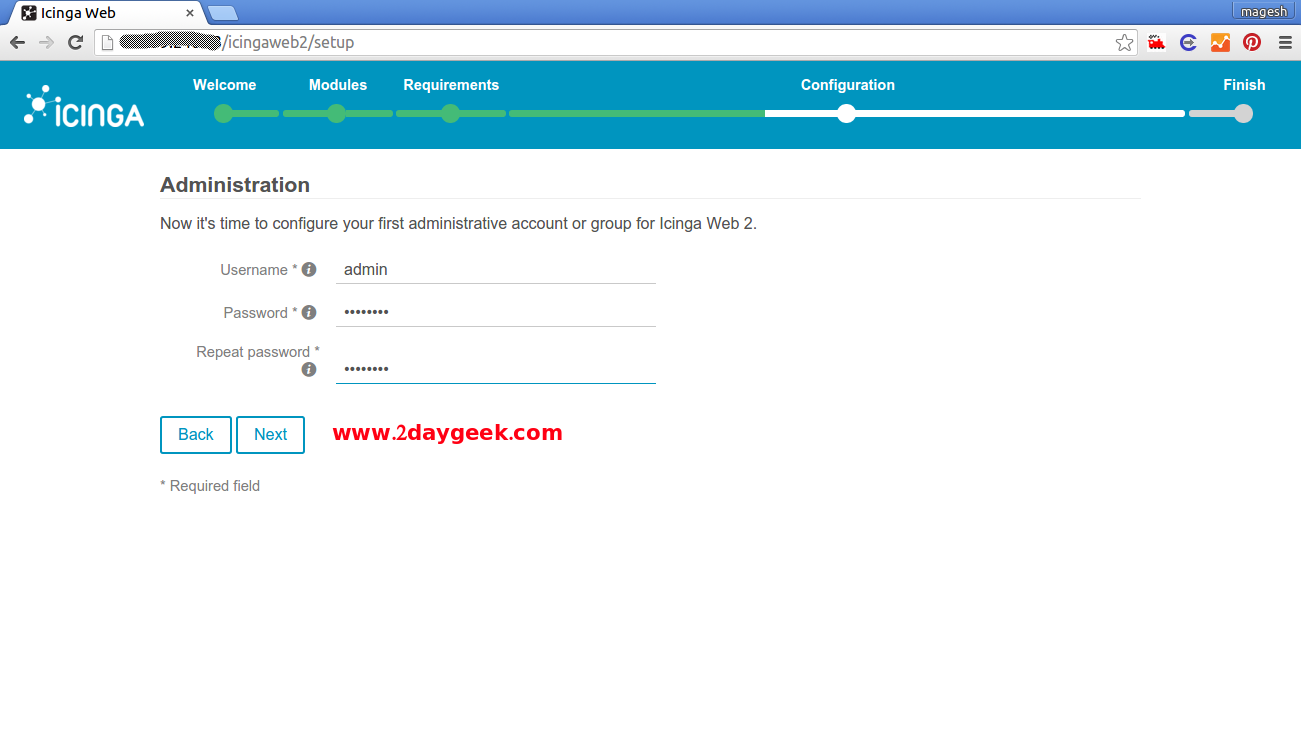
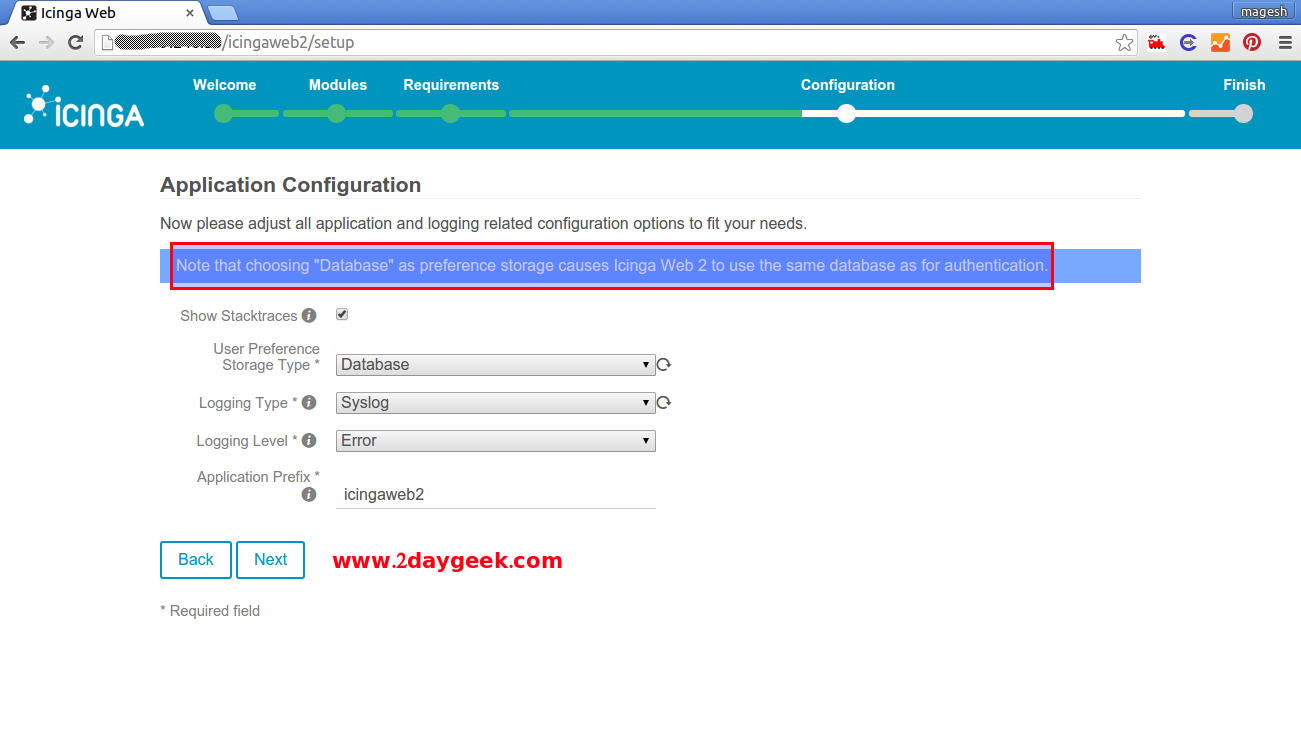
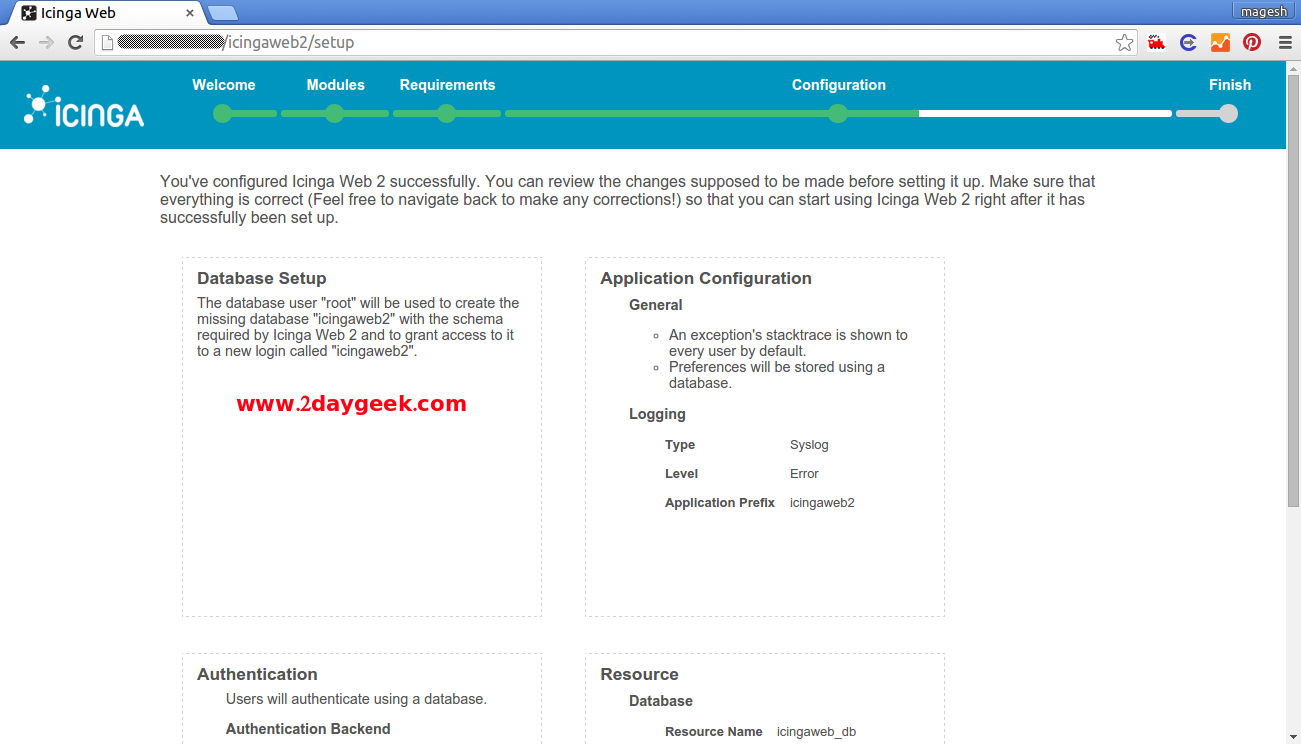
Authentication Backend Choose the icingaweb2 database for backend authentication because we have already selected database for Authentication method. Then hit Next button.

Administrator Account Creation Its time to create Administrator Account to manage Icinga2. Then hit Next button.

Application Configuration Choose the appropriate options to adjust all application and logging related configuration options to fit our needs.

We have successfully configured Icinga Web 2. See the below screen shot. Then hit Next button.

Linux and Unix, Open Source, Linux Howtos


i’m successfully installed icinga2 + web
what’s next step?
Add remote host to monitor.
https://www.2daygeek.com/add-remote-linux-host-on-icinga2-server-to-monitor/
I don’t have experience on that. The belwo link will help you.
https://wiki.icinga.org/display/howtos/Beginner+-+Setting+up+active+directory+authenticationfor+icinga-web
hi!
thank tu for this manuel that present how to configure icingua 2;
please now i need some help to do synchronisation Active directory and this icinga please
how can i do??,
It seem’s Amazon Linux wont have the icingaweb2 & icingacli packages. Also i didn’t get chance to work on Amazon Linux
Loaded plugins: priorities, update-motd, upgrade-helper
No package icingaweb2 available.
No package icingacli available.
Error: Nothing to do
Its in Amazon Linux. Any suggestions?
Super. Very good presentation.
Works exactly as mentioned.
@sathish,
Good to hear, welcome back to 2G Community.
THANK YOU VERY VERY MUCH!
You say to open /etc/icinga2/features-available/ido-pgsql.conf but when using mysql, this should be /etc/icinga2/features-available/ido-mysql.conf
Also, I had to manually create /etc/icingaweb2/modules/monitoring and chgrp it to icingaweb2, and set group write access to it
mkdir /etc/icingaweb2/modules/monitoring
chgrp icingaweb2 /etc/icingaweb2/modules/monitoring
chmod g+w /etc/icingaweb2/modules/monitoring
Suares,
We have mentioned clearly in our article about ido-mysql package, you can check on point no.5
https://www.2daygeek.com/install-icinga2-network-monitoring-tool-on-centos-rhel-fedora-opensuse/