3a) Set MySQL root password
By default Debian based systems will ask for MariaDB root password when you are proceeding installation.
Run mysql_secure_installation command to adjust other settings to make your database more secure such as removing anonymous users, Disallow root login remotely, Remove test database and access & Reload privilege tables.
On RPM based systems wont ask you to set the password while installation but DEB system will ask, that’s why we are giving N for root password section.
[MariaDB Secure installation]
$ sudo mysql_secure_installation

Enter current password for root (enter for none): Enter Your Current Password
OK, successfully used password, moving on...

Set root password? [Y/n] n
 ... skipping.

Remove anonymous users? [Y/n] y
 ... Success!

Disallow root login remotely? [Y/n] y
 ... Success!

Remove test database and access to it? [Y/n] y
 - Dropping test database...
 ... Success!
 - Removing privileges on test database...
 ... Success!

Reload privilege tables now? [Y/n] y
 ... Success!

Cleaning up...

All done!  If you've completed all of the above steps, your MariaDB
installation should now be secure.

Thanks for using MariaDB!
4) Install PHP
Use the below command to install PHP. PHP initially called
Personal Home Page, now it is called asHypertext Preprocessor. PHP is a open-source software which is designed for web development purpose. It is used for server-side scripting language as well as general-purpose programming language.
[Install php5 old systems]
$ sudo apt-get install php5 php5-mysql php5-cli php5-curl php5-gd php5-mcrypt

[Install php7]
$ sudo apt-get install php7.0 php7.0-mysql libapache2-mod-php7.0 php7.0-mbstring php7.0-common php7.0-gd php7.0-mcrypt php-gettext php7.0-curl php7.0-cli
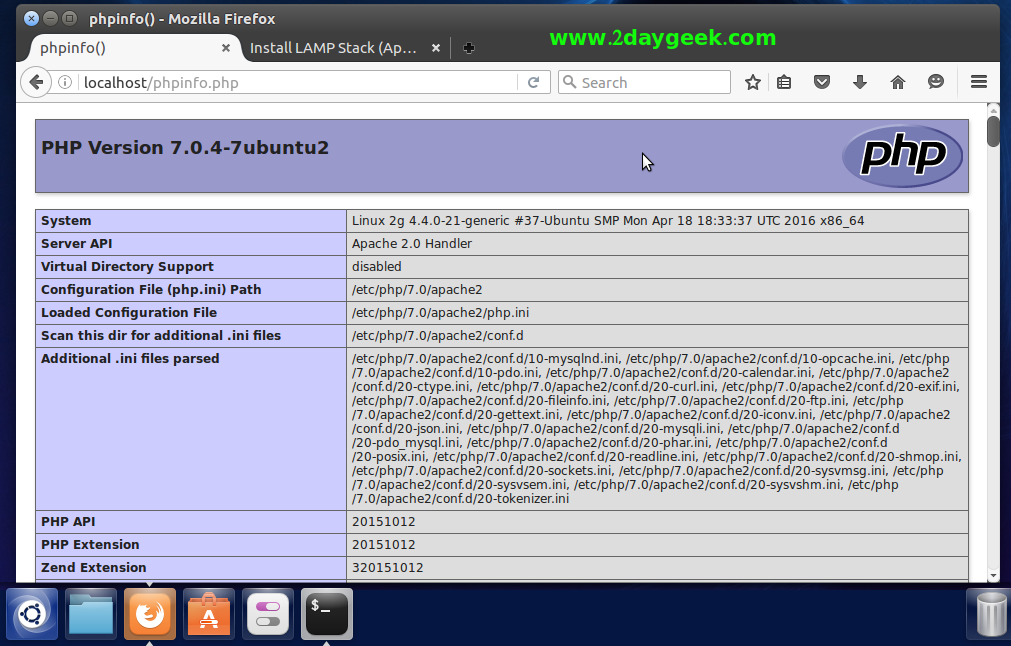
Create test php file to check whether php is working with apache or not.
[Creating php info file]
$ sudo nano /var/www/html/phpinfo.php
<?php phpinfo(); ?>

[Restart apache service]
$ sudo systemctl restart apache2
Open your web browser and navigate to http://localhost/index.php or http://your-server-ip-address/index.php or http://127.0.0.1/index.php
5) Install phpMyAdmin
phpMyAdmin is a free open-source web-based administration tool for managing the MySQL, MariaDB servers which will help us to manage the database easily.
[Install phpMyAdmin]
$ sudo apt-get install phpmyadmin
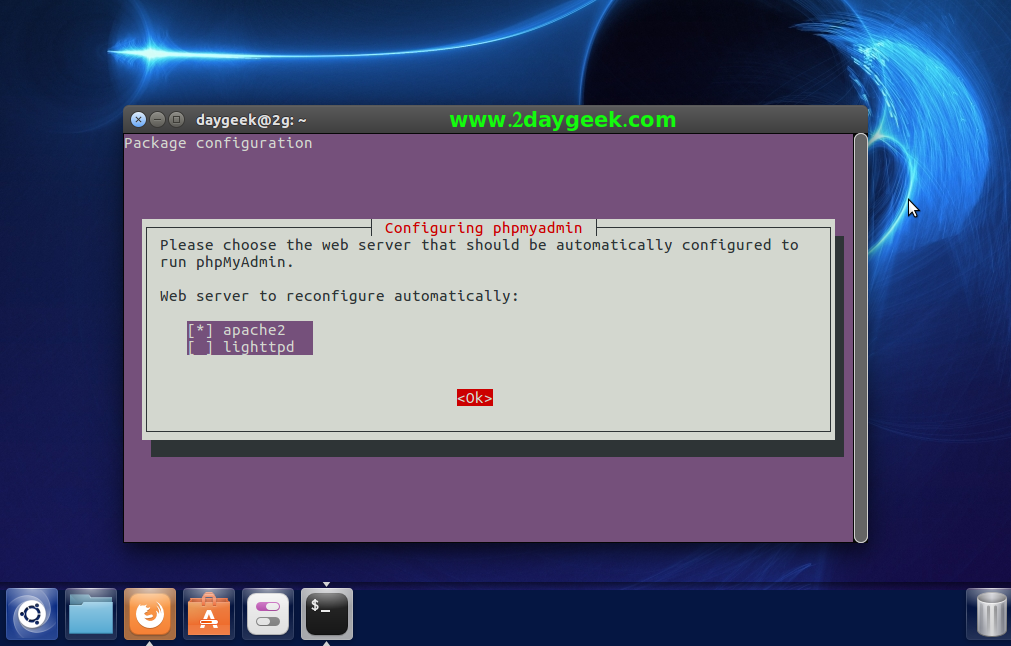
In my case, i’m using so select the webserver to configure phpMyAdmin automatically.
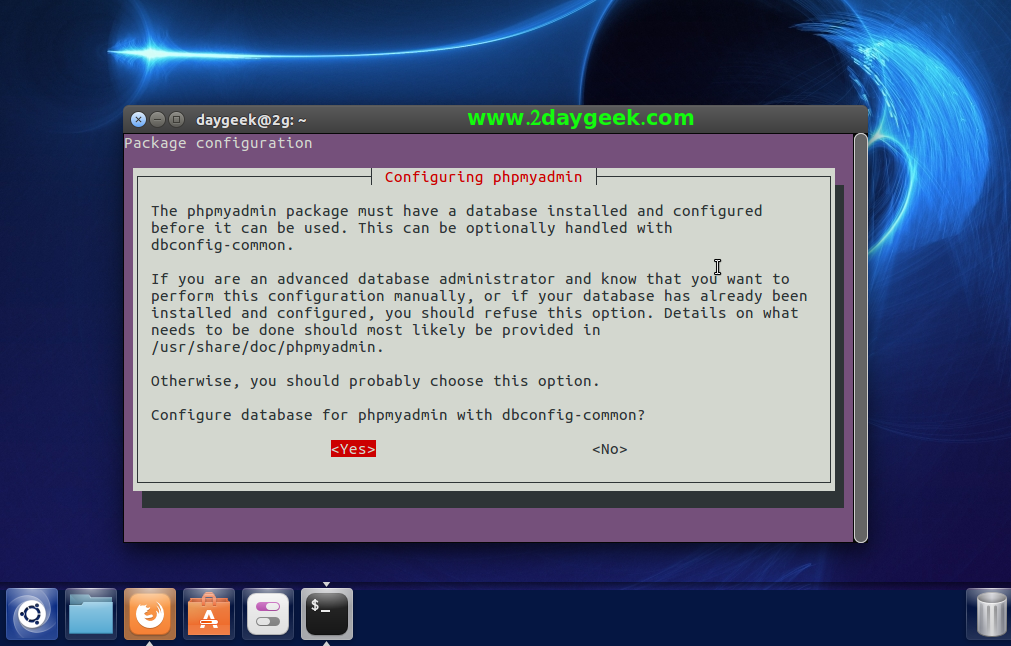
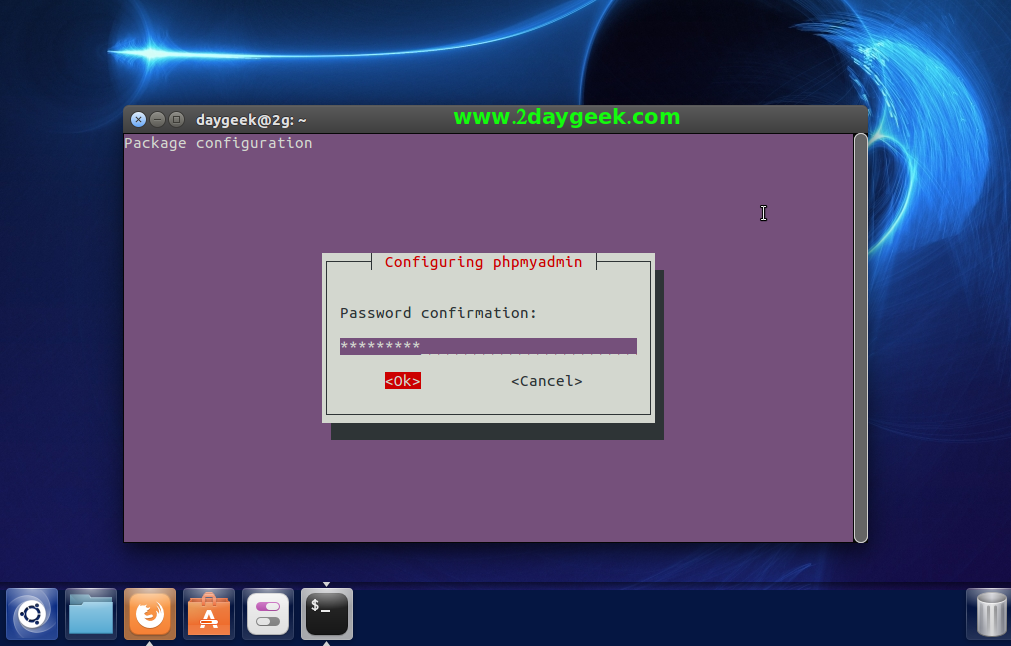
Make sure your system should have database installed (MySQL, MariaDB, etc) before proceeding phpMyAdmin installation. Here choose Yes to configure database for phpmyadmin with dbconfig-common.
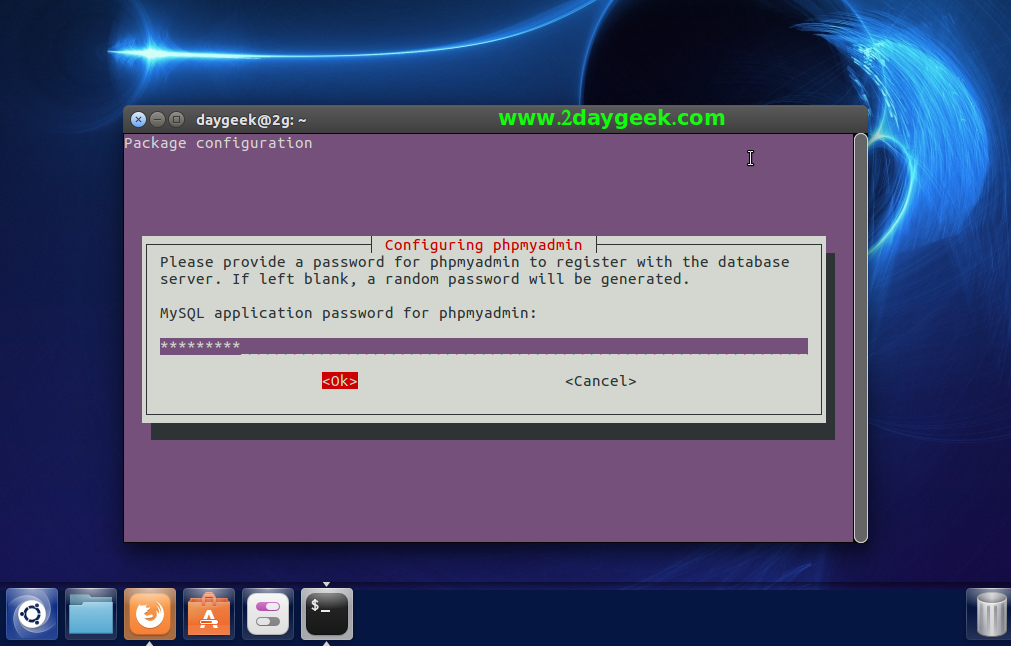
Enter MySQL application password for phpmyadmin:
Re-enter password:
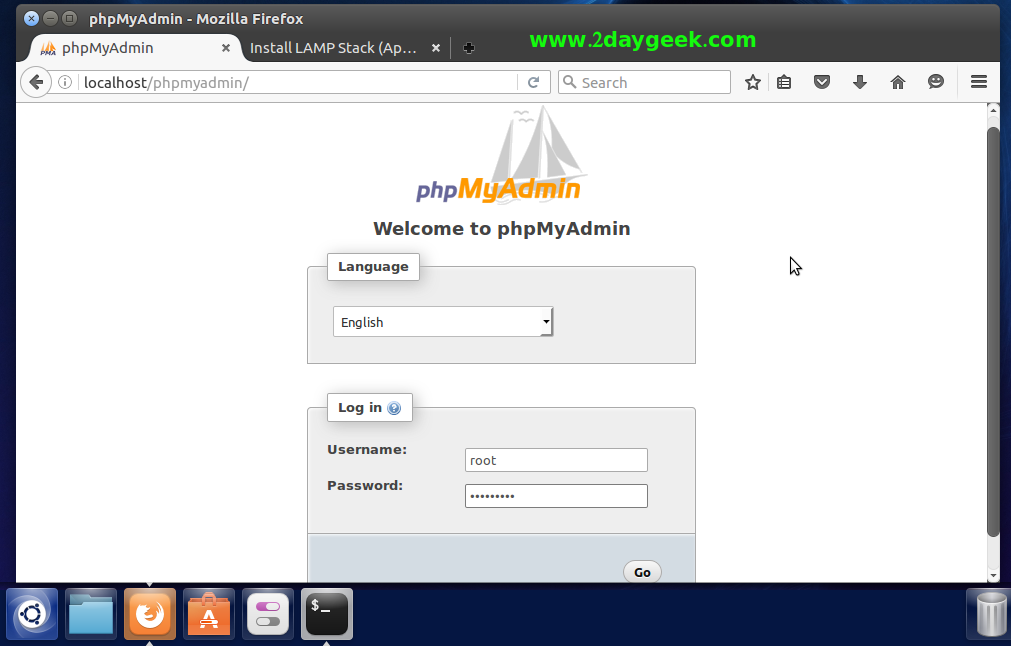
Open your web browser and navigate to http://localhost/phpMyAdmin or http://your-server-ip-address/phpMyAdmin or http://127.0.0.1/phpMyAdmin
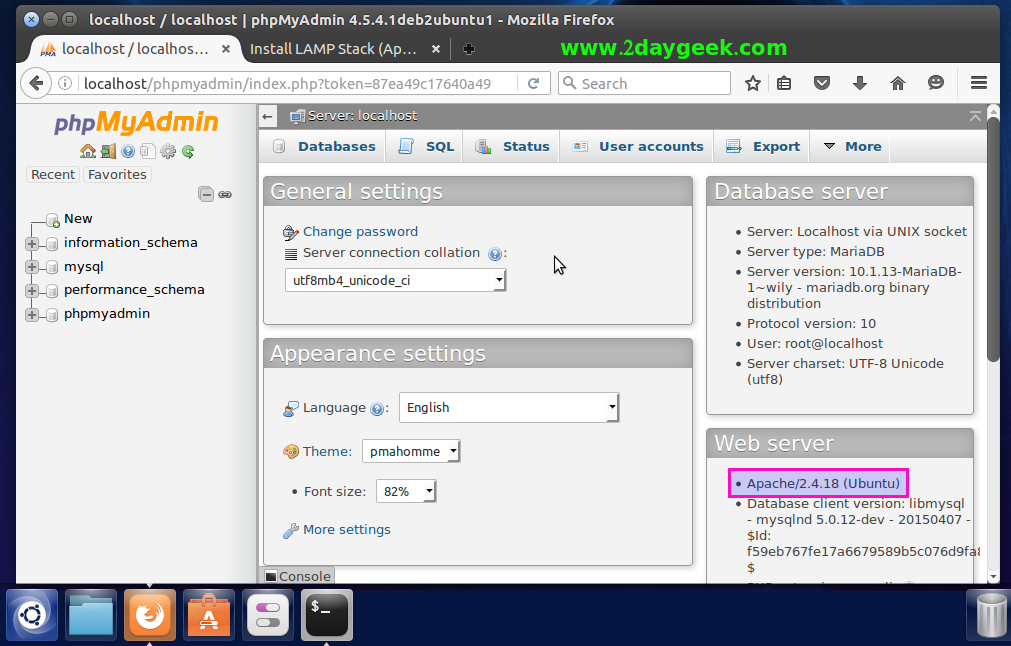
After logged into phpmyadmin you will get the below screen, here you can manage all the databases.
If phpMyAdmin is not working, try the blow trick to make it work.
[Include the phpmyadmin configuration into apache]
$ sudo nano /etc/apache2/apache2.conf
Include /etc/phpmyadmin/apache.conf

[Restart apache service]
$ sudo systemctl restart apache2
If you get 404 Not Found error message, try to reconfigure it. This will have more steps do it properly.

[Reconfigure the phpmyadmin]
$ sudo dpkg-reconfigure -plow phpmyadmin

[Restart apache service]
$ sudo systemctl restart apache2
If the above trick didn’t work, try the below one.
[Include the phpMyAdmin-shipped Apache configuration into Apache]
$ sudo ln -s /etc/phpmyadmin/apache.conf /etc/apache2/conf.d/phpmyadmin.conf

[Reload apache service]
$ sudo /etc/init.d/apache2 reload
We are preparing all articles in-depth to understand by all level/stage Linux administrators. If the article is useful for you, then please spend less than a minute to share your valuable comments in our commenting section.
Please stay tune with us…Good Luck.



T-h-a-n-k-s !
This seems to be like walk in the park procedure .. but for us (newbies) is very handy.
Thanks
Dod
Welcome.