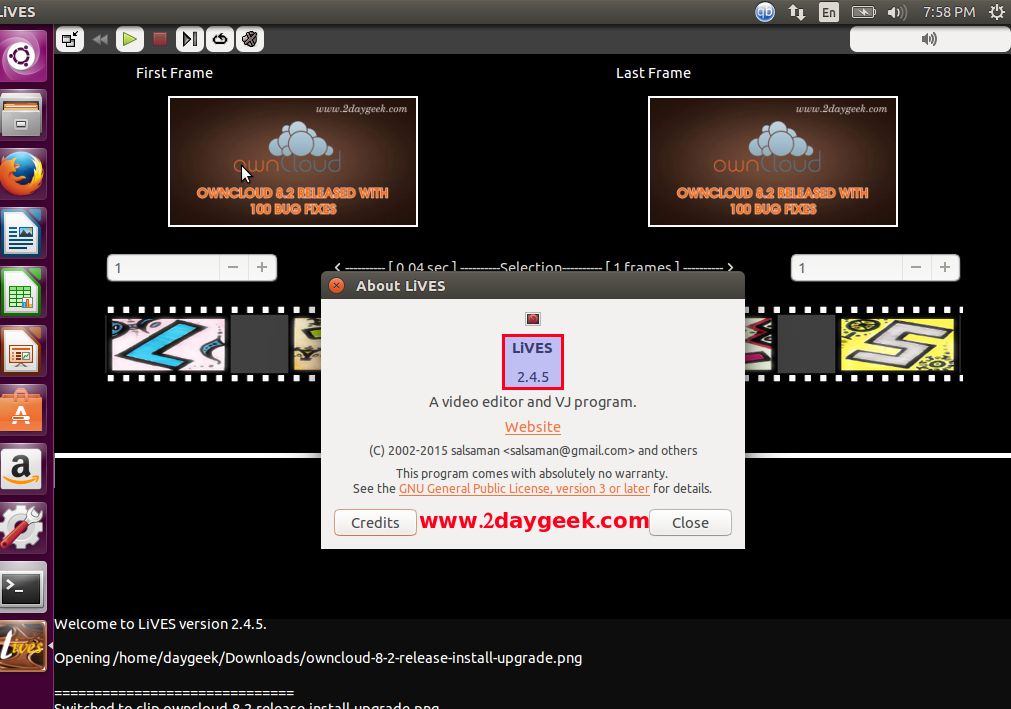
LiVES (LiVES Editing System) is a Free open-source video editing software and VJ tool. The LiVES application allows the user to edit video and add effects which ever you want (you can use dozens of real time effects). It is designed with simple/good GUI which will help us to use simply and having many advanced features. It’s supporting wide range of formats and frames so no need to worry while editing because it is a very flexible tool which is used by both professional VJ’s and video editors in real world. The latest version of LiVES 2.6.0 released on February 01, 2016.
LiVES Features
- Frame and sample accurate editing
- Edit video in realtime or non-realtime
- Works with almost any type of video
- Fully extendable through plugins
- Can be controlled via keyboard, joystick, MIDI or remote network (OSC compatible)
- Integration with pulse audio and jack audio
- Dozens of video effects, both rendered and realtime
- Compatible with various effects framworks: projectM, frei0r, libvisual and LADSPA audio
- Instant previews
- Unlimited video and audio tracks in multitrack mode
- Encoding to over 50 different video types
- Ultra fast save/restore for projects in progress
- Full crash recovery
- VJ keyboard control during playback
- Mix clips and apply effects during playback, as well as changing the speed and direction of play
- Fully multithreaded / multi core for both playback and rendering
- LiVES Home page
1) Install LiVES on Ubuntu/Mint
Just add the below PPA to install latest version of LiVES 2.4.5 to Ubuntu and Derivatives system. This guide will suitable for Ubuntu 15.10, 15.04, 4.10 & 14.04, Linux Mint 17.2, Linux Mint 17.1, Linux Mint 17.
$ sudo add-apt-repository ppa:ubuntuhandbook1/lives
$ sudo apt-get update
$ sudo apt-get install lives
2) Install LiVES on Debian
By Default Lives add in Debian Repository, so Just fire the below command on terminal to install it.
$ sudo apt-get install lives
3) Install LiVES on CentOS & RHEL
You can install Lives on CentOS, RHEL & SL systems by enabling Nux Dextop repository.
# yum install lives
4) Install LiVES on Fedora
You can install Lives on Fedora systems by enabling RPM Fusion repository.
# yum install lives     # Fedora 21 & older #
# dnf install lives     # Fedora 22 & later #
5) Install LiVES on openSUSE
You can install Lives on openSUSE systems by enabling Packman repository.
# zypper install lives
2) Configure LiVES
After launch, do the below basic requirements.
1. Choose the directory which you want to store the LiVES file. Make sure the directory should have enough space.

2. By default this will create the directory called livestmp, if you want to use different directory you can create new one as per your wish.

3. Basic configuration check which will check dependence is available or not. If no, you have to install it.

4. Choose the audio player as per your requirement.

5. Choose the interface as per your requirement whether Basic one or Advance.

6. LiVES Successfully launched, Its time to edit and mix the audio.

Enjoy…)

