Munin is a network resource monitoring tool that can help to analyze resource trends and problems. It is designed to be very plug and play. A default installation provides a lot of graphs with almost no work. Munin 2.0.25 was released on November 24, 2014. If you want to install Munin 2.0.25, add third party backport repository and install it. Also read munin installation on Ubuntu, Debian & Mint systems. Alternatively you can install other network monitoring tools such as Zabbix, Monitorix, Cacti, Nagios & Icinga2.
Munin uses RRDTool and the framework is Perl which was developed by Tobi Oetiker. Munin has a master/node architecture in which the master connects to all the nodes at regular intervals and asks them for data. It then stores the data in RRD files, and (if needed) updates the graphs.
Using Munin you can easily monitor the performance of your computers, networks, servers, services (apache, mysql, dns, harddisk, mail server), SANs, applications, weather measurements, etc…
1) Prerequisites for Munin
Install LAMP Stack & EPEL Repository. By default RHEL based systems don’t have official repository for Munin. So, we need to enable third party repository such as EPEL to get the package.
2) Checking Munin package
Use the below command to Check munin package version.
# yum --enablerepo=epel list munin
munin.noarch                          2.0.25-1.el7                          epel
The output clearly shows my system have latest version of Munin 2.0.25.
3) Install Munin package
Use the below command to install latest Munin package on your system.
# yum --enablerepo=epel install munin
4) Munin Configuration part-1
Made below necessary changes to appropriate configuration file.
# Uncomment below lines to /etc/munin/munin.conf #
# nano /etc/munin/munin.conf

dbdir /var/lib/munin
htmldir /var/www/html/munin
logdir /var/log/munin
rundir  /var/run/munin
tmpldir /etc/munin/templates
[CentOS.2daygeek.com]
    address 127.0.0.1
    use_node_name yes
- dbdir : It contains all the rrdfiles.
- htmldir : It stores all the images and site files.
- logdir : It contains all the logs.
- rundir : It contains all the state files.
- tmpldir : It contains lot of predefined templates which were ready to use with slight modification.
- localhost.localdomain : Add your hostname here.
4a) Munin Configuration part-2
Made below necessary changes to appropriate configuration file. If any line is not there add it according that.
# Uncomment below lines to /etc/httpd/conf.d/munin.conf #
# nano /etc/httpd/conf.d/munin.conf

Alias /munin /var/www/html/munin
<Directory /var/www/html/munin>
       Order allow,deny
       Allow from all
       Options None
       AllowOverride None

       AuthUserFile /etc/munin/munin-htpasswd
       AuthName "Munin"
       AuthType Basic
       require valid-user

       <ifmodule mod_expires.c="">
               ExpiresActive On
               ExpiresDefault M310
      </ifmodule>
</Directory>

# Set password for munin user #
# htpasswd -c /etc/munin/munin-htpasswd munin

# For SysVinit Systems #
# service httpd restart
# service munin restart

# For systemd Systems #
# systemctl restart httpd.service
# systemctl start munin.service
5) Access Munin Web Interface
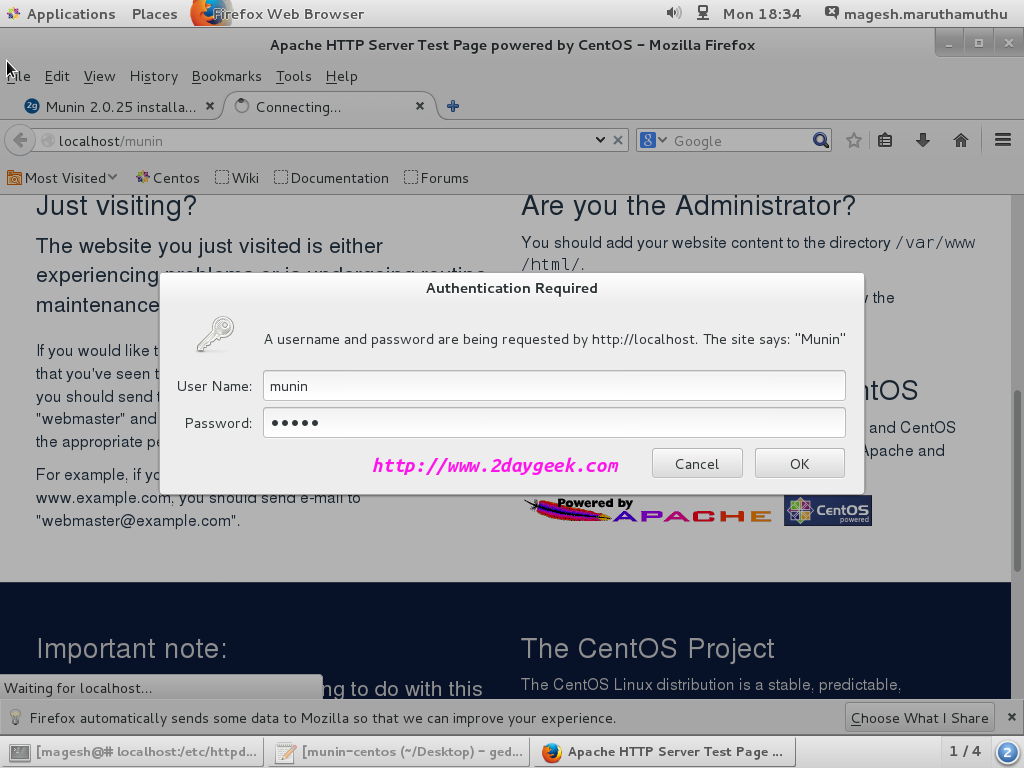
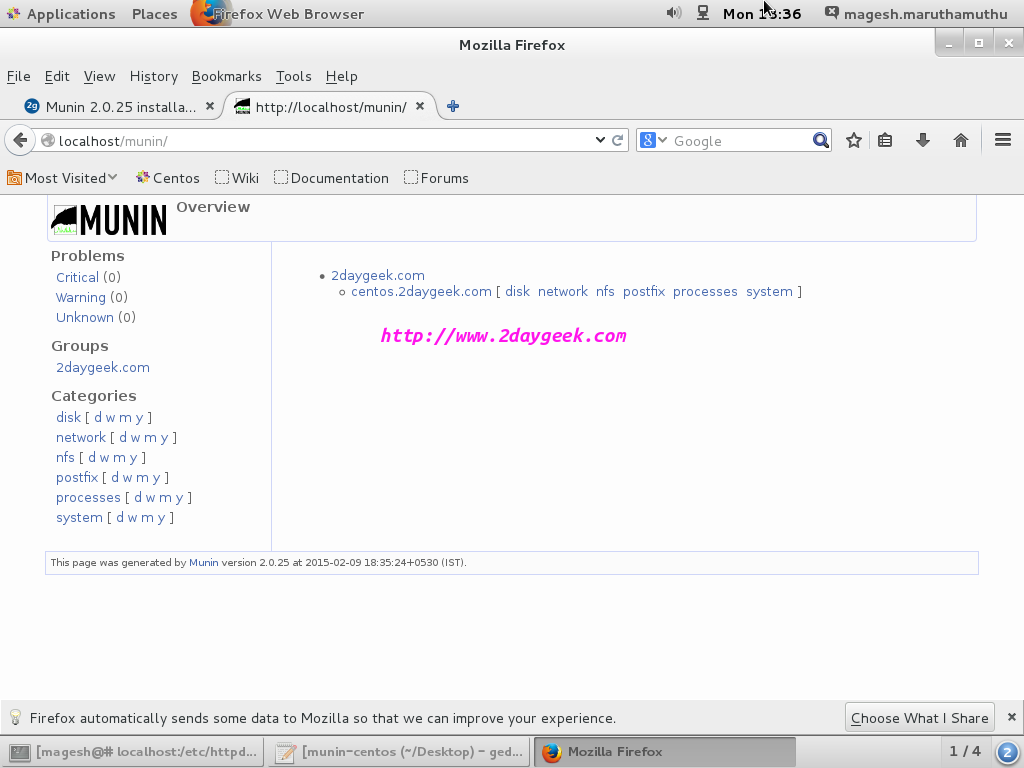
Navigate your browser to http://localhost/munin or http://IP-Address/munin or http://Domain-Name/munin and enter the Username and Password which you created.

Munin Home Page

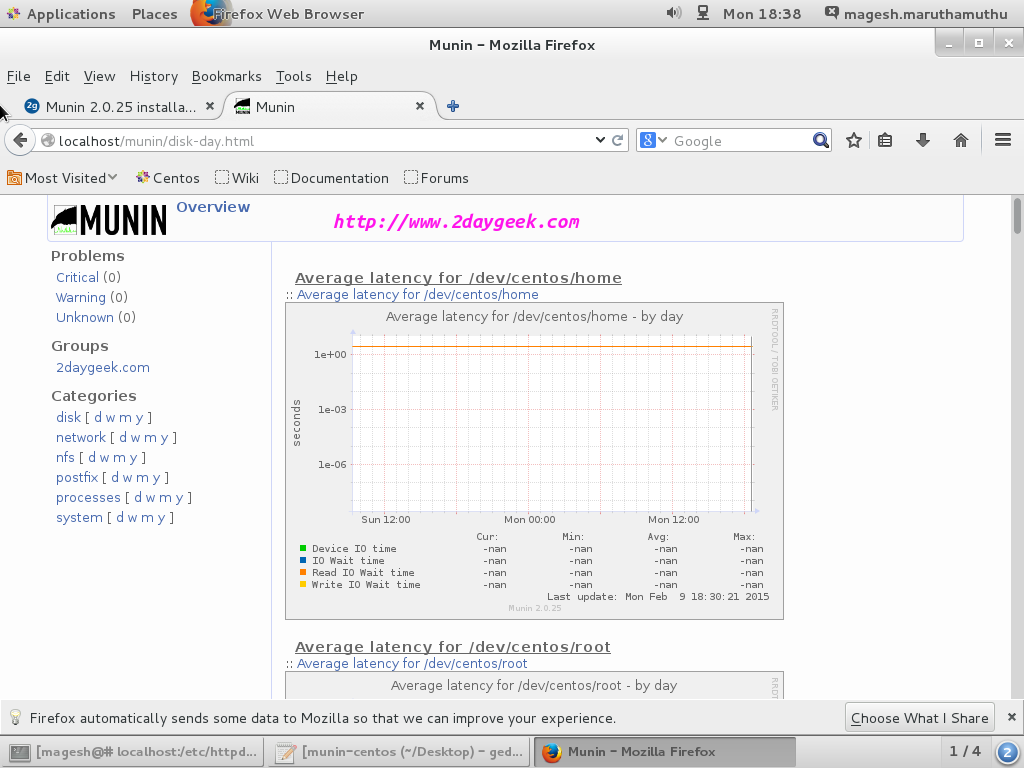
You can see all the service usage, I’m going to view Disk usage.

Refer Munin official documents for complete details.


