Nagios is the most popular open source system monitoring, network monitoring and IT infrastructure monitoring software, which prevents complex problems in the IT infrastructure and runs smoothly without any problems.
It monitors the entire IT infrastructure, such as servers, switches, applications, network and services, alerts when there is any malfunction, and sends recovery alerts when the issue is resolved.
Alternatively you can install other network monitoring tools such as Zabbix, Cacti, Monitorix, Munin and Icinga2.
Nagios Features
- You can monitor the entire IT infrastructure
- Alerts can be send via email and SMS
- Event handlers can automatically restart failed applications if problems are detected.
- Generate Availability reports and historical reports
1) Install Prerequisites for Nagios
The following prerequisite packages must be installed before proceeding with the Nagios Core installation.
For RHEL/CentOS 6/7 systems, use the yum command to install it.
# yum install -y gcc glibc glibc-common wget unzip httpd php gd gd-devel perl postfix
For RHEL/CentOS 8 and Fedora systems, use the dnf command to install it.
# dnf install -y gcc glibc glibc-common perl httpd php wget gd gd-devel
2) How to Install Nagios
Download, compile and install the latest version of Nagios using the wget command.
# wget https://sourceforge.net/projects/nagios/files/nagios-4.x/nagios-4.4.6/nagios-4.4.6.tar.gz
# tar xzf nagios-4.4.6.tar.gz
# cd nagios-4.4.6
# ./configure
# make all
3) Create User and Group for Nagios
The below script generates a new user account and a group for nagios as nagios. Also, add the Apache user to the Nagios group.
# make install-groups-users
# usermod -a -G nagios apache
4) Install the Required Nagios Binaries
Run the below command to install Nagios binaries files, CGIs, and HTML files.
# make install
This command installs the service/daemon for Nagios.
# make install-daemoninit
This command installs and configures the external command file.
# make install-commandmode
This command installs the sample Configuration Files
# make install-config
This command installs the Apache web server configuration files.
# make install-webconf
This command installs the classic theme for the Nagios web interface.
# make install-classicui
This command installs the Exfoliation theme for the Nagios web interface.
# make install-exfoliation
5) Configure Apache Authentication
The following command will create a new user account called “nagiosadmin” and will prompt you to provide the password for the account.
This login credential allows you to access the nagios web interface. You can easily reset nagiosadmin password if you forgot them.
# htpasswd -c /usr/local/nagios/etc/htpasswd.users nagiosadmin
6) Configure Firewall
Configure the firewall to allow tcp port 80 to access the Nagios Core web interface.
Configure iptables if you are using Red Hat 6 based systems.
# iptables -I INPUT -p tcp --destination-port 80 -j ACCEPT
# service iptables save
Configure firewalld if you are using Red Hat 7/8 based systems and Fedora.
# firewall-cmd --zone=public --add-port=80/tcp --permanent
# firewall-cmd --reload
7) Start the Necessary Services
Run the following commands to start and enable the Apache Web Server.
For RHEL/CentOS 6 systems.
# service httpd start
# chkconfig --level 2345 httpd on
For RHEL/CentOS 7/8 systems and Fedora.
# systemctl start httpd.service
# systemctl enable httpd.service
Check the status of the Nagios configuration file before starting Nagios. If you find any problem, fix them accordingly. If not, start the Nagios service.
# /usr/local/nagios/bin/nagios -v /usr/local/nagios/etc/nagios.cfg
Start and Enable Nagios.
For RHEL/CentOS 6 based systems.
# service nagios start
# chkconfig --level 2345 nagios on
For RHEL/CentOS 7/8 based systems and Fedora.
# systemctl start nagios.service
# systemctl enable nagios.service
To receive the alert, please update your email ID in the below configuration file.
# vi /usr/local/nagios/etc/objects/contacts.cfg
email  magesh@2daygeek.com
8) Modify SELinux Settings
Instead of disabling SELinux, use the following command to run CGIs under SELinux enforcement mode.
# chcon -R -t httpd_sys_content_t /usr/local/nagios/sbin/
# chcon -R -t httpd_sys_content_t /usr/local/nagios/share/
9) Compile and Install Nagios Plugins
After the Nagios Core installation, you will need to install the latest Nagios plugins to run the Nagios Core properly.
The following steps install most of the plugins that come in the Nagios Plugins package.
You may need to run the EPEL repository for Enterprise Linux because some packages may not be available in the distribution official repository.
10) Install Prerequisites for Nagios plugin
For RHEL/CentOS 6/7 systems.
# yum install -y gcc glibc glibc-common make gettext automake autoconf wget openssl-devel net-snmp net-snmp-utils perl-Net-SNMP
For RHEL 8 based systems and Fedora.
# yum install -y gcc glibc glibc-common make gettext automake autoconf wget openssl-devel net-snmp net-snmp-utils
yum install -y perl-Net-SNMP
Download and install the nagios plugin.
# cd /tmp
# wget --no-check-certificate http://nagios-plugins.org/download/nagios-plugins-2.3.3.tar.gz
# tar zxf nagios-plugins-2.3.3.tar.gz
# cd nagios-plugins-2.3.3/
# ./tools/setup
# ./configure --with-nagios-user=nagios --with-nagios-group=nagios
# make
# make install
11) Access Nagios Web Interface
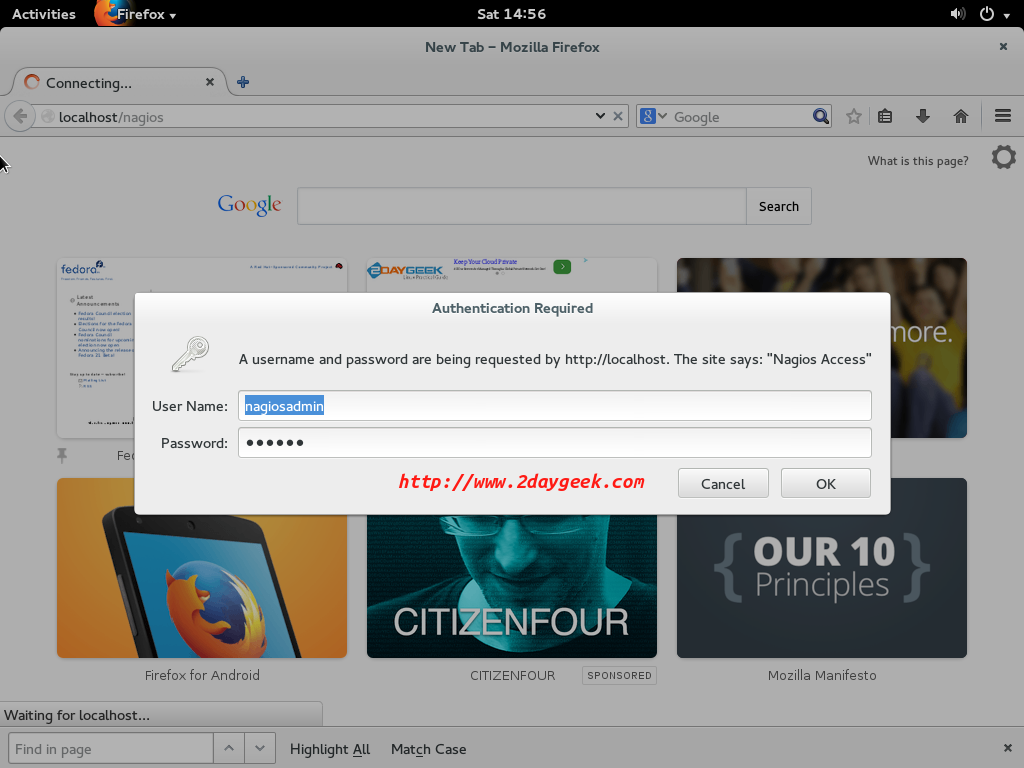
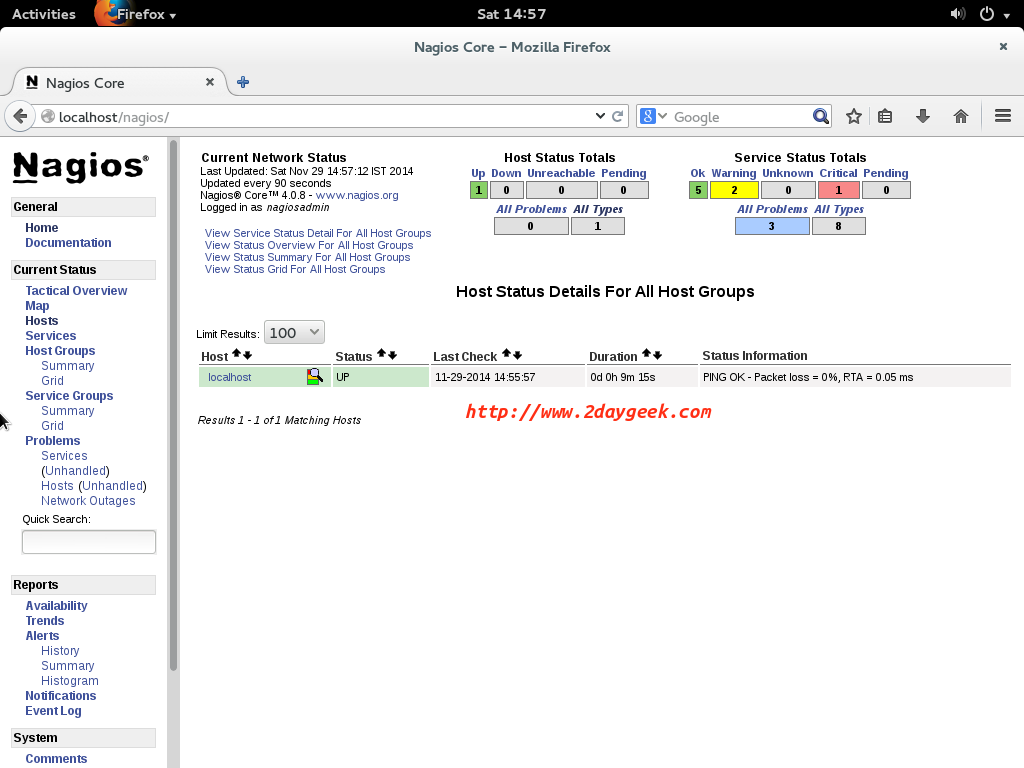
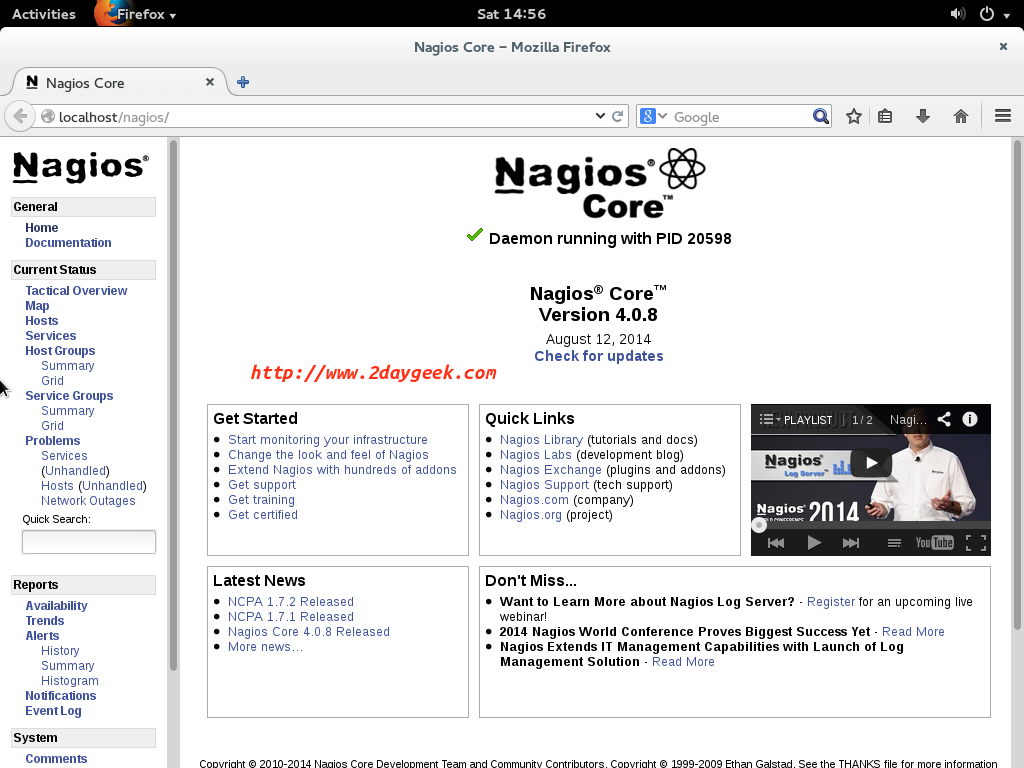
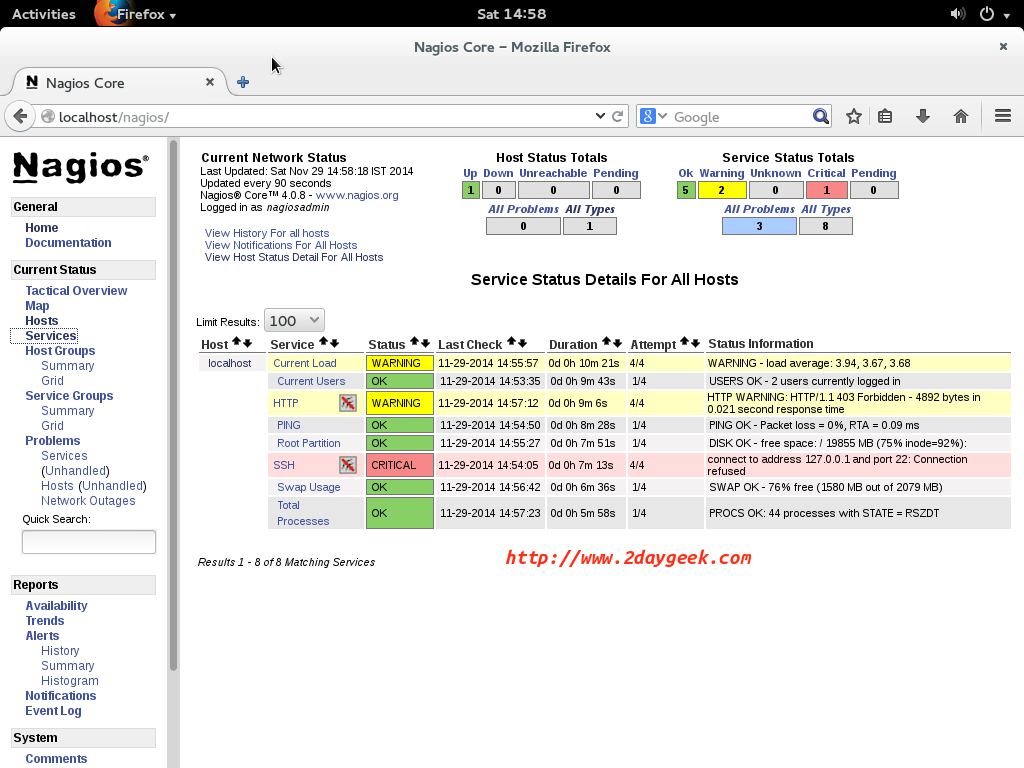
Point your browser to the http://IP-Address/nagios or http://Domain-Name/nagios of your Nagios Core server and enter username “nagiosadmin” and password which you created to access it.

Host list: By default Nagios monitors himself and you can add any number of hosts according to your needs.

- Nagios Installation and Configuration Official Reference link
Manage your IT infrastructure with Nagios and minimize downtime … Stay tune with us and we will come up with new topics soon.


need the details steps to configure email alert from nagios server.
@Abhijit Das,
Take a look into point “5) Customize Configuration” for email alert.