phpMyAdmin is a free open source software tool written in PHP which brings MySQL to the web. In this article i’m going to explain how to install phpmyadmin in centos 7 on LLMP stack. Make sure you have installed LLMP stack before proceeding with phpMyAdmin installation.
1) Enable EPEL Repository
By default RHEL/CentOS does not support the phpMyAdmin package. So, you need to enable EPEL Repository to get the latest version of phpMyAdmin. Follow the link to Enable EPEL Repository.
2) Install phpMyAdmin
Use the below command to install phpMyAdmin.
root@server [~]# yum install phpMyAdmin
3) Configure phpMyAdmin
Create a symbolic link between phpMyAdmin and web server root directory in-order to access it. I used lighttpd so the command should be.
# Symbolic link creation #
root@server [~]# sudo ln -s /usr/share/phpmyadmin/ /var/www/lighttpd/

# Restart lighttpd #
root@server [~]# systemctl restart lighttpd.service
4) Error
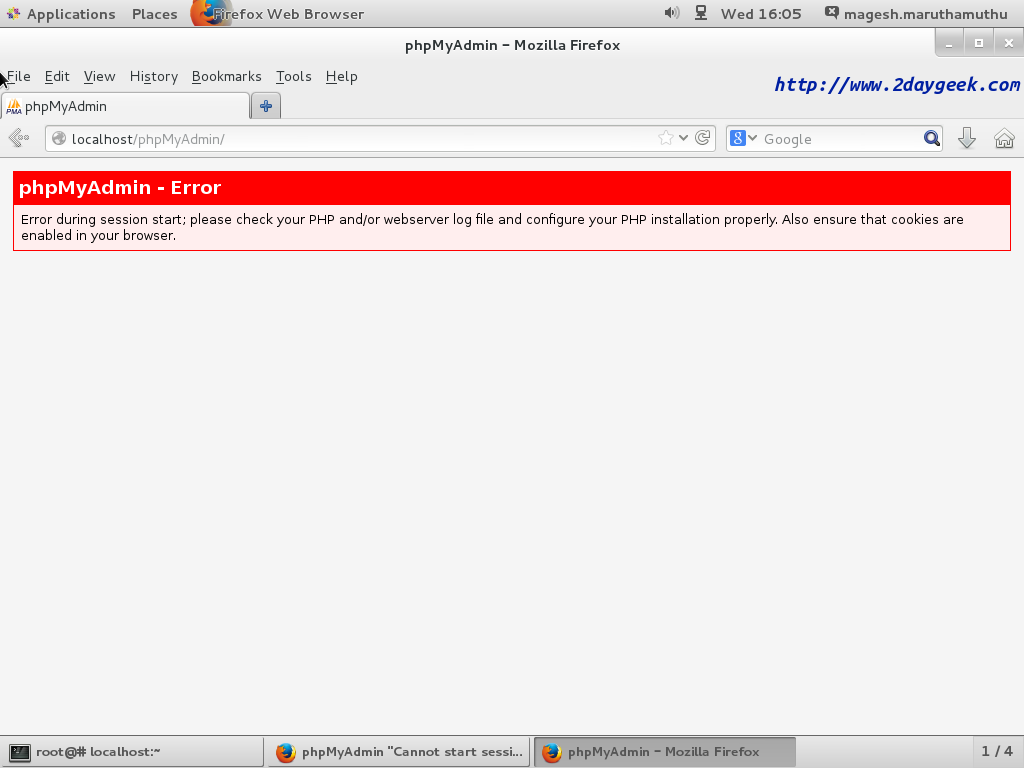
While accessing phpMyAdmin, if you got below error. Change the session folder permission to 777 by default its 770
# Session folder default permission #
root@server [~]# ls -lh
drwxrwx---. 2 root apache 6 Oct 31 18:32 session

# Set 777 permission to Session folder #
root@server [~]# chmod 777 /var/lib/php/session/
root@server [~]# ls -lh
drwxrwxrwx. 2 root apache 50 Nov 12 16:00 session
5) Accessing phpMyAdmin
Open your web browser and navigate to http://localhost/phpmyadmin or http://your-server-ip-address/phpmyadmin or http://127.0.0.1/phpmyadmin
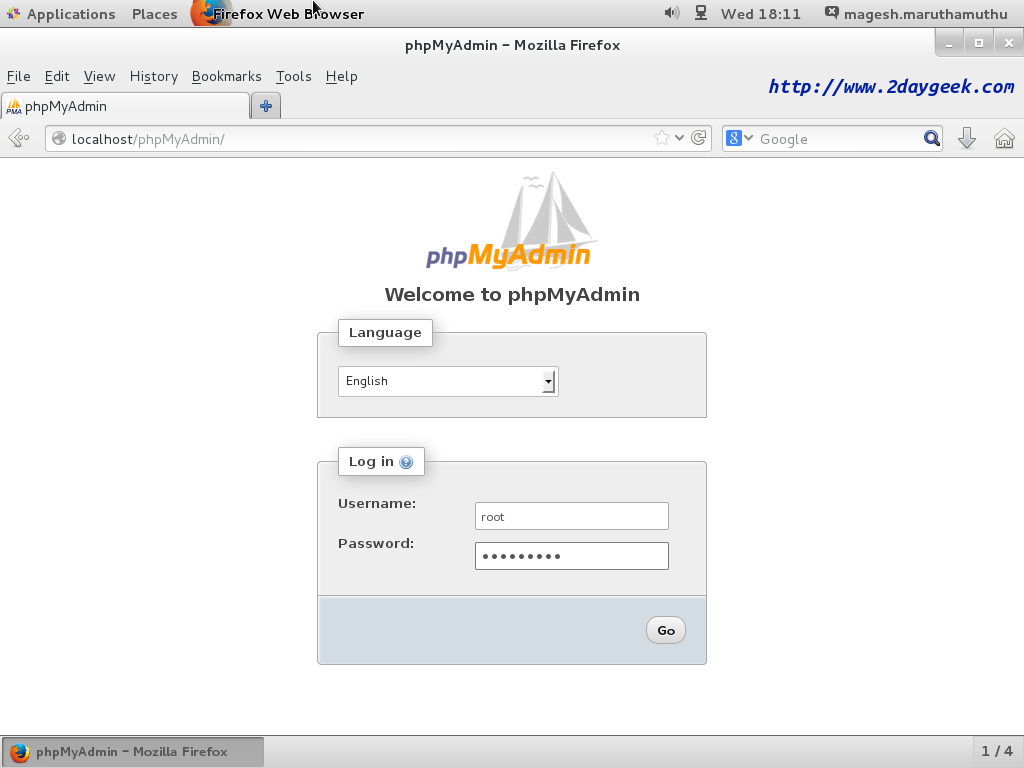
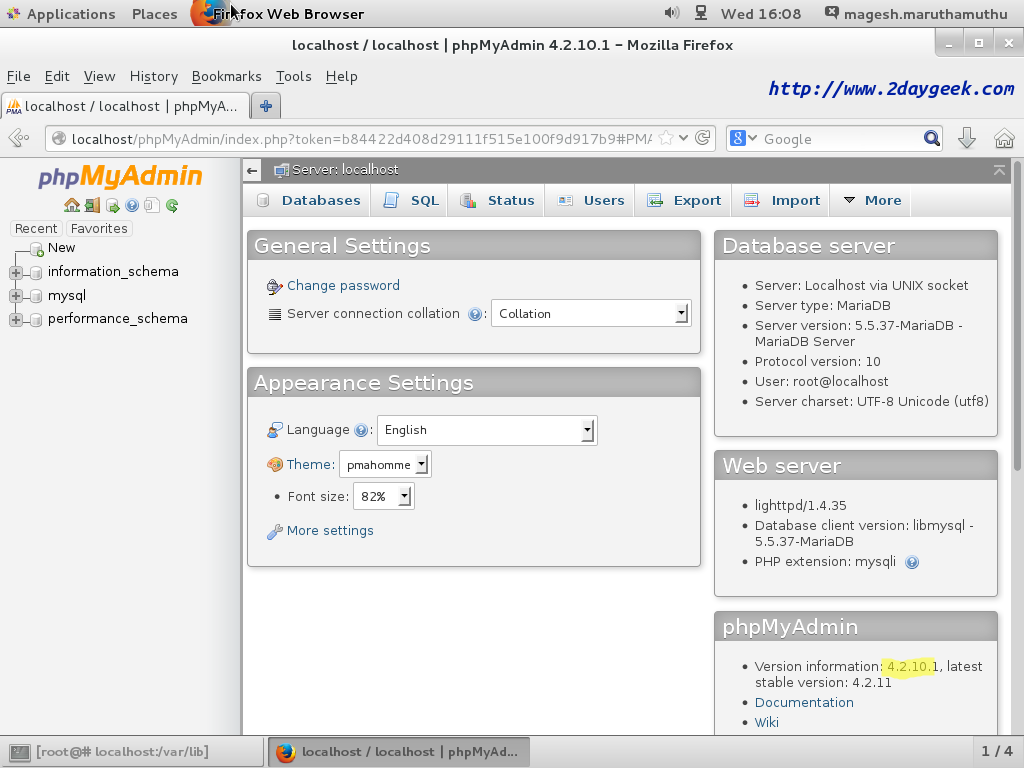
And Enter your MySQL database user name & password to access it.
We prepare all the articles in-depth so that all level/stage Linux administrators are able to understand. And so if the article was useful for you, then please spend less than a minute to share your valuable comments in our commenting section.
Please stay tuned with us…Good Luck!!

