Vesta is a free, open source Web Hosting Control Panel which will have rich features to manage VPS (Virtual Private Server) environment and not much suitable for Dedicated server environment as per my opinion because there is no default file manager and we need to buy the module separately apart from that everything is good. Who want to reduce licensing cost i can advise them to go-ahead with Vesta control panel to manage their web site. Multi language support, Easy to use, Fast & Secure. You can easily upgrade to latest version by 1 click also you can enable auto update. Alternatively we can try other Web Hosting Control Panels too.
By default Vesta will install all required services such as (Apache, Nginx, Database, mail server, dns, php & webalizer, etc..,) which will necessary for hosting environment. Overall Vesta interface is too good and responsive one, we can get all the options on mouse over effects, so it customized nicely and consuming very less memory and CPU. The latest version of Vesta 0.9.8-15 released on November 06, 2015.
Vesta Features
- Nginx web server as light front-end
- Apache web server as application back-end
- Exim mail server
- SpamAssassin antispam solution
- ClamAV antivirus engine
- Dovecot IMAP/POP3 server
- VsFTPD ftp server
- MySQL database server
- PHP popular web scripting language
- Webalizer web site log analysis tool
- AWStats web site log analysis tool
- RoundCube modern webmail client
- phpMyAdmin mysql database management tool
- RRDtool system graphs
- Backup/Restore
- PostgreSQL database server
- ProFTPD alternative ftp server
- Python powerful programming language
- Monit proactive monitoring tool
- SquirrelMail alternative webmail client
- phpPgAdmin postgresql database management tool
1) Prerequisites
- Set Proper & fully qualified Hostname
- Set Static IP
- fresh installation of CentOS/RHEL 5.x,6.x & 7.x
- fresh installation of Ubuntu 12.04 to 15.10
- fresh installation of Debian 6,7 & 8
- 1024 MB RAM (recommended) & 5GB Hard Drive
2) Install Vesta on Linux
We can easily install Vesta Web Hosting Control panel to Debian, Ubuntu, Mint, RHEL & CentOS using below method, which will take hardly 15-20 mins. Just fire the below command and sit back.
[CentOS, RHEL, Debian, Ubuntu & Mint]
# curl -O http://vestacp.com/pub/vst-install.sh
# bash vst-install.sh
After executing the Vesta installation shell script. The script will list the packages which are going to install, Then enter y.
--2016-03-17 14:01:08--  http://vestacp.com/pub/vst-install-rhel.sh
Resolving vestacp.com (vestacp.com)... 104.236.66.100
Connecting to vestacp.com (vestacp.com)|104.236.66.100|:80... connected.
HTTP request sent, awaiting response... 200 OK
Length: 44148 (43K) [text/plain]
Saving to: âvst-install-rhel.shâ

100%[====================================================================================================>] 44,148      --.-K/s   in 0.02s

2016-03-17 14:01:09 (2.14 MB/s) - âvst-install-rhel.shâ saved [44148/44148]

 _|      _|  _|_|_|_|    _|_|_|  _|_|_|_|_|    _|_|
 _|      _|  _|        _|            _|      _|    _|
 _|      _|  _|_|_|      _|_|        _|      _|_|_|_|
   _|  _|    _|              _|      _|      _|    _|
     _|      _|_|_|_|  _|_|_|        _|      _|    _|

                                  Vesta Control Panel

Following software will be installed on your system:
   - Nginx Web Server
   - Apache Web Server (as backend)
   - Bind DNS Server
   - Exim mail server
   - Dovecot POP3/IMAP Server
   - MariaDB Database Server
   - Vsftpd FTP Server
   - Iptables Firewall + Fail2Ban

Would you like to continue [y/n]: y
Post to that it will ask you two details admin email id admin@2daygeek.com and HostName by default it can take the hostname, press Enter to confirm & initiate the installation.
Please enter admin email address: admin@2daygeek.com
Please enter FQDN hostname [server.2daygeek.com]: Enter
You have successfully installed Vesta Control Panel, Just not down the login credential.
Installation backup directory: /root/vst_install_backups/1458237738

Installation will take about 15 minutes ...

Loaded plugins: fastestmirror
Loading mirror speeds from cached hostfile
.
.
.
2016-03-17 14:04:41 (53.1 MB/s) - âfail2ban.tar.gzâ saved [693/693]

Note: Forwarding request to 'systemctl enable fail2ban.service'.
Created symlink from /etc/systemd/system/multi-user.target.wants/fail2ban.service to /usr/lib/systemd/system/fail2ban.service.
Redirecting to /bin/systemctl start  fail2ban.service
Note: Forwarding request to 'systemctl enable iptables.service'.
Created symlink from /etc/systemd/system/basic.target.wants/iptables.service to /usr/lib/systemd/system/iptables.service.
Note: Forwarding request to 'systemctl enable iptables.service'.
Redirecting to /bin/systemctl restart  crond.service
Starting vesta (via systemctl):                            [  OK  ]
=======================================================

 _|      _|  _|_|_|_|    _|_|_|  _|_|_|_|_|    _|_|
 _|      _|  _|        _|            _|      _|    _|
 _|      _|  _|_|_|      _|_|        _|      _|_|_|_|
   _|  _|    _|              _|      _|      _|    _|
     _|      _|_|_|_|  _|_|_|        _|      _|    _|

Congratulations, you have just successfully installed Vesta Control Panel


    https://server.2daygeek.com:8083
    username: admin
    password: xxxxxxxxxx


We hope that you enjoy your installation of Vesta. Please feel free to contact us anytime if you have any questions.
Thank you.
--
Sincerely yours
vestacp.com team
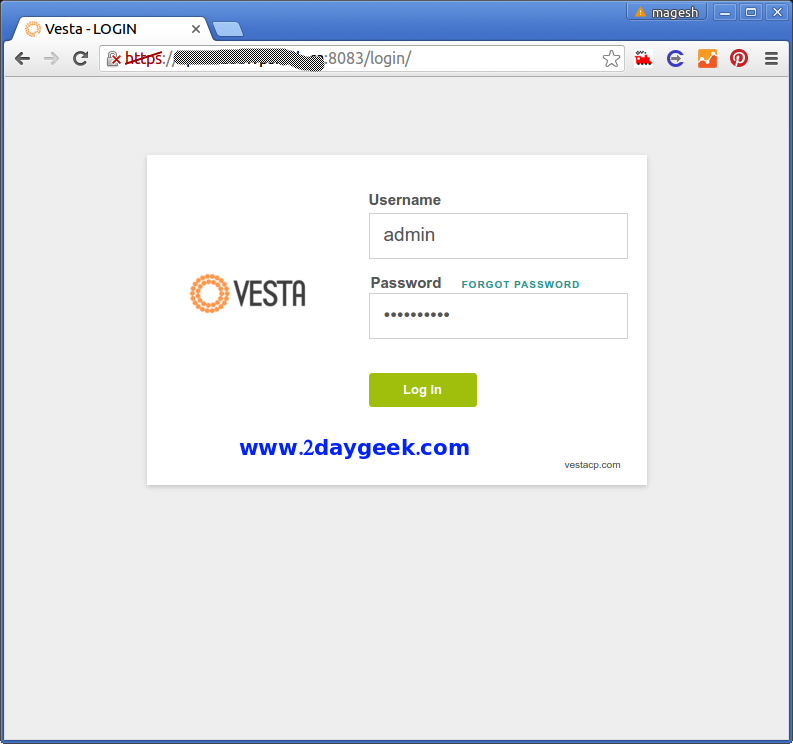
Navigate your web browser to https://your_server_ip:8083/ or https://your_hostname:8083/ and enter the login credential.
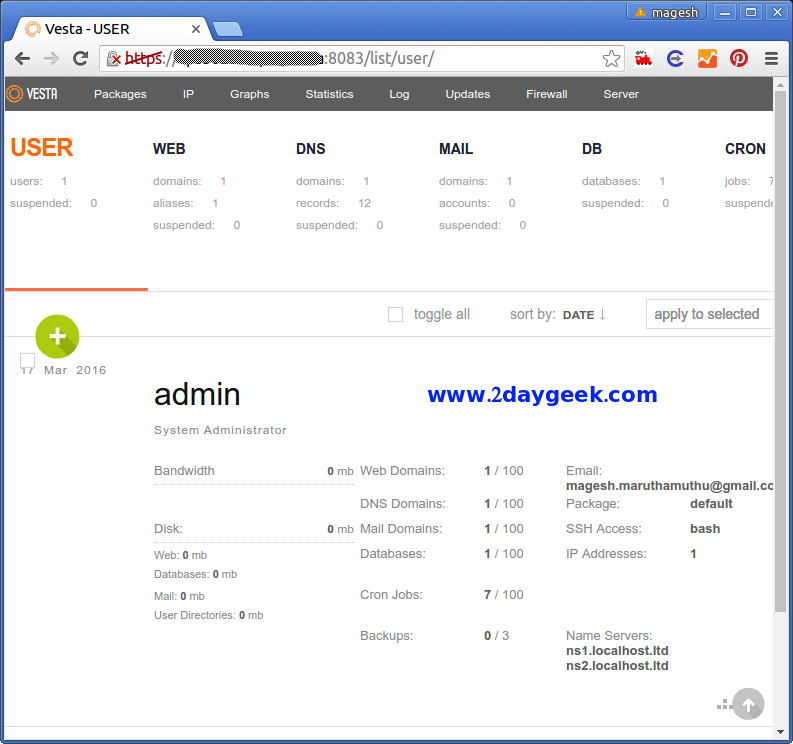
See the Vesta Control Panel Dashboard.
3) Setup Vesta to host domain
We need to configure below mandatory things on Vesta to make it for Production environment.
- Setup nameservers
- Setup shared ip (must be your public IP address)
- Setup at least one hosting package (or edit default package)
- Setup root email
- Adjust Firewall settings
- Add New Domain
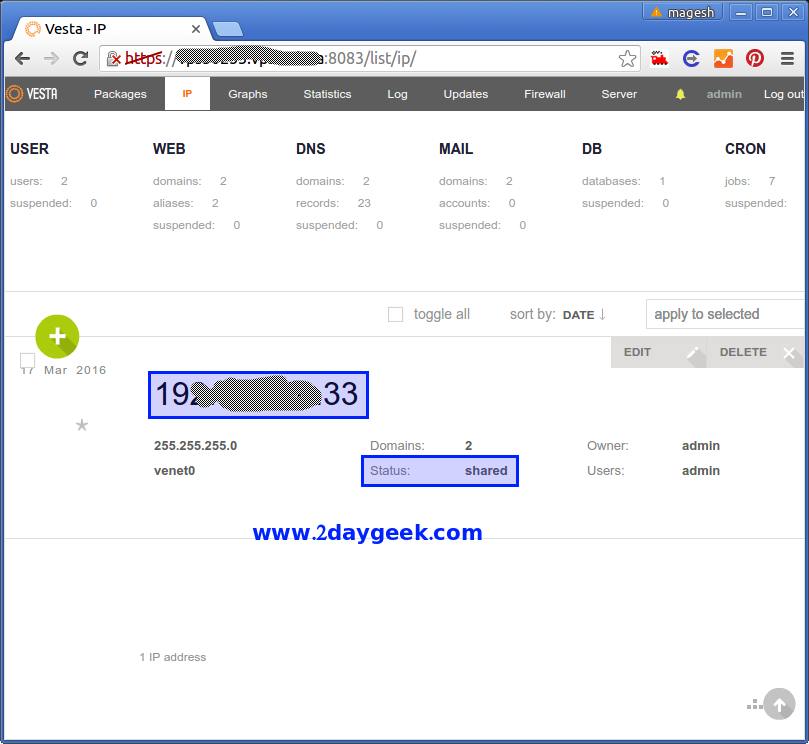
Setup Shared IP : Navigate to IP >> Edit >> Enter your IP & Tick check box, then save
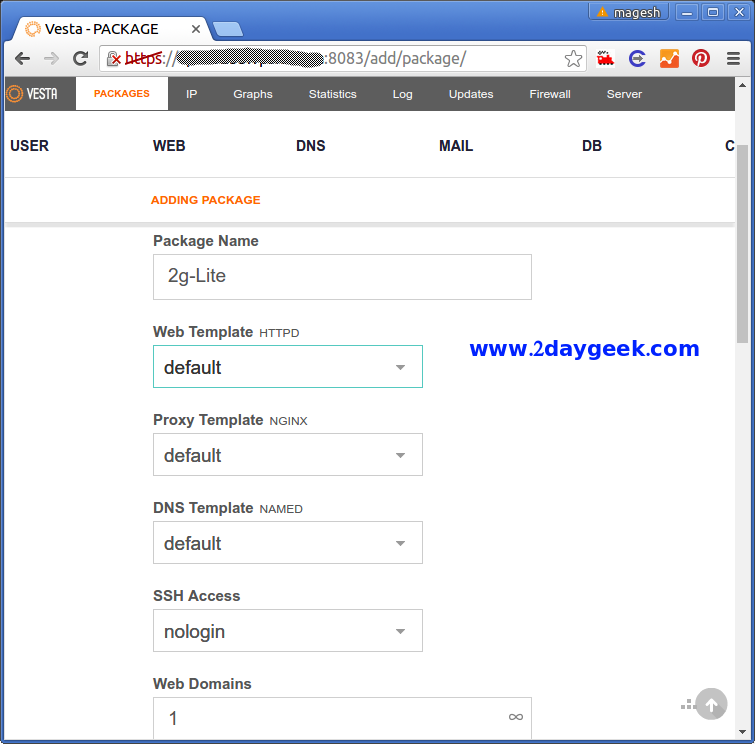
Setup Hosting Package : Navigate to Packages >> Add a Package >> Customize the package as your wish.
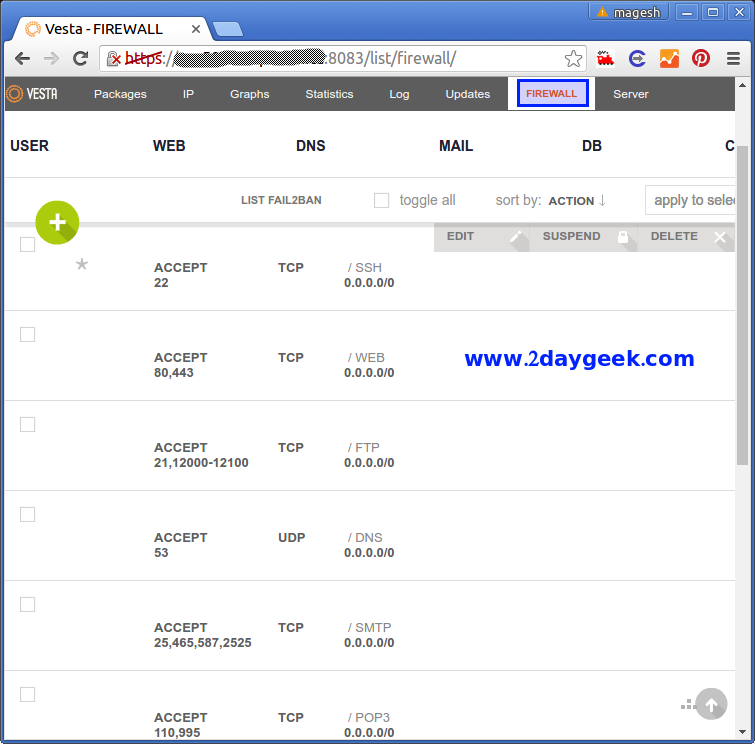
Adjust Firewall settings : You can directly enable/disable particular services access & port by clicking Firewall button from your Dashboard Menu Edit.
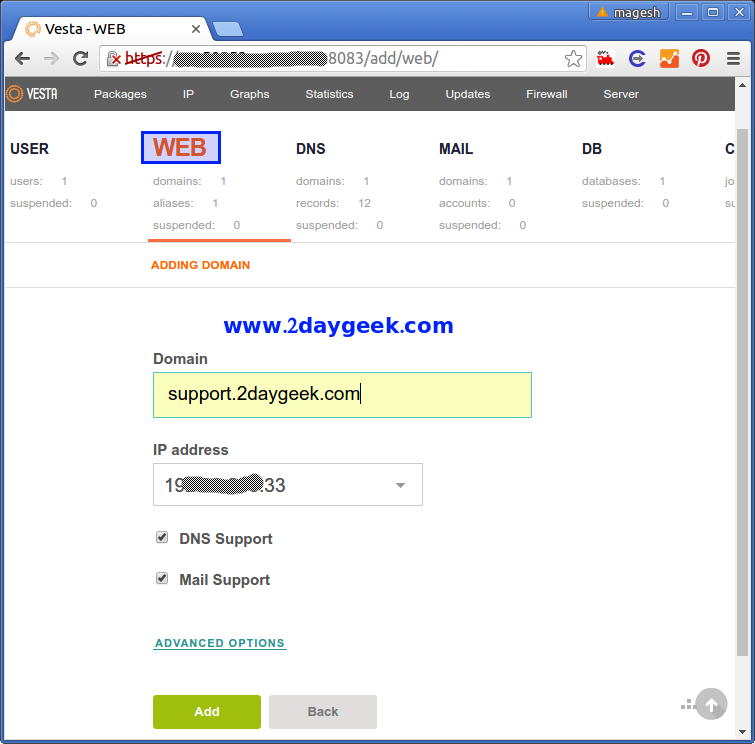
Add New Domain : In Main Dashboard, Click WEB >> Add Web Domain >> Enter the Domain Name then click Save.
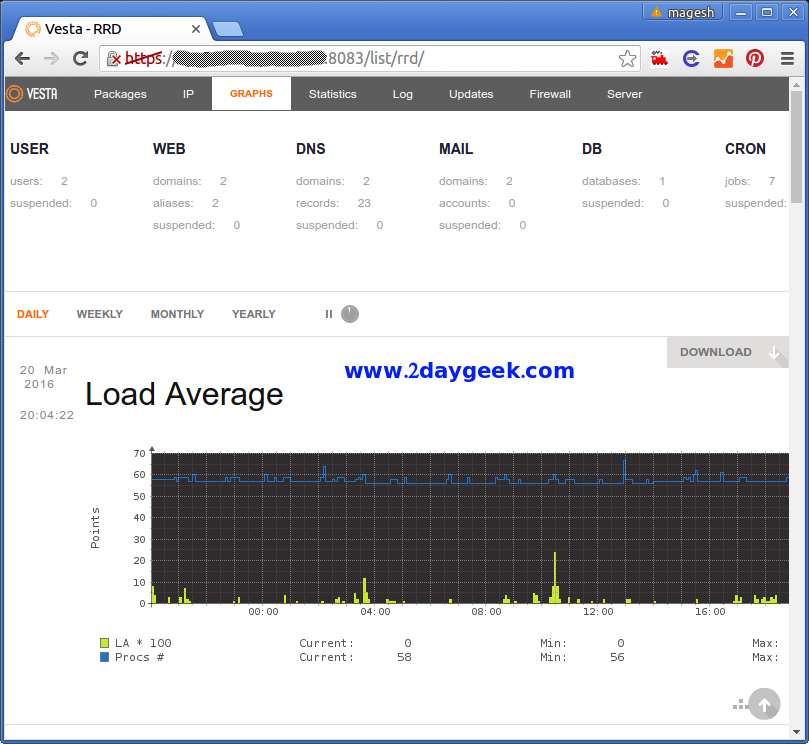
Service Monitoring: Navigate to Graphs Menu >> Here you can see the possible service graphs
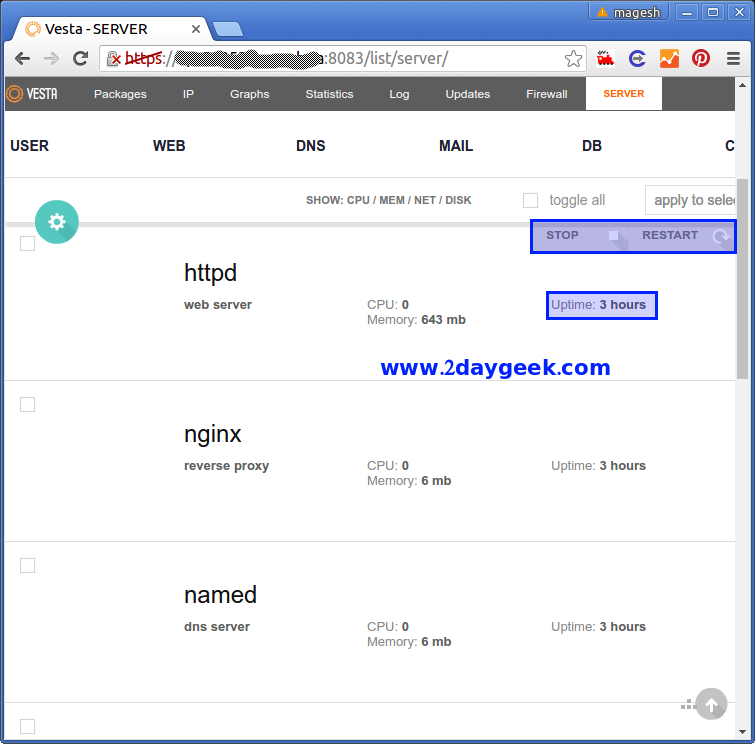
Service Status: Navigate to Server Menu >> Just Scroll down then you can see all the service. Mouse over you will get option to restart & stop.
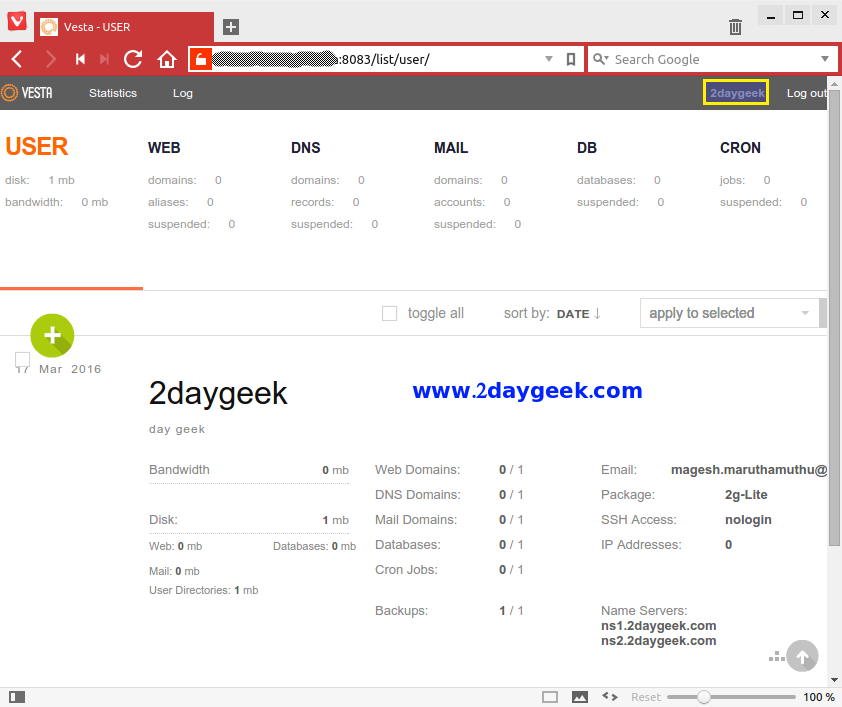
Vesta Client: Vesta Client also using the same port, See the below screen shot.
4) Upgrade Vesta to latest version
Navigate to Updates >> Update to latest version. If you don’t want manual update you can choose for automatic updates which will update to latest version whenever the update are available.
5) How to uninstall Vesta Control panel
If we don’t want Vestacp, we have option to uninstall it completely without reinstalling base OS.
[Stop vesta service]
# service vesta stop
# systemctl stop vesta.service

[Remove vesta packages and software repository on CentOS & RHEL]
# yum remove vesta*
# rm -f /etc/yum.repos.d/vesta.repo

[Remove vesta packages and software repository on Debian & Ubuntu]
# apt-get remove vesta*
# rm -f /etc/apt/sources.list.d/vesta.list

[Delete data directory and cron]
# rm -rf /usr/local/vesta
# crontab -e
Enjoy…..)


