Everyone knows that Android OS (Opensource) is the market leader. It was developed especially for touchscreen mobile devices like smartphones & tablet computer.
Android was developed by Android Inc. Later Google acquired it and are doing further developments on it.
If you want to run any mobile apps such as WhatsApp in your system, you must install an android emulator. The Android Emulator simulates Android devices on your system, which allows you to test any mobile applications on a variety of devices and Android API levels without requiring those physical device at hand.
It provides almost all of the capabilities of a real Android device and you can simulate incoming phone calls and text messages, specify the location of the device and much more.
Android SDK is the official android emulator which was developed by Google to emulate the Android App in Linux System.
In this article, we will explain how to install android emulator using the android SDK in Linux.
If you are looking for alternative tools, please go through the two articles below:
Prerequisites
Android SDK depends on 32-bit Libraries during run time, so 64-bit users should install 32-bit libraries on their system for it to work properly, otherwise you will get an error when you launch the device:
[Install 32-bit libraries ia32-libs Package]
$ sudo apt-get install ia32-libs

[If you don't have ia32-libs package, then install Alternative Package]
$ sudo apt-get install libgl1-mesa-dev
1) How to install Java in Linux?
Android SDK purely depends on JAVA. So, you have to install either OpenJDK or Oracle JAVA before proceeding with Android SDK installation. Please go through the below articles to understand the Java installation process:
- How To Install Oracle Java 9 & 8 (JDK) on CentOS, RHEL, Fedora, Arch Linux & openSUSE
- How To Install Oracle Java 7, 8 & 9 (JDK & JRE) on Debian Via Repository
- How to install Oracle Java Series (JAVA 9, JAVA 8, JAVA 7, JAVA 6) via PPA in Ubuntu & Mint
- How To Install JAVA ( OpenJDK ) 6 / 7 / 8 on Linux
2) Checking installed JAVA version in Linux
Use the below command to check the java version that’s installed on your system:
$ java -version
java version "1.8.0_20"
Java(TM) SE Runtime Environment (build 1.8.0_20-b26)
Java HotSpot(TM) 64-Bit Server VM (build 25.20-b23, mixed mode)
3) How to download the SDK package?
There is no distribution official package for Android SDK. Hence, we need to download an Android SDK package from the android official site. Make sure to download the package in /opt directory because opt directory is the one dedicated for third party software installations.
$ cd /opt
$ wget http://dl.google.com/android/android-sdk_r24.4.1-linux.tgz
$ sudo tar -zxvf android-sdk_r24.4.1-linux.tgz
$ cd /android-sdk-linux/tools
$ ./android
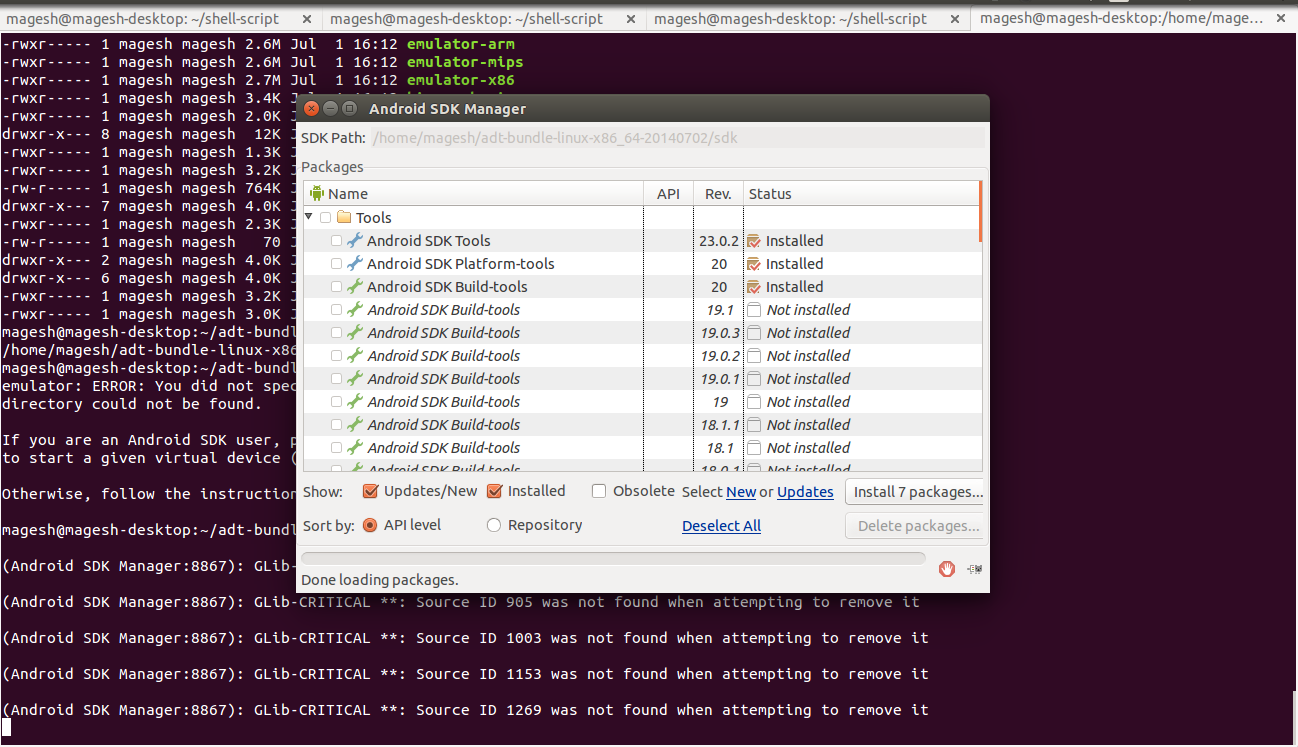
You will see the below pop-up window when you run the android shell file:
4) Choose the required Android SDK version
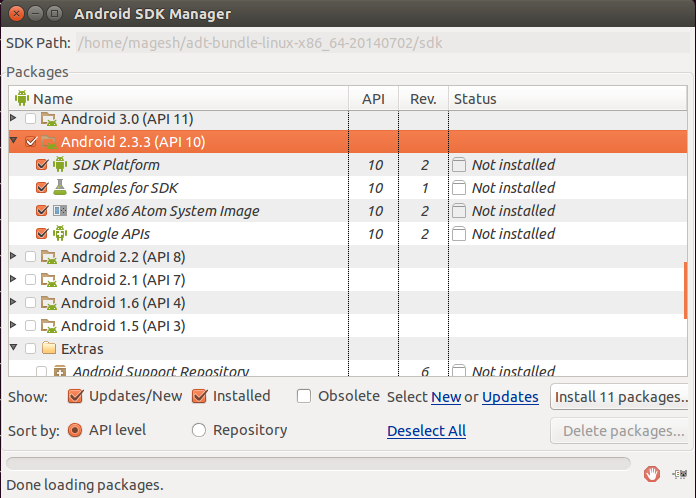
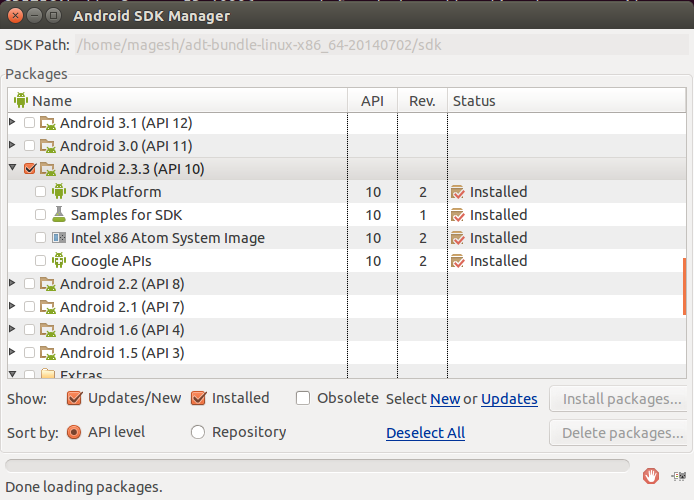
Here you can choose which version of Android SDK you are going to install. I’m going to choose Android version 2.3.3, and hit the Install Packages button to install the required packages from source.
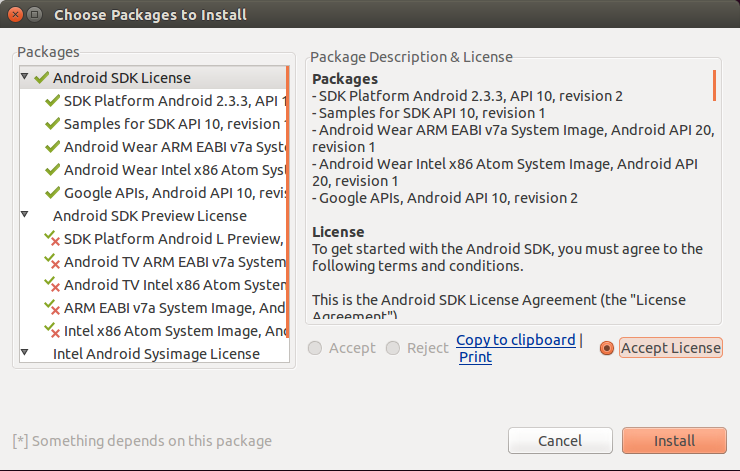
Choose ‘Accept License‘ option and hit the Install button to proceed further.
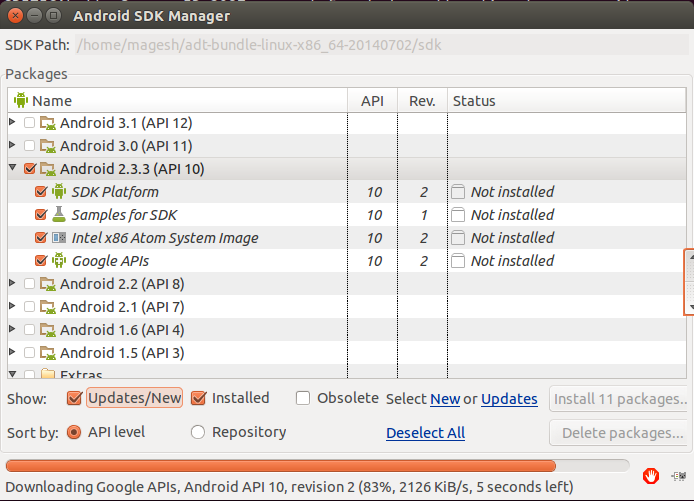
Installation is on-going. Repeat the steps until all the relevant packages are installed.
Installation got over.
5) How to add Android Virtual Device (AVD)
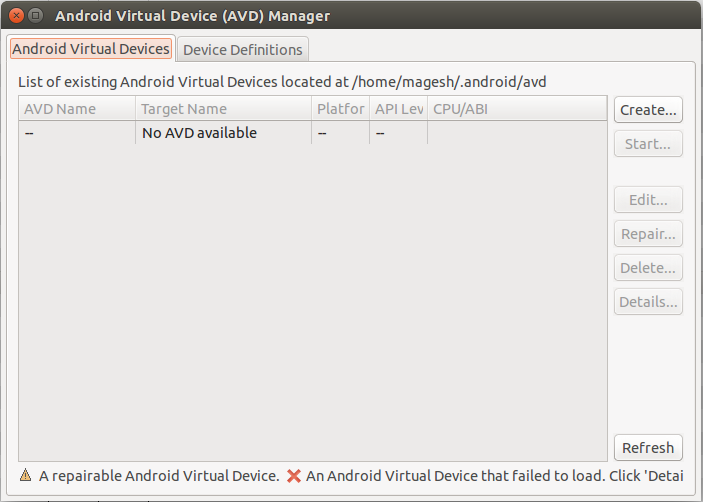
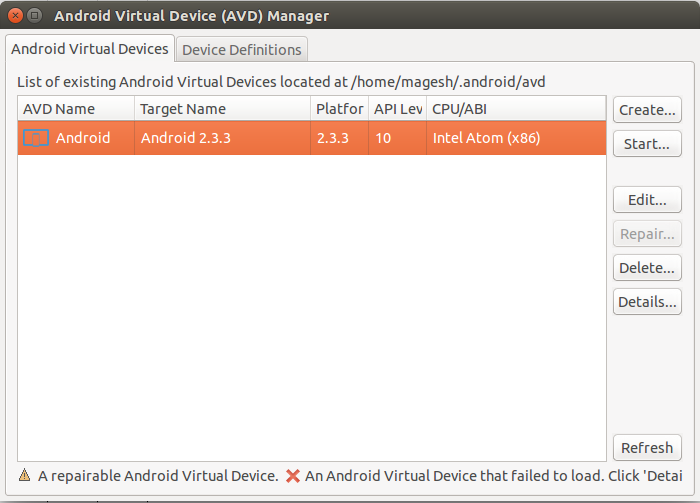
In the Android Virtual Device manager, go to the Android Virtual Devices tab as shown in the screenshot above. Click the Create button to add a new AVD on your android emulator. Click tools button to launch AVD creation window. If it is not showing, maximize the current window to see the ‘tools button‘.
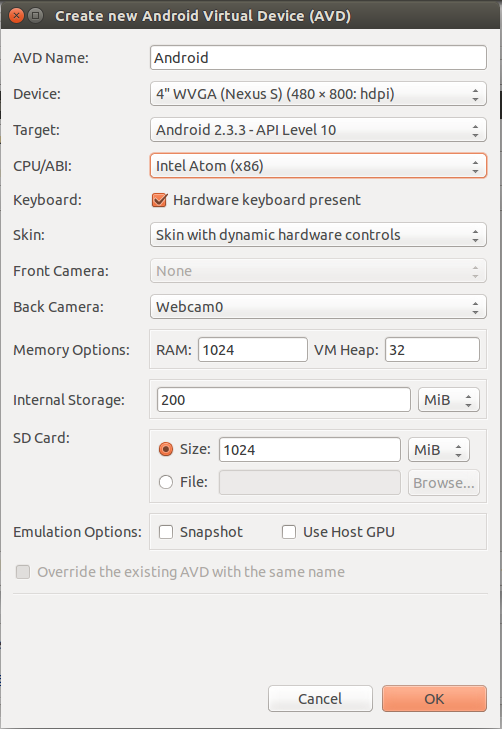
Choose the required configuration as shown in the screenshot below, and hit the OK button:
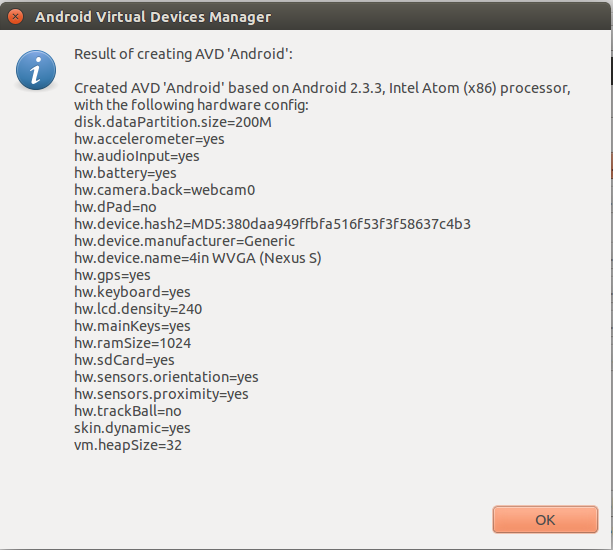
This is your configuration output based on your selections in the above steps 1-5. Hit OK button.
6) How to launch a new Android Virtual Device (AVD)?
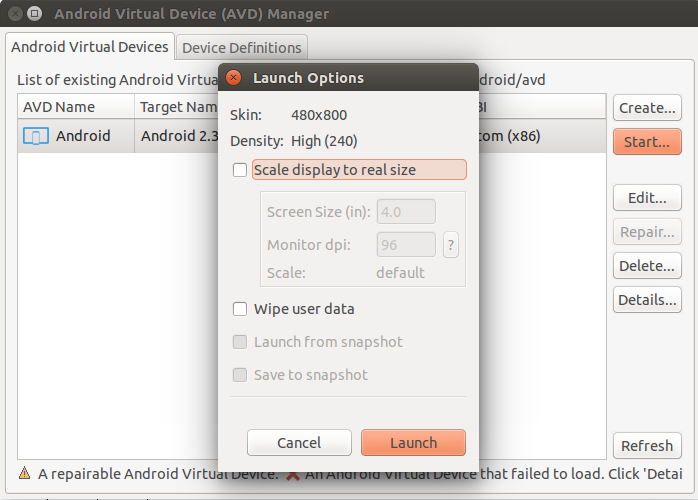
Choose your Android Virtual Device (AVD) then hit the Start button. It will popup the Launch Options, Just hit the Launch button to kickstart the Android Emulator, if you don’t want to specify any launch option.
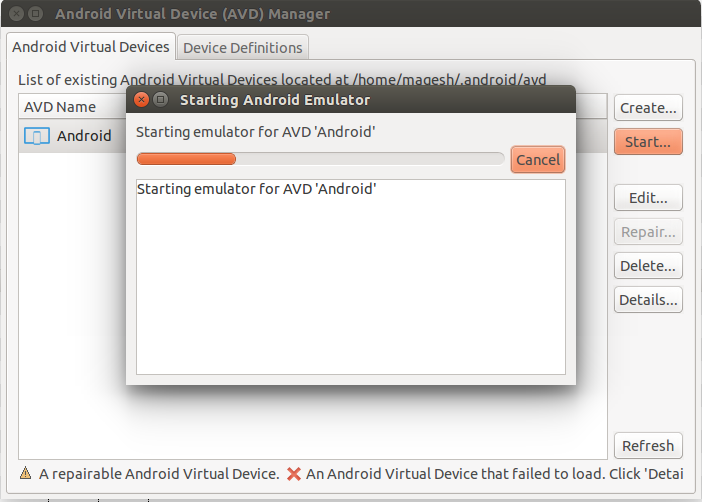
It will take a bit of time to load as shown below:
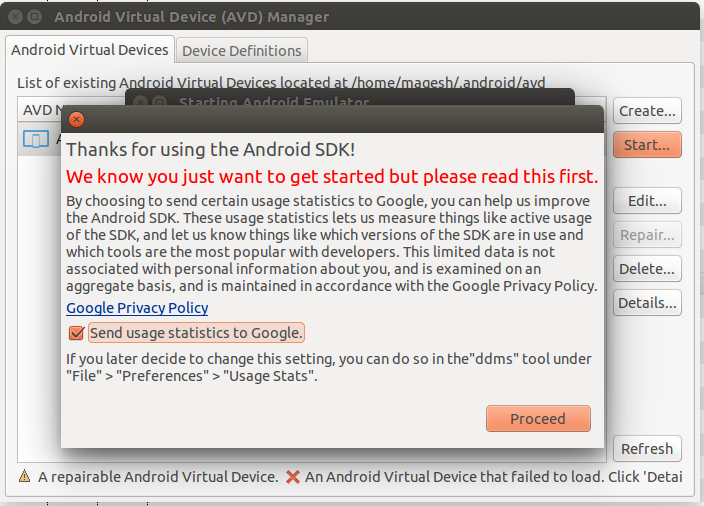
Finally, accept the Google Privacy Policy, and hit the Proceed button to launch the device successfully. Emulator will kickstart your AVD and initiate it. It will take few seconds to load.
7) How to launch a new Android Device?
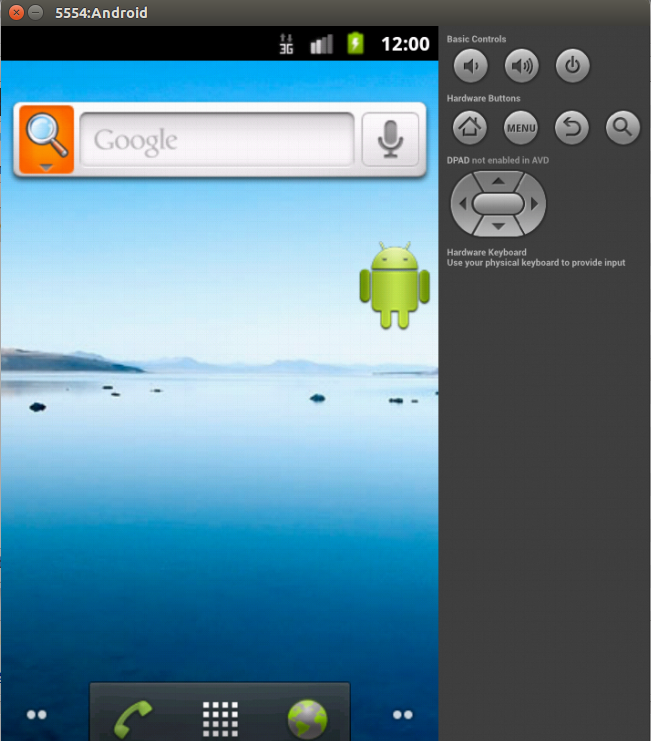
Please refer the below screenshot. You will see that the new android device is launched on my PC:
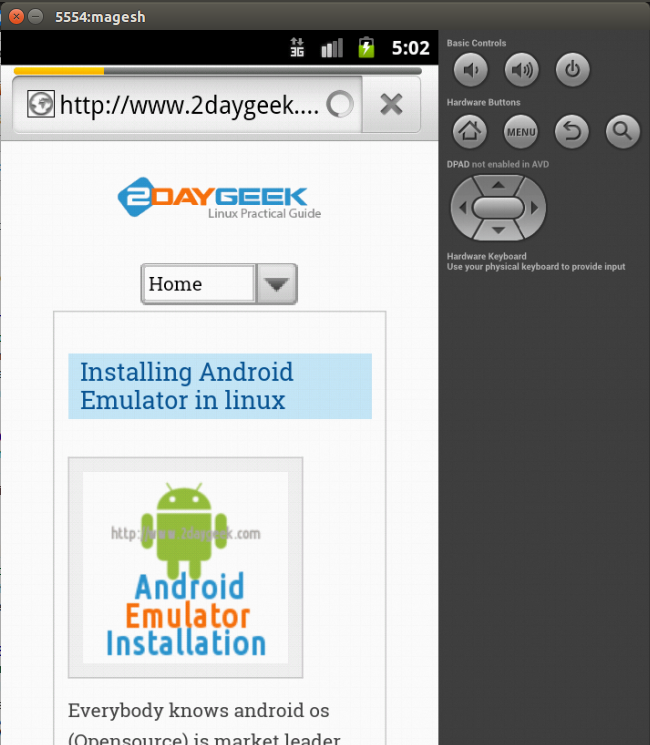
Click the Browser icon to access the Internet.
Conclusion:
In this article, we showed you how to install an Android Emulator in Linux along with it’s prerequisites like Java SDK. We installed the official android SDK.
We are preparing all our articles in-depth so that they can be easily understood by Linux administrators at all levels . If the article was useful to you, then please spend less than a minute to share your valuable comments below.
Please stay tuned with us for more articles…Happy learning!.



If you start on steps 2 or 3 (your architecture is 32 bits) before starting step 3 you need to register as super user, it means the second line would be:
$ sudo wget http://dl.google.com/android/android-sdk_r24.4.1-linux.tgz
okay, GNUB here to Linux. using 32bit Ubuntu 16.04. followed all instructions. when I get to the very end get this error in the “Starting Android Emulator” window:
Starting emulator for AVD ‘Android’
/opt/android-sdk-linux/tools/emulator: 1: /opt/android-sdk-linux/tools/emulator: Syntax error: “(” unexpected
and then it just stops. Any other help? thanks
Everytime i try to do
$ cd /android-sdk-linux/tools
./android
I get an error
./android permission denied
try with super user privilege to access it.
This is a pain in the ass, i get “android: can’t find sdkmanager.jar” after ./android. I am using Ubuntu MATE 15.10
@Gabriel,
Can you please post your error message to investigate further.
Stage 3 download SDK package, I get stuck at “cd…/tools”
Linux Mint 17.3 Cinnamon 64 bit
@john Dirk,
You need to navigate one by one directory and finally you will get tools folder, that’s it. I don’t know what challenge you are facing. Anyhow i will include all the directories.
having the same problem. says file not found
Michael,
We will retest the installation and update the status.
NOT happy!!!!!!
Instructions missing crucial steps which brings me to a dead end.
Mint 17.3 Cinnamon 64 bit
[root@msc-2014-04-14 ibab]# yum install libgl1-mesa-devLoaded plugins: langpacks, refresh-packagekit
No package libgl1-mesa-dev available.
Error: Nothing to do
what should i do? I am using fedora 20.
Dear Magesh
thanks for the great tutororial, but i have problem when finish create AVD and i start i have same problem.
for info i finished added line “export ANDROID_EMULATOR_FORCE_32BIT=true” on “.profile” but when i start again i got same problem.
thanks
open run—-> edit configuration—->emulator—->-force-32bit
In additional commandline option give -force-32bit
Hallo Magesh i need help plz for errors below
fedrick@fedrick-FLORA-310-DA8:~$ ./android
bash: ./android: No such file or directory
fedrick@fedrick-FLORA-310-DA8:~$ ~/sdk/toos$ ./android
bash: /home/fedrick/sdk/toos$: No such file or directory
@fedrick,
It seem’s that you are in wrong directory and correct directory is (tools). Give a try and update me the result.
It should be in android-sdk-linux
@Rizwan,
The blow link will help you to solve your issue.
http://developer.android.com/tools/devices/emulator.html#vm-windows
Hello Rizvan
You need KVM compiled in your kernel (or as a module depending on what you’re using), since the emulator seems to be a virtual machine which requires to use KVM as a host/guest mechanism to run, in order to use your host PC’s resources (mainly your graphics acceleration).
@Rizwan,
Can i have the distribution which you are using.
Hello sir,
I’m getting this error while kaunching the Emulator.. I’m using 32-bit
___________________________________________________________________
Starting emulator for AVD ‘Android’
emulator: ERROR: x86 emulation currently requires hardware acceleration!
Please ensure KVM is properly installed and usable.
CPU acceleration status: KVM is not installed on this machine (/dev/kvm is missing).
____________________________________________________________________
@Christine,
I didn’t tried 5.0 but i installed upto 4.4 and its working fine for me.
# ls -la
you can get .profile file and do the below things
Open .profile file and add below line.
export ANDROID_EMULATOR_FORCE_32BIT=true
Save and exit. and execute the profile file using below command.
# source ~/.profile
@Senbagaraman,
As per our policy we don’t allow to re produce our article but Backlinks allowed.
Hello 2daygeek,
Maybe it’s a stupid question, but where can I find the .profile file?
We installed the latest version, 5.0, is it possible to run this on a 32-bit?
Hope you (or someone else) can help!
Christine
@Sukru,
Pls post your error message.
Great and thanks for the post.Can I use the above information on my blog with your permission.
@Navin,
SDK designed based on 64 bit architecture. If you want to use in 32 bit, do below things to run.
Open .profile file and add below line.
export ANDROID_EMULATOR_FORCE_32BIT=true
Save and exit. and execute the profile file using below command.
# source ~/.profile
Hi,
I have tried this, but I am getting same error.
@Navin,
The error clearly says, You are in 32-bit OS.
Did you downloaded 32-bit archive ?
Ah yes !!! How stupid of me!! Thanks for the reply. Can I download this version? android-sdk_r20.0.3-linux.tgz
Nice Explanation. I get the following error: can you please tell me wats the problem here
Starting emulator for AVD ‘Android’
ERROR: 32-bit Linux Android emulator binaries are DEPRECATED, to use them
you will have to do at least one of the following:
– Use the ‘-force-32bit’ option when invoking ’emulator’.
– Set ANDROID_EMULATOR_FORCE_32BIT to ‘true’ in your environment.
Either one will allow you to use the 32-bit binaries, but please be
aware that these will disappear in a future Android SDK release.
Consider moving to a 64-bit Linux system before that happens.
@arose,
You are most welcome
great, first time with Linux mint 17 and it works