LinuxMint project proudly announced the new release of LinuxMint 17.3 with Cinnamon 2.8 and the code was named as Rosa on December 4, 2015 which is Third update for LinuxMint 17 series. Linux Mint 17.3 is a long term support release which will be supported until 2019. It comes with updated software and brings refinements and many new features to make your desktop even more comfortable to use.
In this article I’m going to install Linux Mint 17.3 (Rosa) Cinnamon Desktop installation with detailed steps and Screen shots. Linux Mint 17.3 is based on Ubuntu 14.04.3.
LinuxMint 17.3 Important Links
- Linux Mint 17.3 “Rosa” MATE released
- Linux Mint 17.3 “Rosa” Cinnamon released
- Linux Mint 17.3 Rosa MATE Edition details
- Linux Mint 17.3 Rosa Cinnamon Edition details
- For fresh installation, use the link to download the LinuxMint 17.2 (Rosa) images based on your country
- Linux Mint 17.3 Release notes and upgrade steps
1) Booting Computer with Linux Mint 17 installation media.
After downloading the LinuxMint 17.3 ISO image, you need to make it as bootable media. Now, boot your computer with LinuxMint 17.3 installation media like (Burned CD/DVD or ISO image). It will display below screen
2) Initiate LinuxMint installation
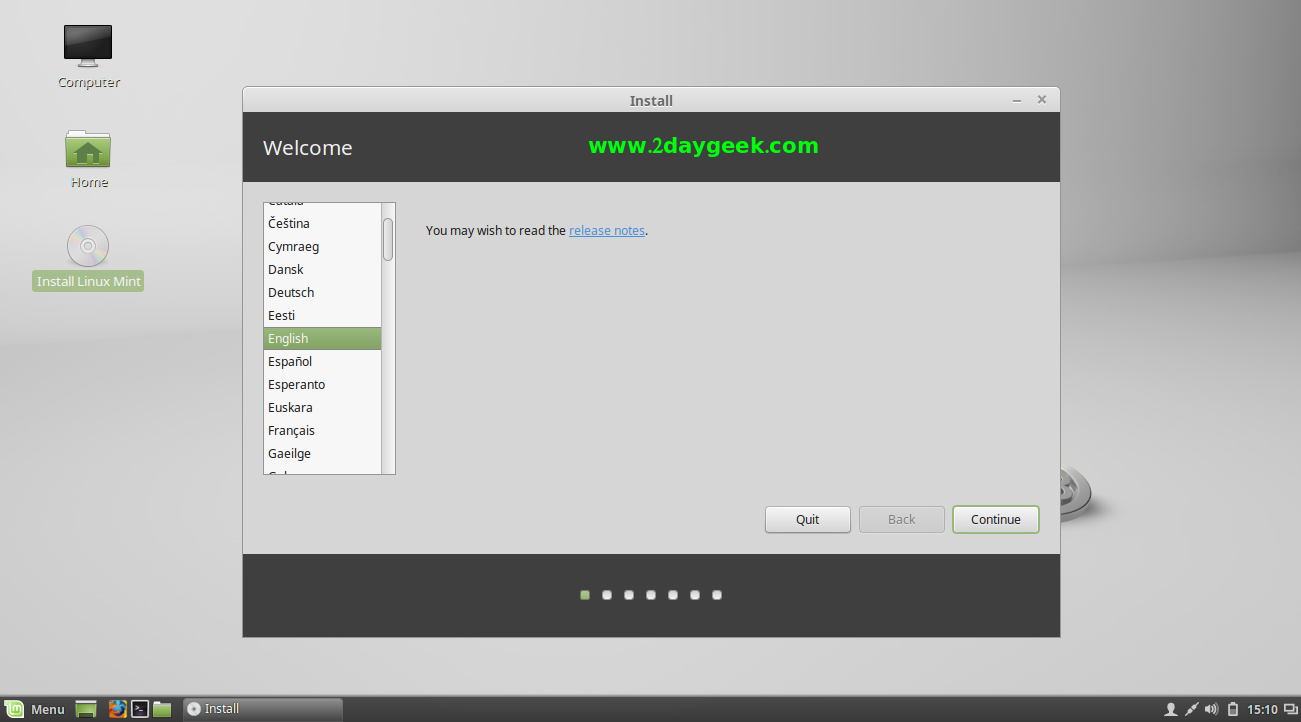
Hit Install Linux Mint Icon on Desktop to initiate Linux Mint 17.3 installation. This is the welcome screen and Choose your prepared language.
3) Preparing to Install Linux Mint
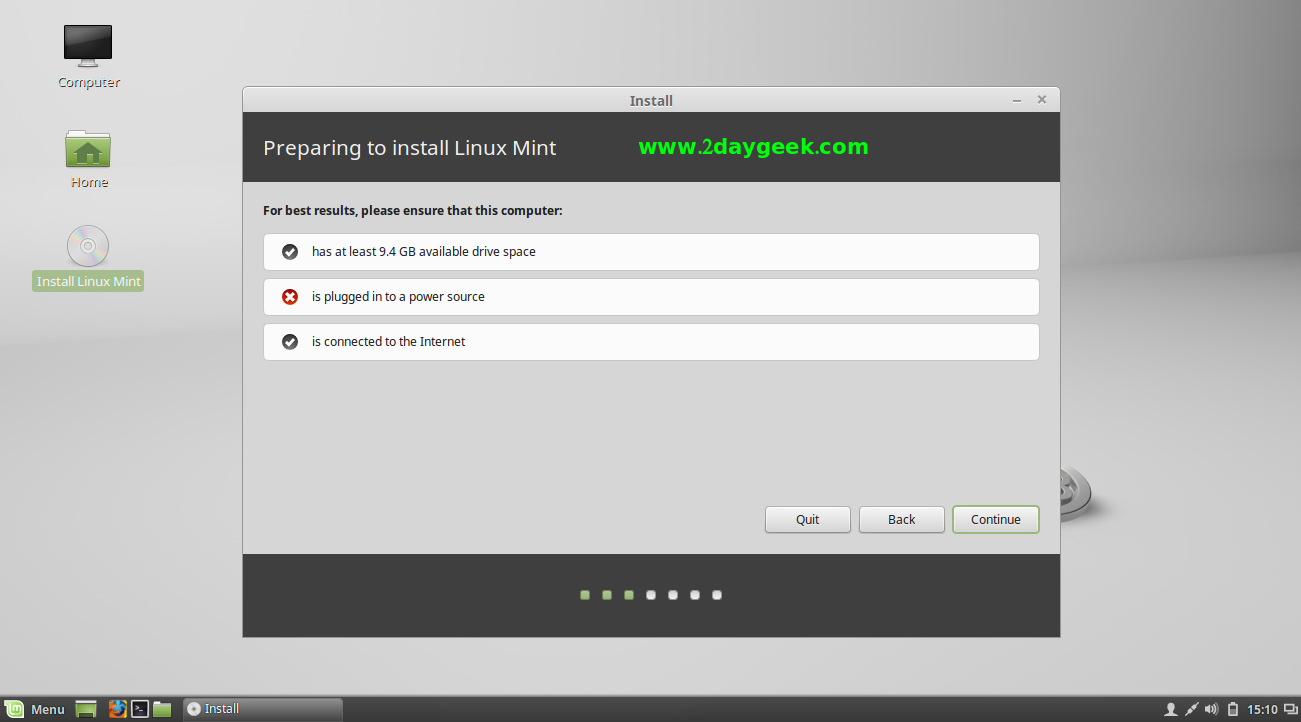
Verifying HDD Space, power supply and network connection. Everything is fine then hit Continue button to move forward.
4) Installation Type
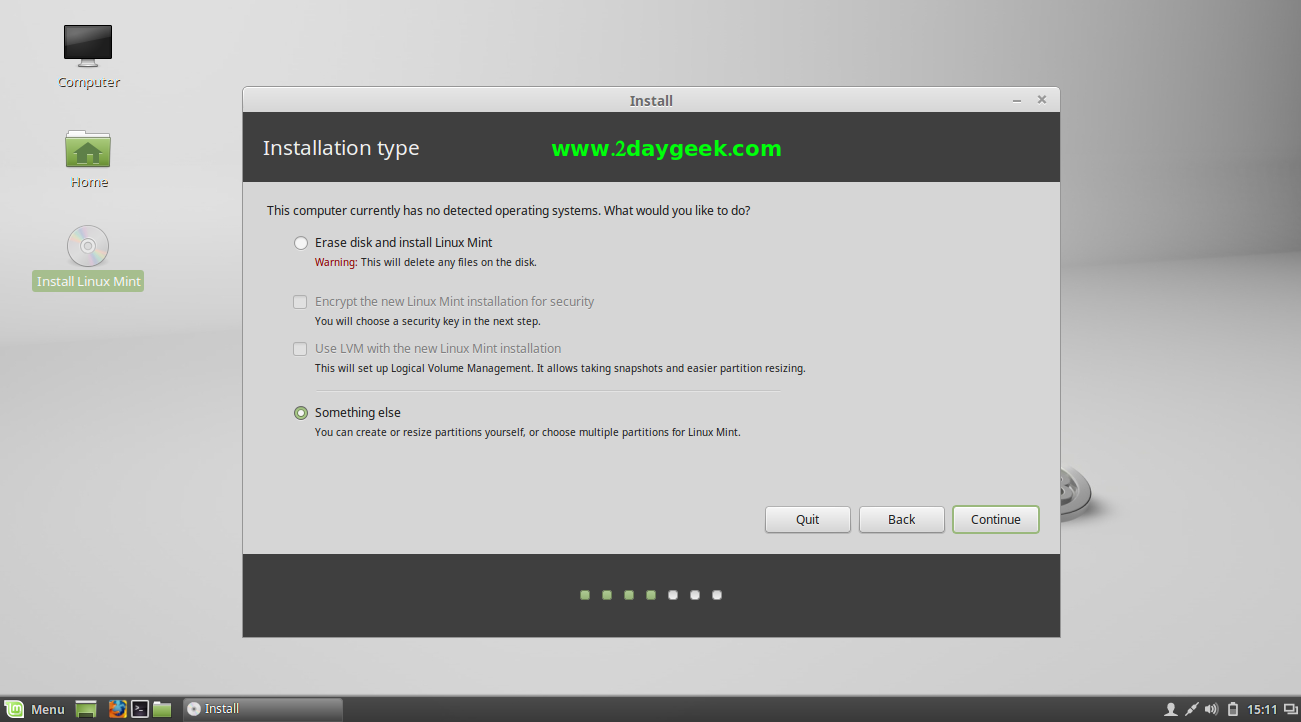
This step is important one but quit simple. whoever new for linux then better choose first option Erase disk and install LinuxMint as it will erase whole disk and create partition table automatically then move forward. For Experience guys and production environment, mission critical systems you should choose fourth option Something else and it will also erase whole disk but need to create partition table manually yourself then hit Continue button.
Choose the hard disk then hit New Partition Table to make it entire disk as free space to create different partition.
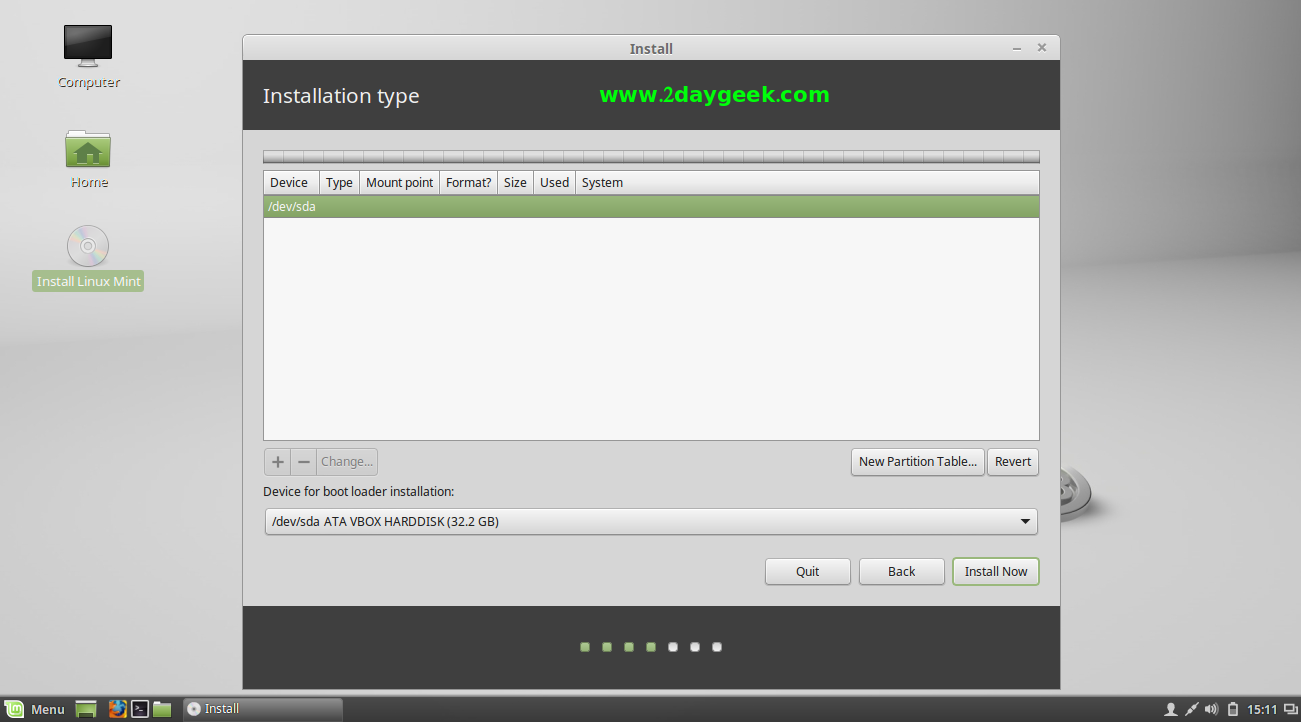
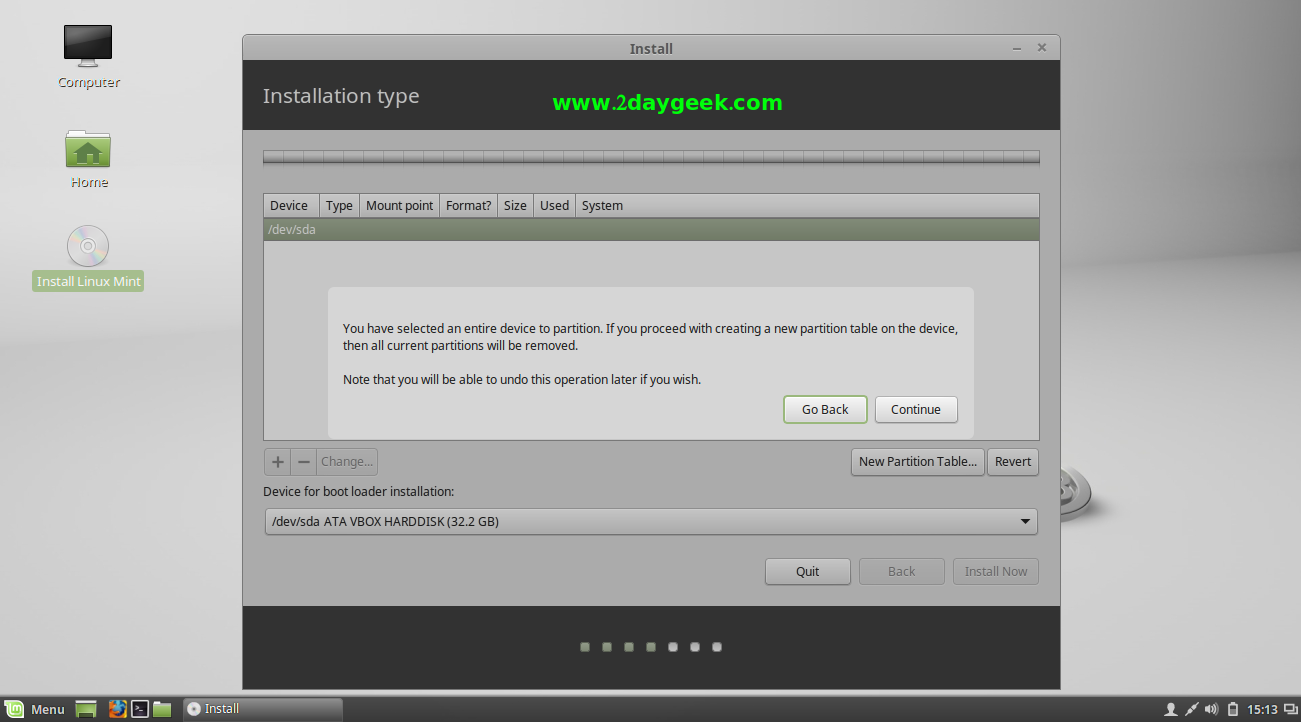
Hit Continue button to create desired partition.
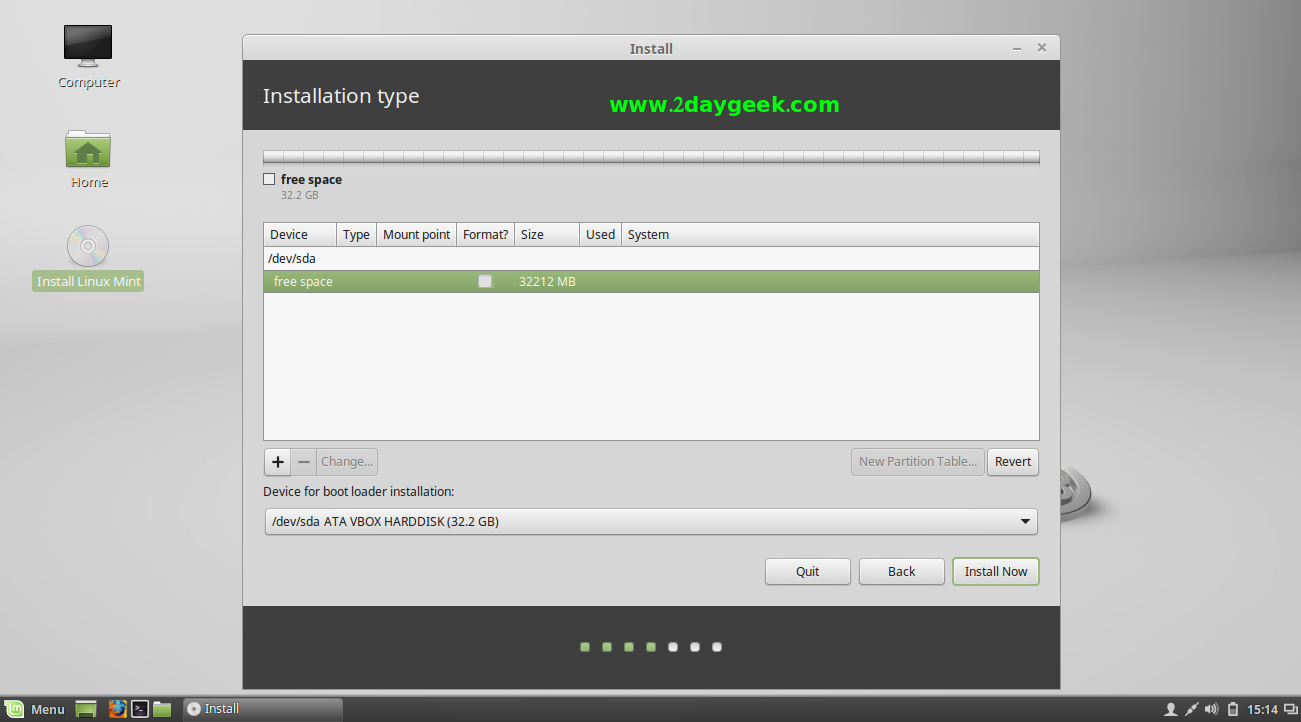
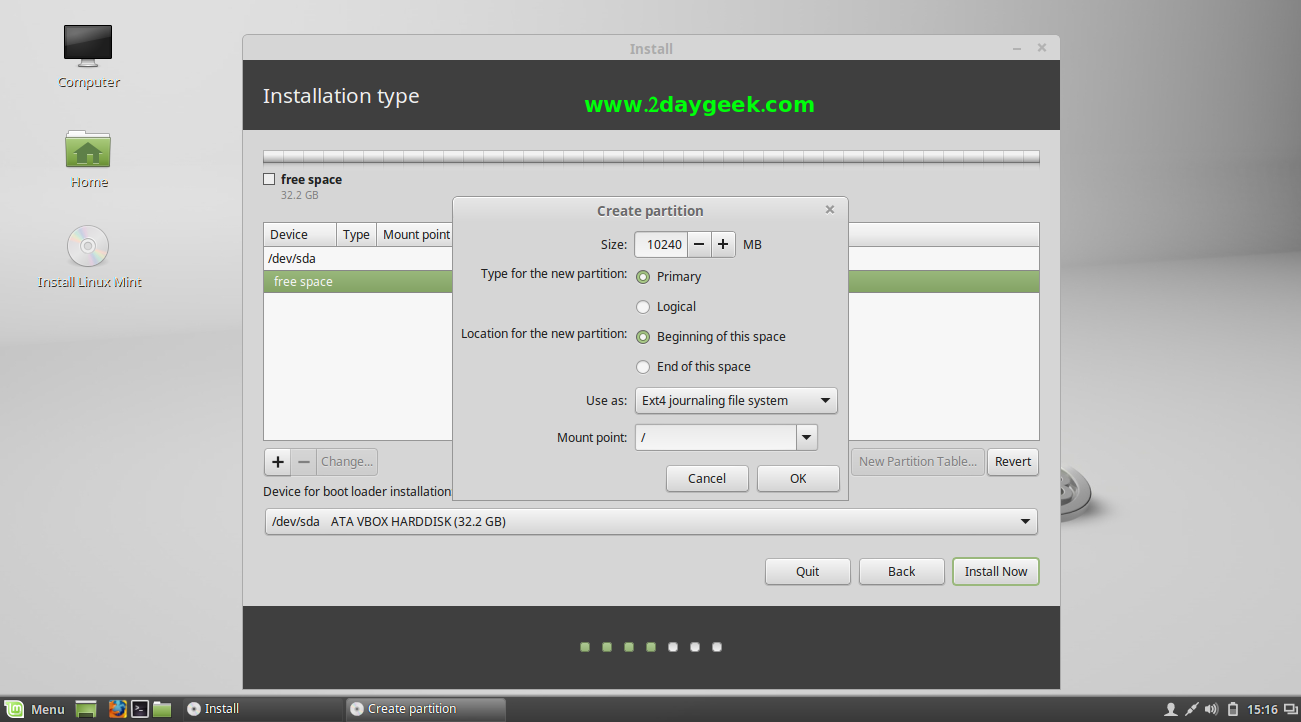
Press + button to add new partition as you wish. Basically for production environment we need to create at least (/,/home,/boot,/swap) partition which is mandatroy.
/ : Creating / partition with 10GB of size.
/boot : Creating /boot partition with 1GB of size.
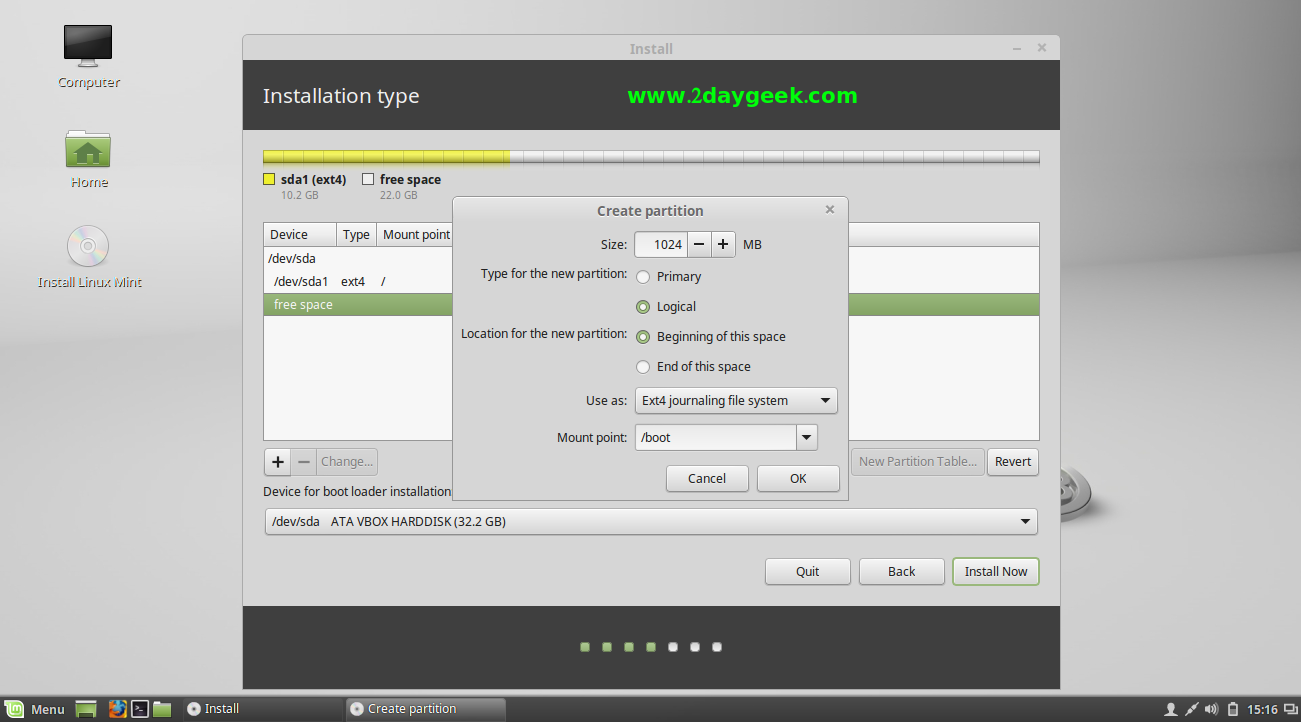
/swap : Creating /swap partition with 2GB of size.
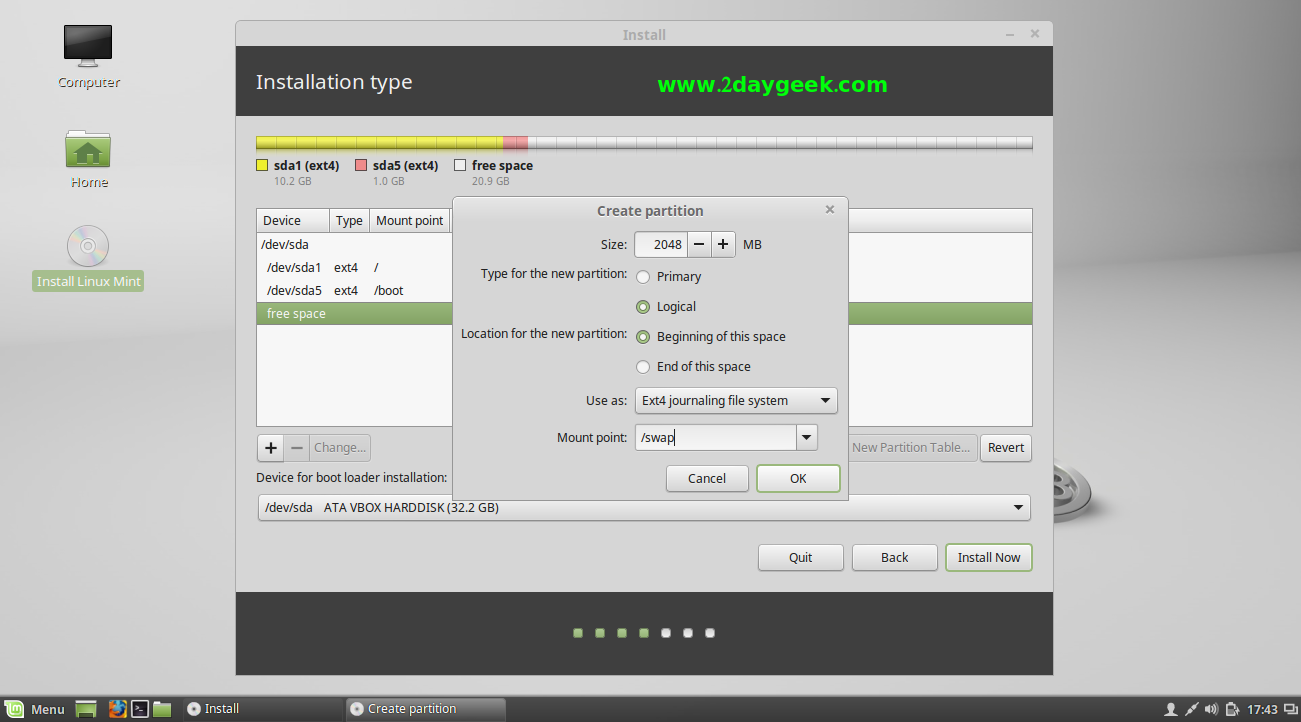
/home : Creating /home partition with 17GB of size.
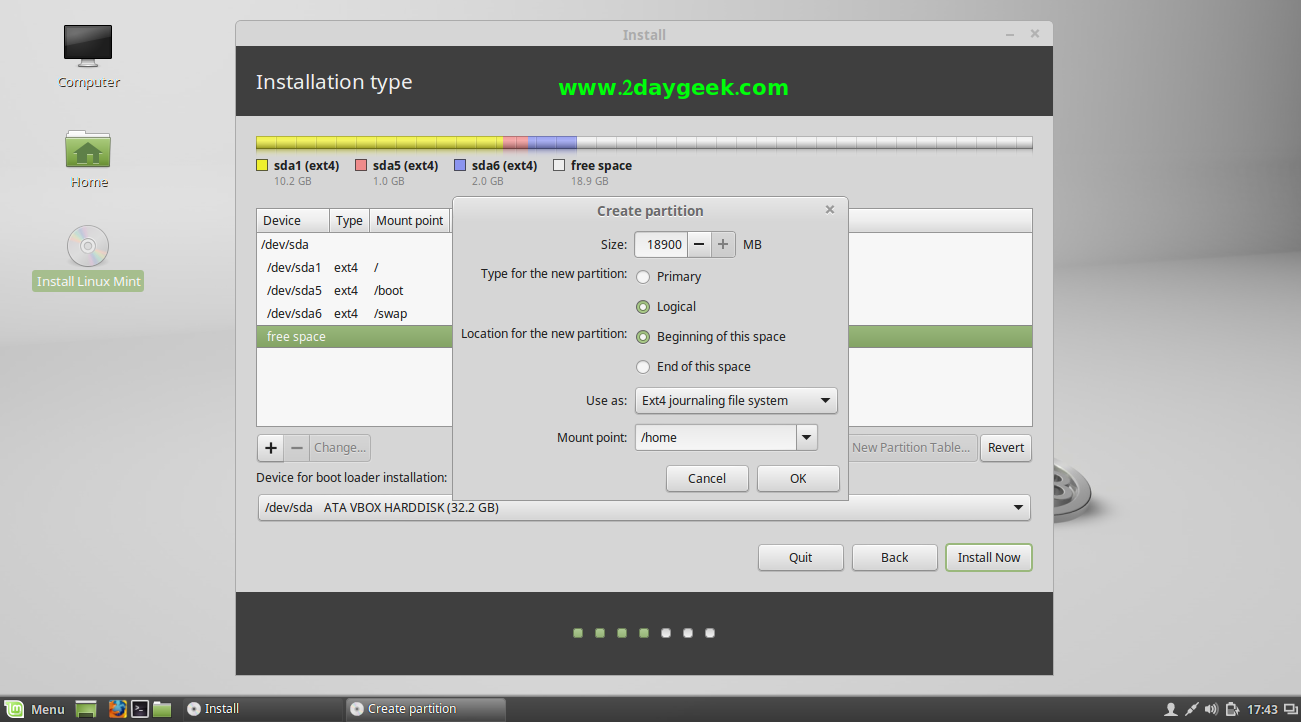
See the all partitions which we created.
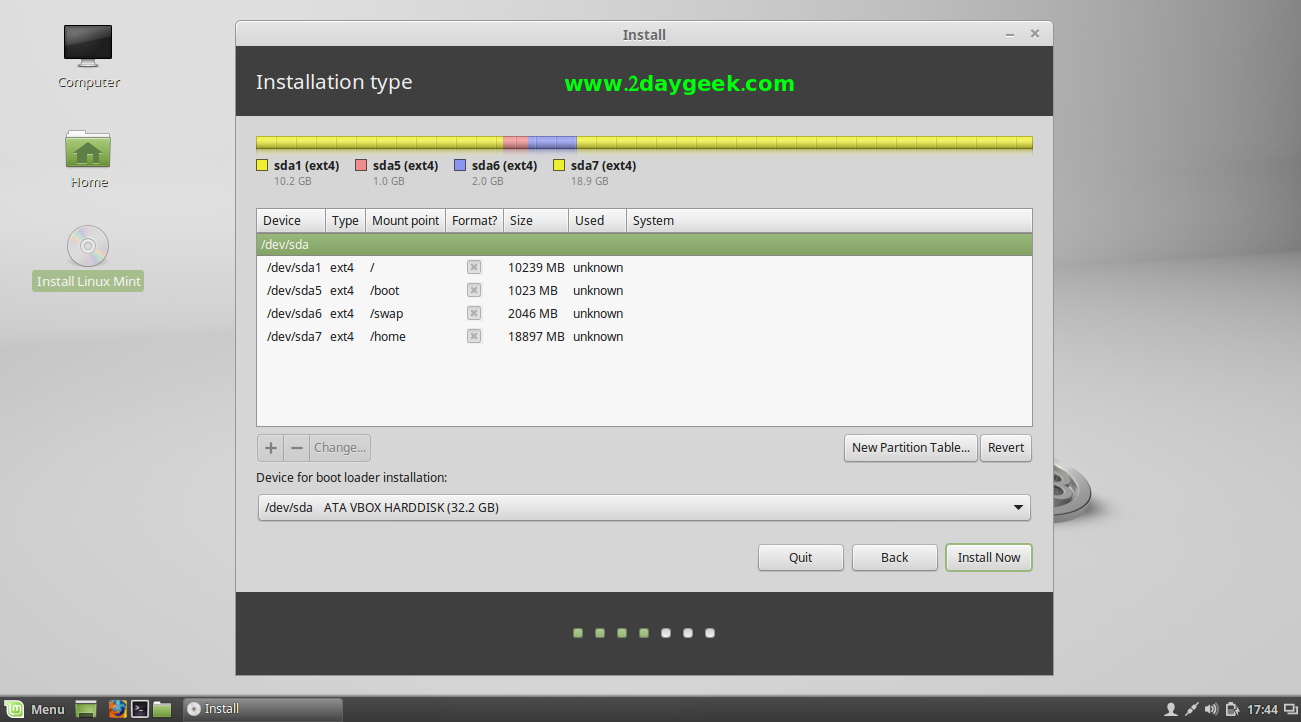
Now, times to install the created partitions.
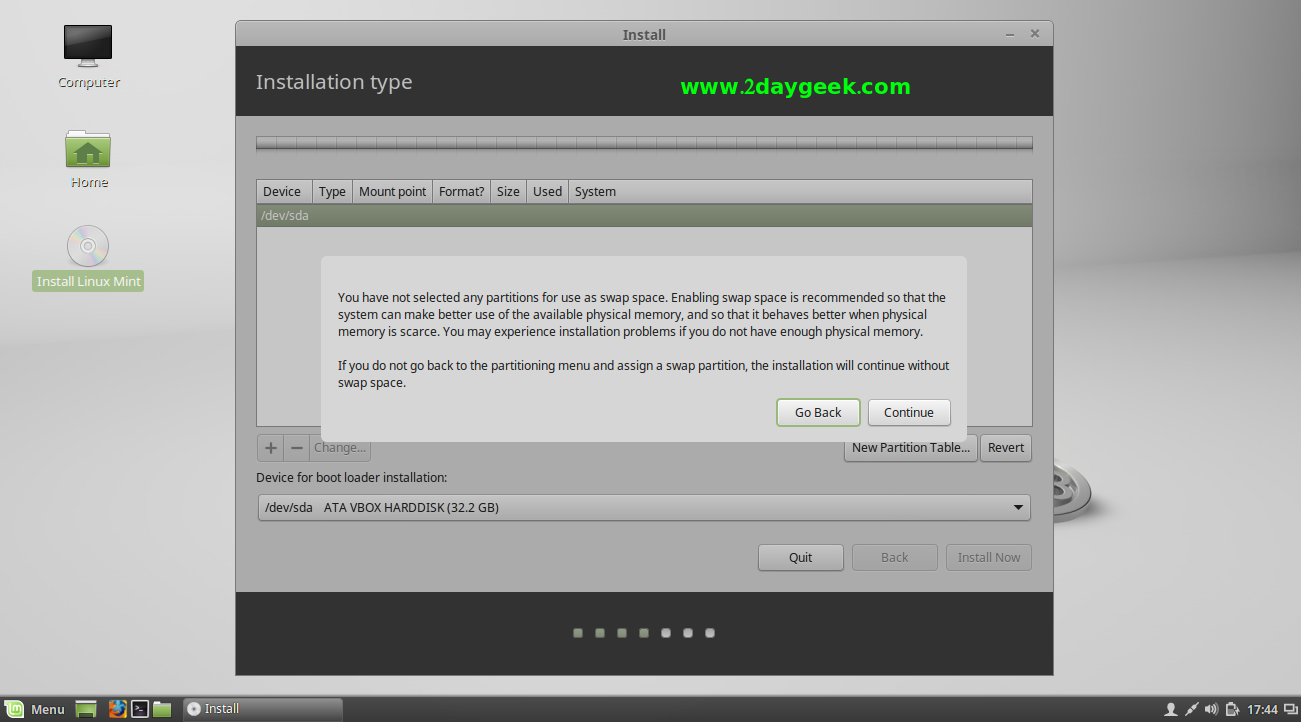
See the partition table and hit Continue to create new partition table.
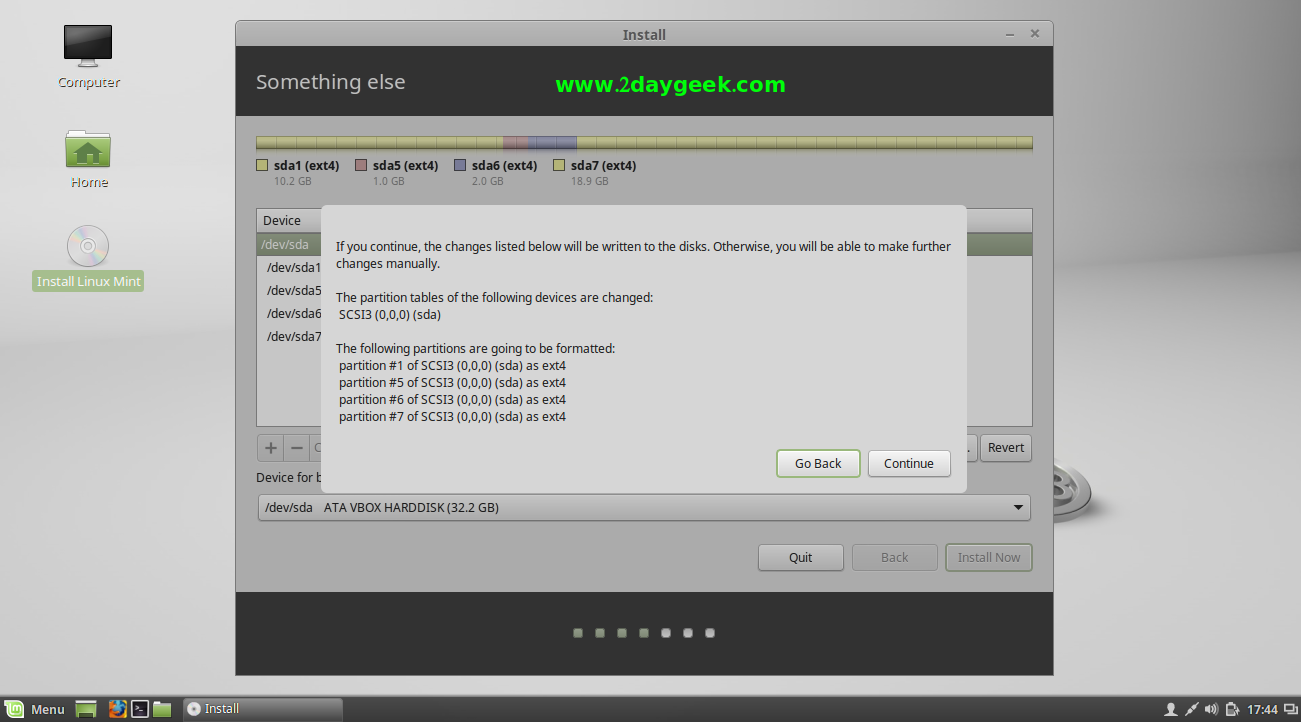
5) Choose your location
Choose your location then hit Continue.
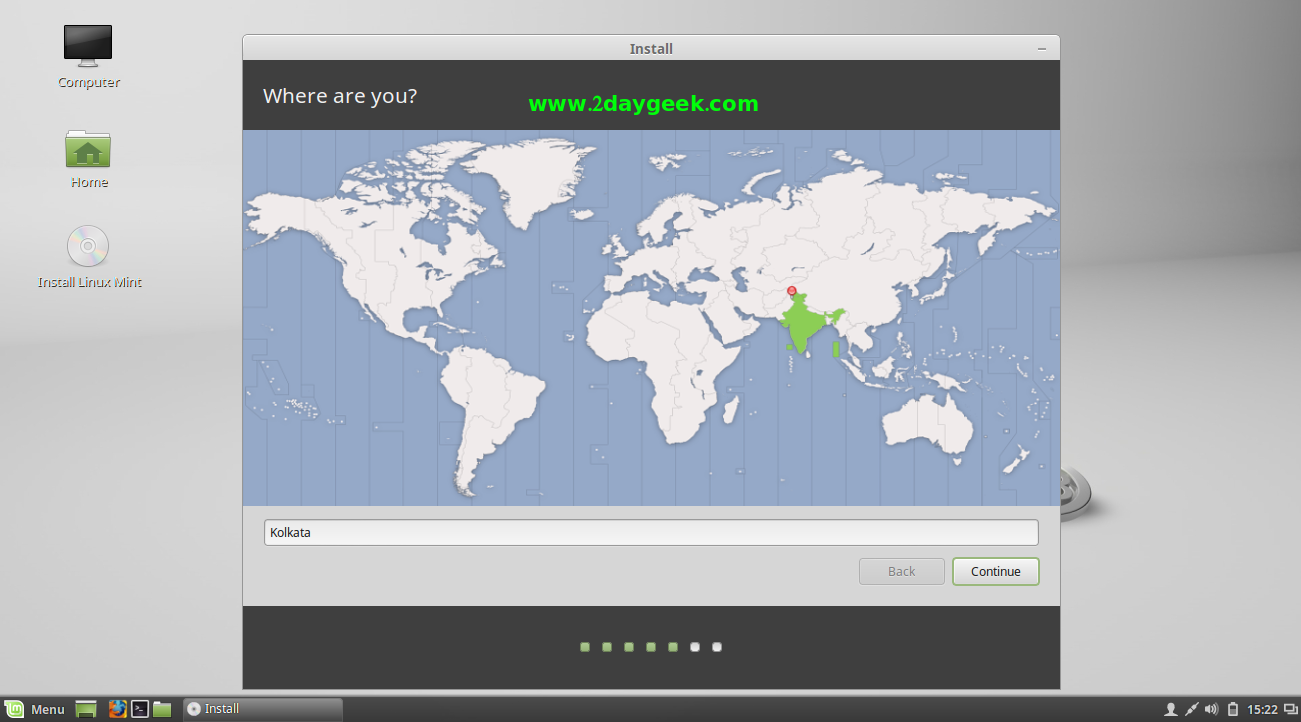
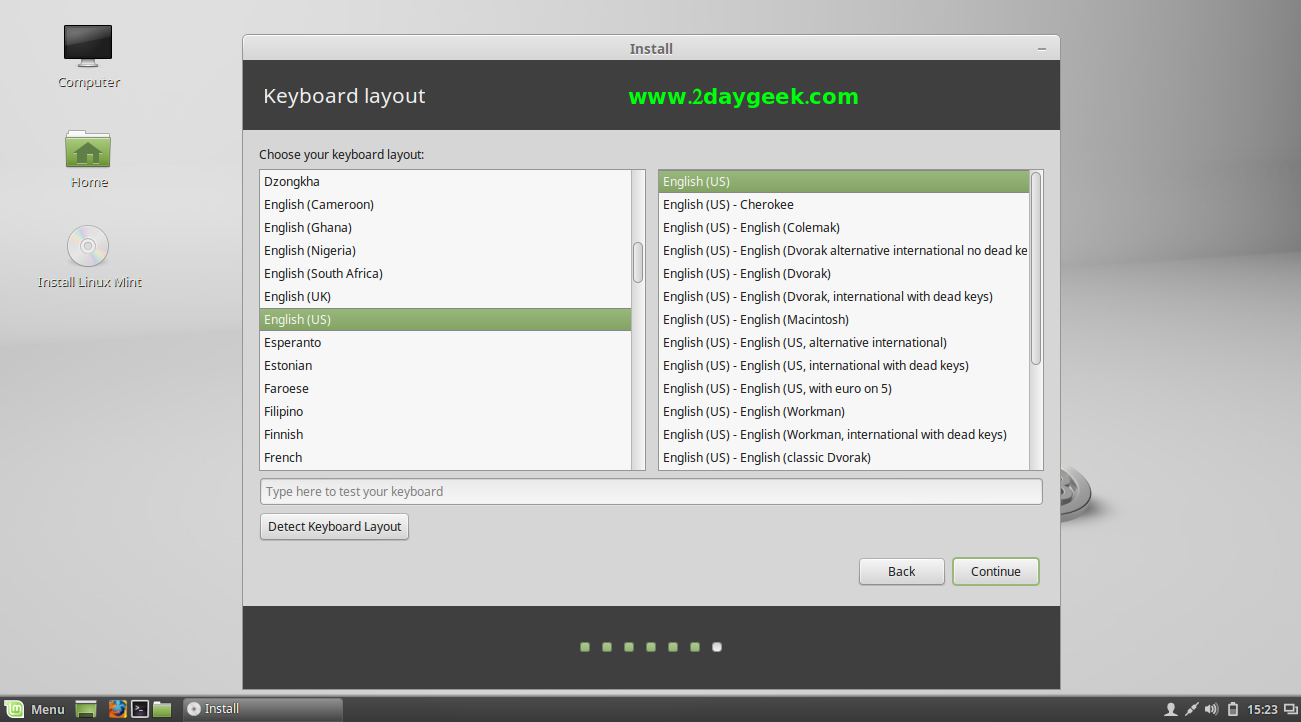
6) Keyboard layout Selection
Choose your Keyboard layout here, then hit Continue.
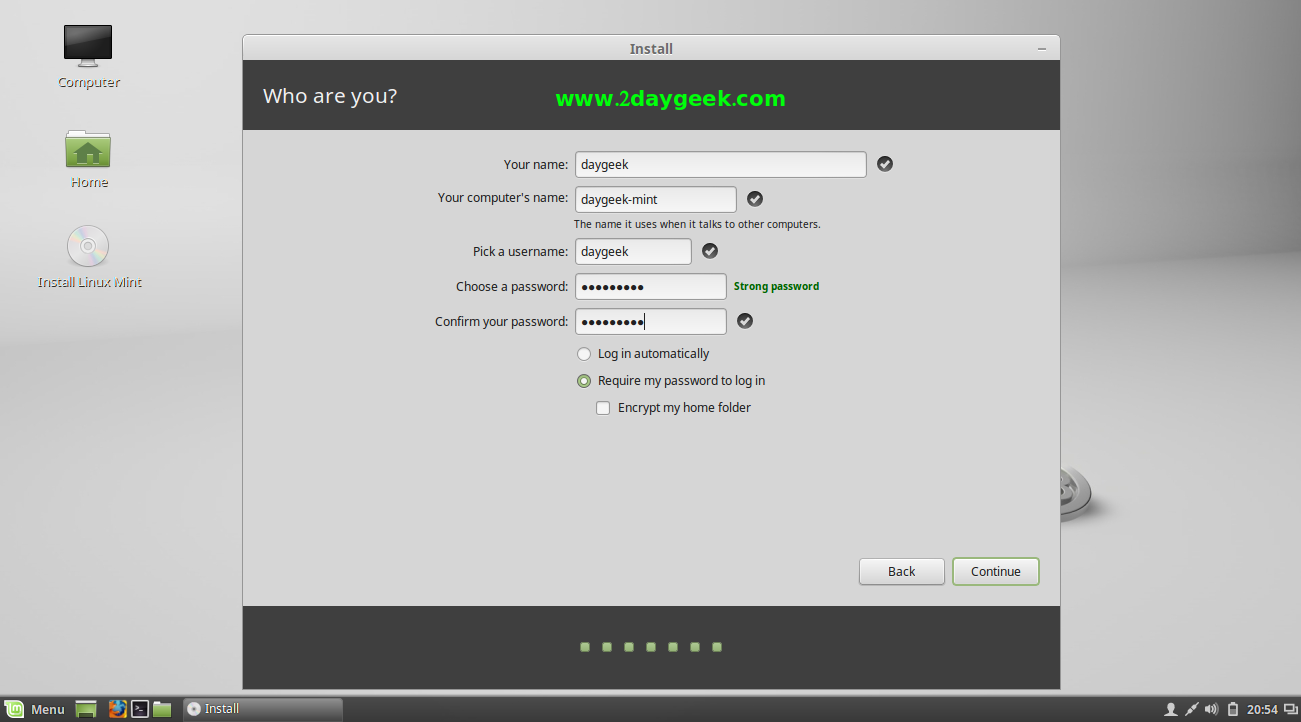
7) Create new user and password
Its time to create new user and password on your system then hit Continue.
- Full Name
- Username
- Require password upon login : By default this option is enabled, even though have a look once.
- Password Twise
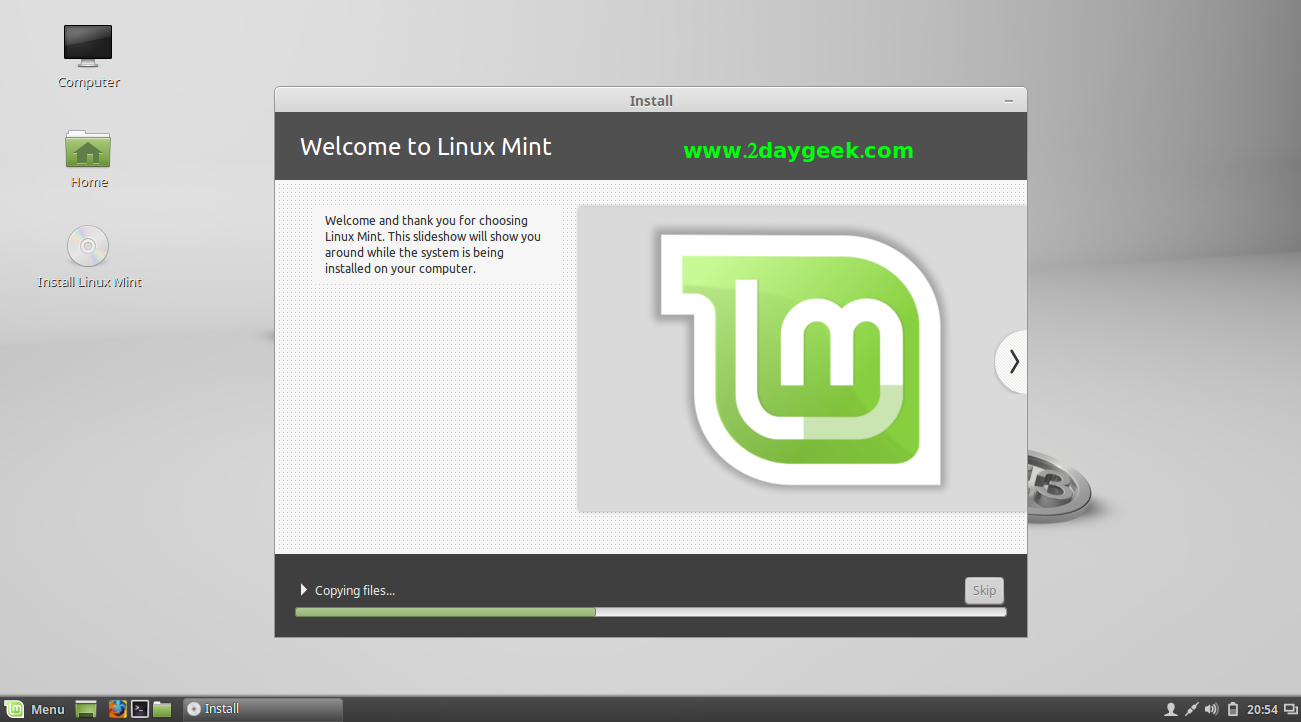
8) Installation process is on-going
Linux mint 17.3 (Rosa) Installation process is on-going and it will take a while to complete the installation
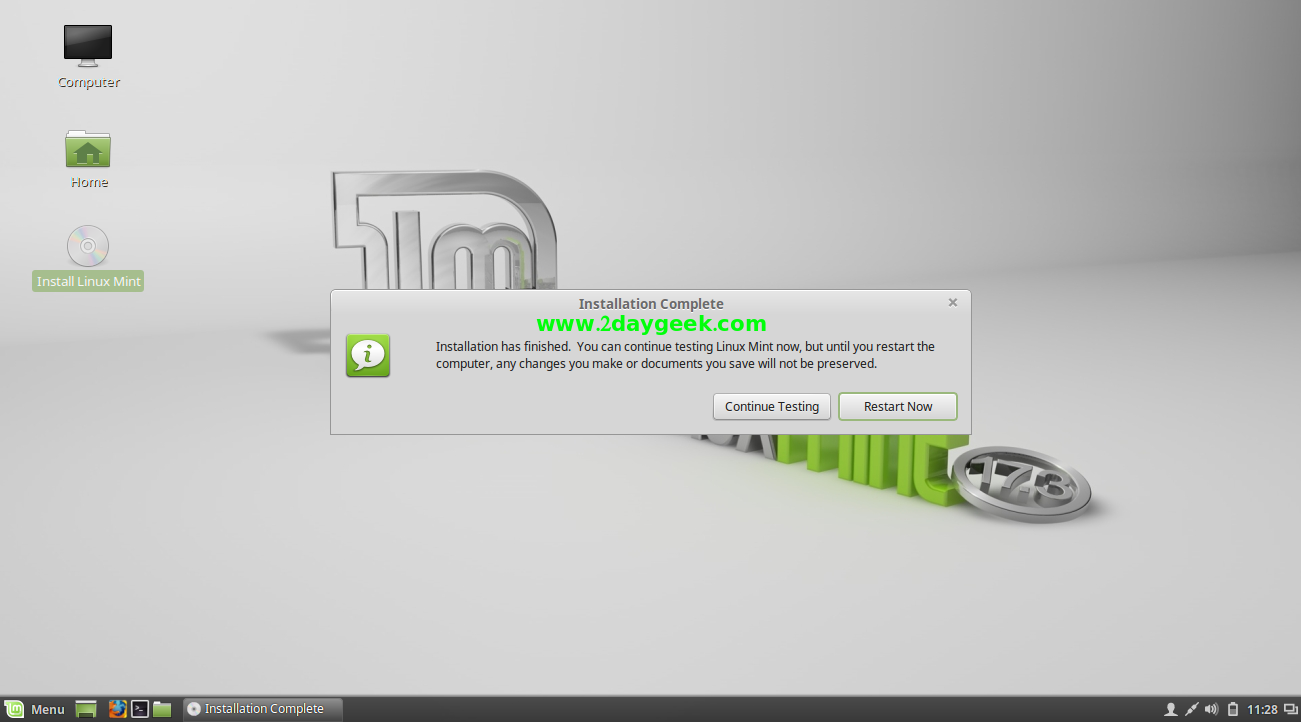
9) Installation got Completed.
Now, installation got completed and Remove your installation media then hit Restart Now button.
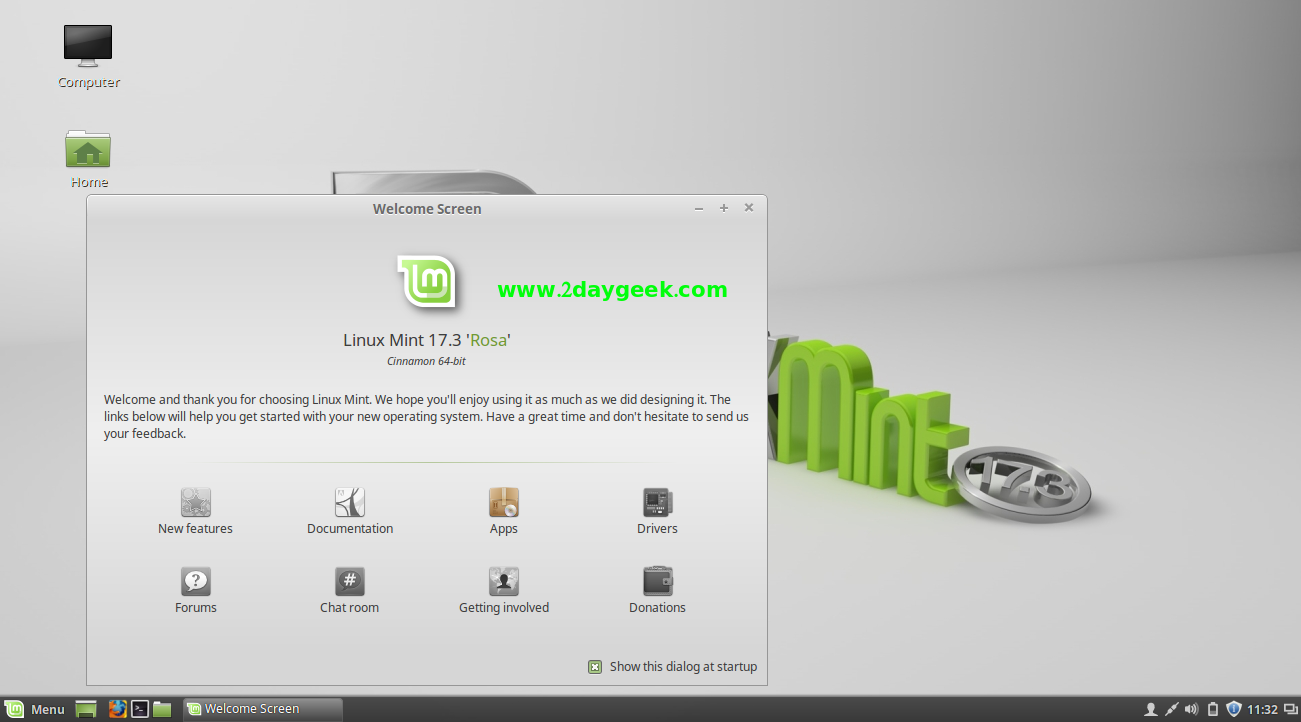
10) Linux mint 17.3 welcome screen
Linux Mint 17.3 Rosa welcome screen, Untick the checkbox so that it wont shows again when we are login.
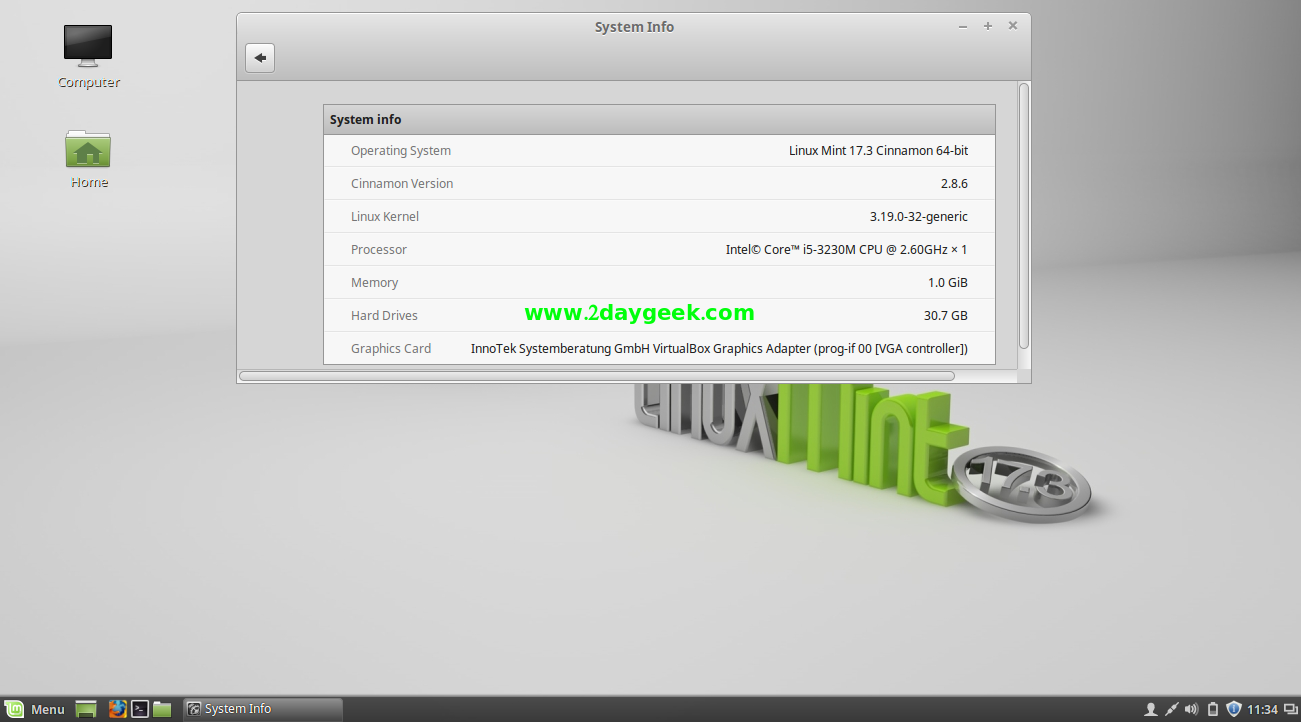
11) Linux mint 17.3 (Rosa) Version checking
Linux Mint 17.3 Rosa version checking.
We are preparing all articles in-depth to understand by all level/stage Linux administrators. If the article is useful for you, then please spend less than a minute to share your valuable comments in our commenting section.
Please stay tune with us…Good Luck.


Thanks, again. If i get it solved i’ll share with everyone. Once again, thanks for the time. Good luck.
Welcome
Hi. I was wondering if you could help me. Im trying to start migrating from win to mint.
I installed it but i have problems with the desktop:
After installing it fresh on a multisystem boot and restarting i could put my session id and pass, but on the three options (default,cinammon,cinnamon software renderer) i got a cinnamon crashed, accept fallback mode or restart.
I managed to fix this by going to the recovery mode and enabling network to update packages. Now after inputting my user and pass i just got a mouse cursor that i can move, no response from keyboard and the background screen of linux mint 17.3, no desktop or menues.
When i run the livecd i got everything ok. And note that in both cases ( before and after updating packages) if i wait till the screen saver start, i can write my pass again, but after doing so i end up with the cursor & background image alone again.
My graphics card is internal nvidia n630a.
I hope you or anyone on the community helps me.
As you said, its fresh install. So better re-install once again which will solve the problem.
I reinstalled fresh. This time i dont even get the user login screen after grub but only a black screen, and the loading cursor forever. Ctrl+alt+f1 to call terminal works ok.
It may be related to nvidia drivers. Also i use the 64bits iso of mint, since i have 8gb ram. So it could also be related to architecture of x86 packages missing? I installed with the livecd connected to internet this time, compared to first installation.
Can you please share your system configuration. It seem’s Graphics issue (nvidia drivers).
Amd athlon 2 x3 445 procesor 3,11ghz.
2x 4gb ram gskill sniper.
Motherboard m4nt68t-m-le-v2 asus
Internal nvidia geforce 7025 (n force 630a)
Thanks for replying, ask for more info if needed.
It seem’s due to NVidia drivers you are facing the issue.
Regarding Nvidia drivers, I tried some solutions posted on forums, but none worked. I’ll wait until next update. Thanks for the answers.
Nice to hear, If you got solution share with me which will help for future users.