Lots of companies are doing the service level business in the industry. It’s mean they need to give a proper service/support to client, So that they can keep the customer under their service/company.
Simply customer run away to other service provider if their service is not satisfied. For example Hosting Industry how they can keep their customer under their service and make customer to happy.
They should give proper support to customer. How to do that ? they have to maintain help desk system that allows service provider to track all the customer requests easily.
In this article we are going to explain how to install and configure FREE help desk system called osTicket.
Suggested Read : How To Install & Configure OTRS Help Desk Ticketing System On Linux
What is osTicket ?
osTicket is a widely-used and trusted open source support ticket system. It seamlessly routes inquiries created via email, web-forms and phone calls into a simple, easy-to-use, multi-user, web-based customer support platform. osTicket comes packed with more features and tools than most of the expensive (and complex) support ticket systems on the market. The best part is, it’s completely free.
Prerequisites for osTicket
Before installing osTicket, we have to install prerequisites packages which is necessary to install osTicket.
$ sudo apt-get install php5-gd php-gettext php5-imap php5-json php-mbstring php-xml apt-get install php-pear php5-dev make apache2-prefork-dev build-essential pecl install apc
Add the below both extension to end-of the php.ini file under /etc/php5/apache2/php.ini
$ sudo nano /etc/php5/apache2/php.ini

[PHP]

;;;;;;;;;;;;;;;;;;;
; About php.ini   ;
;;;;;;;;;;;;;;;;;;;
; PHP's initialization file, generally called php.ini, is responsible for
; configuring many of the aspects of PHP's behavior.

extension=apc.so
extension=imap.so
LAMP Installation & Configuration
Make sure your system should have LAMP setup. If no, don’t worry and refer the following tutorials to install it.
Suggested Read :
(#) Install LAMP Stack (Apache, MariaDB, php, phpMyAdmin) in Debian 7/8
(#) Install LAMP Stack (Apache, MariaDB, PHP, phpMyAdmin) on LinuxMint 17 & 18
(#) Setup Apache Virtual Hosts In LinuxMint / Ubuntu / Debian
Download & Install osTicket
Use the below command to download the osTicket from developer github page.
$ sudo wget https://github.com/osTicket/osTicket-1.8/archive/v1.9.3.tar.gz
--2014-10-09 17:40:40--  https://github.com/osTicket/osTicket-1.8/archive/v1.9.3.tar.gz
Resolving github.com (github.com)... 192.30.252.130
Connecting to github.com (github.com)|192.30.252.130|:443... connected.
HTTP request sent, awaiting response... 302 Found
Location: https://codeload.github.com/osTicket/osTicket-1.8/tar.gz/v1.9.3 [following]
--2014-10-09 17:40:41--  https://codeload.github.com/osTicket/osTicket-1.8/tar.gz/v1.9.3
Resolving codeload.github.com (codeload.github.com)... 192.30.252.146
Connecting to codeload.github.com (codeload.github.com)|192.30.252.146|:443... connected.
HTTP request sent, awaiting response... 200 OK
Length: 6510973 (6.2M) [application/x-gzip]
Saving to: ‘v1.9.3.tar.gz’

100%[=====================================================================================================>] 65,10,973    990KB/s   in 7.8s

2014-10-09 17:40:50 (816 KB/s) - ‘v1.9.3.tar.gz’ saved [6510973/6510973]
Extract the archive file
$ sudo tar -zxvf v1.9.3.tar.gz
Navigate to osTicket directory
$ cd osTicket-1.8-1.9.3
Move all the files to desired directory. We are going to move in the blow location.
$ sudo mv * /var/www/support.2daygeek.com/public_html
Navigate to osTicket installation URL
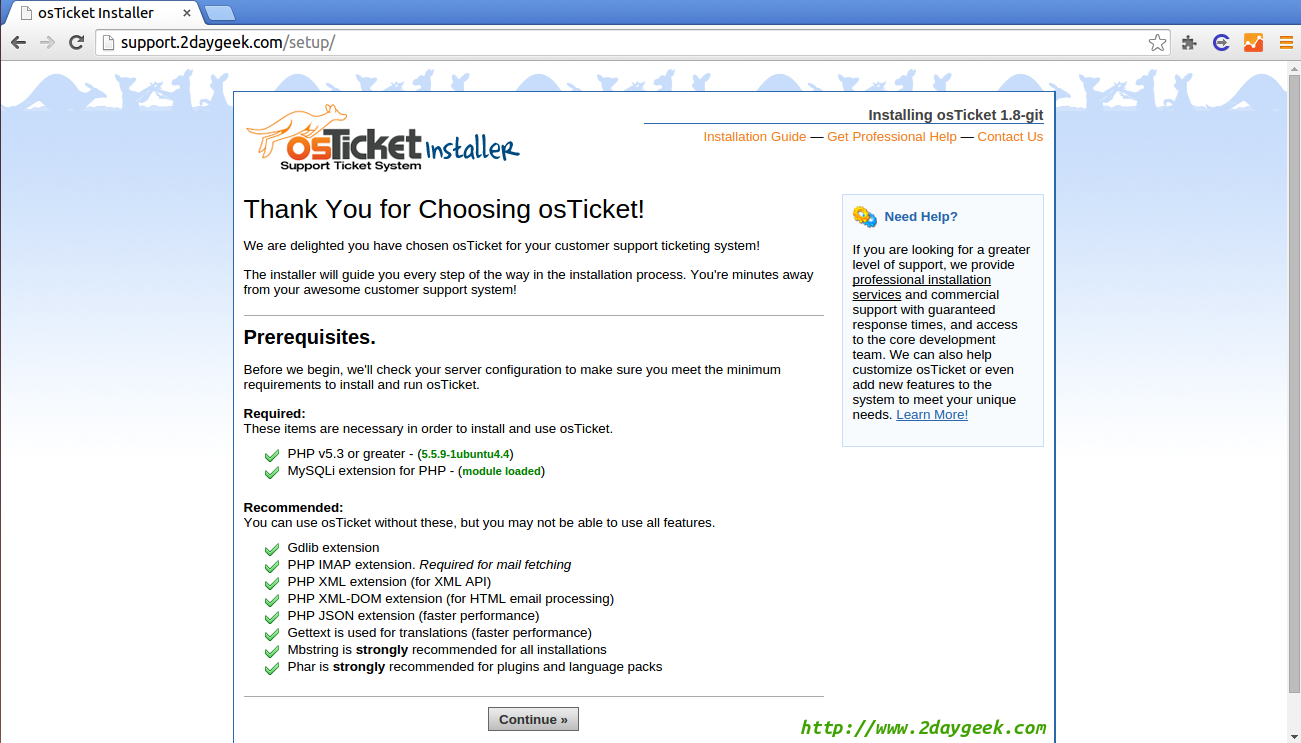
Navigate to http://support.2daygeek.com it will open http://support.2daygeek.com/setup page and show all the required packages are installed or not. If everything is green color tick, then hit continue button.
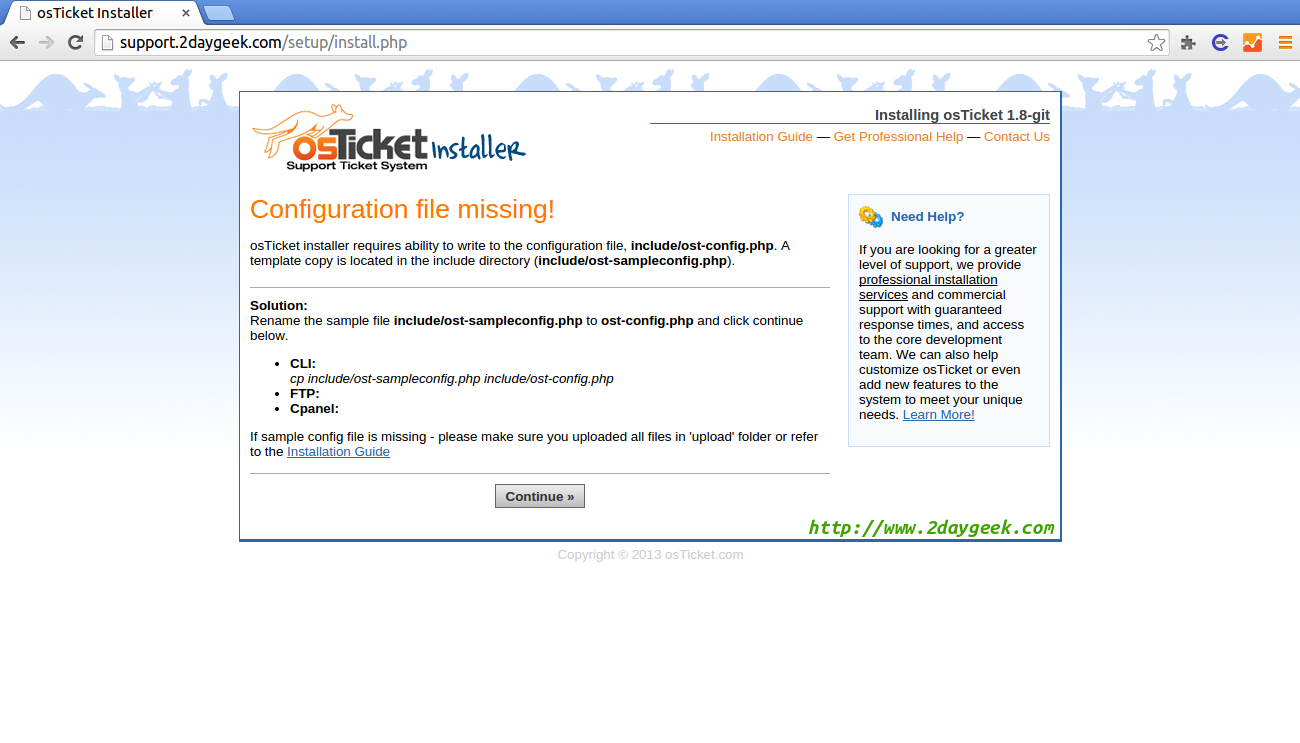
Configuration file missing
Rename the sample file include/ost-sampleconfig.php to ost-config.php and hit continue button.
$ sudo cp ost-sampleconfig.php ost-config.php
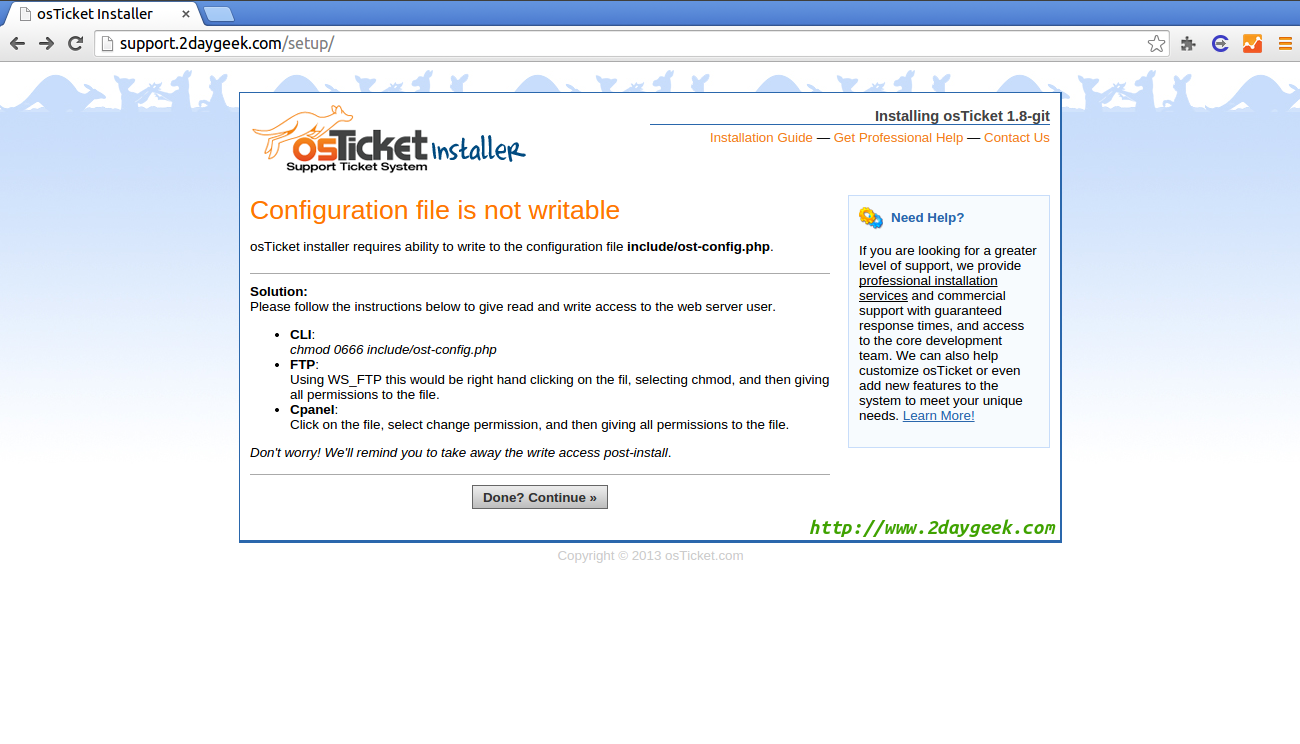
Configuration file is not writable
Configuration file is not writable. So change the file permission from 0644 to 0666then hit Done, Continue button.
$ sudo chmod 666 ost-config.php
Create MySQL database for osTicket
MySQL is the most popular database to deploy osTicket on Linux.
Login to MySQL shell using following command to create a database for osTicket.
$ mysql -u root -p
Run the following command to create a database for osTicket.
mysql> create database osticket;
Query OK, 1 row affected (0.13 sec)
Run the following command to create a user for OTRS and grant all privileges to osTicket database.
mysql> GRANT ALL PRIVILEGES ON osticket.* TO 'osticket'@'localhost' IDENTIFIED BY 'Your Password Here';
Query OK, 0 rows affected (0.26 sec)
Run the following command to flush the privileges.
mysql> FLUSH PRIVILEGES;
Query OK, 0 rows affected (0.05 sec)
Finally exit from MySQL shell.
mysql> exit
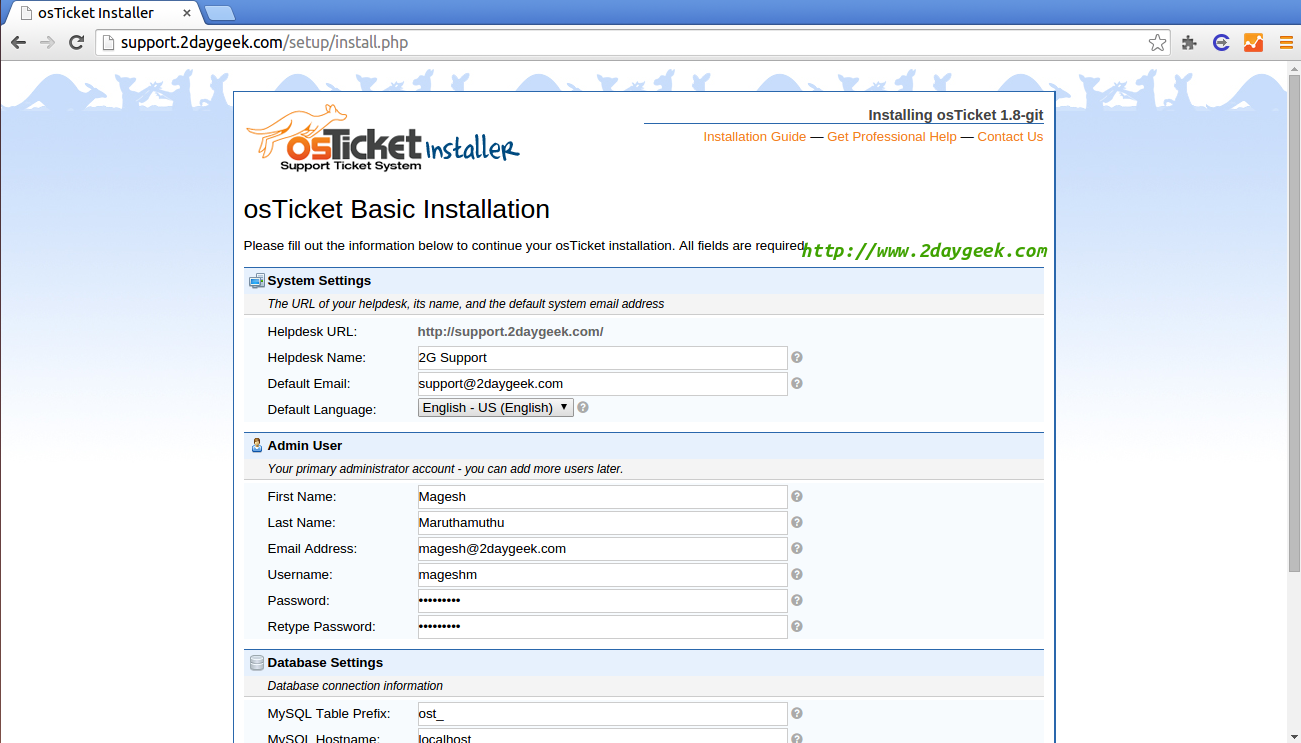
Fill it up required details
Fill required details and hit Install Now to complete your installation.
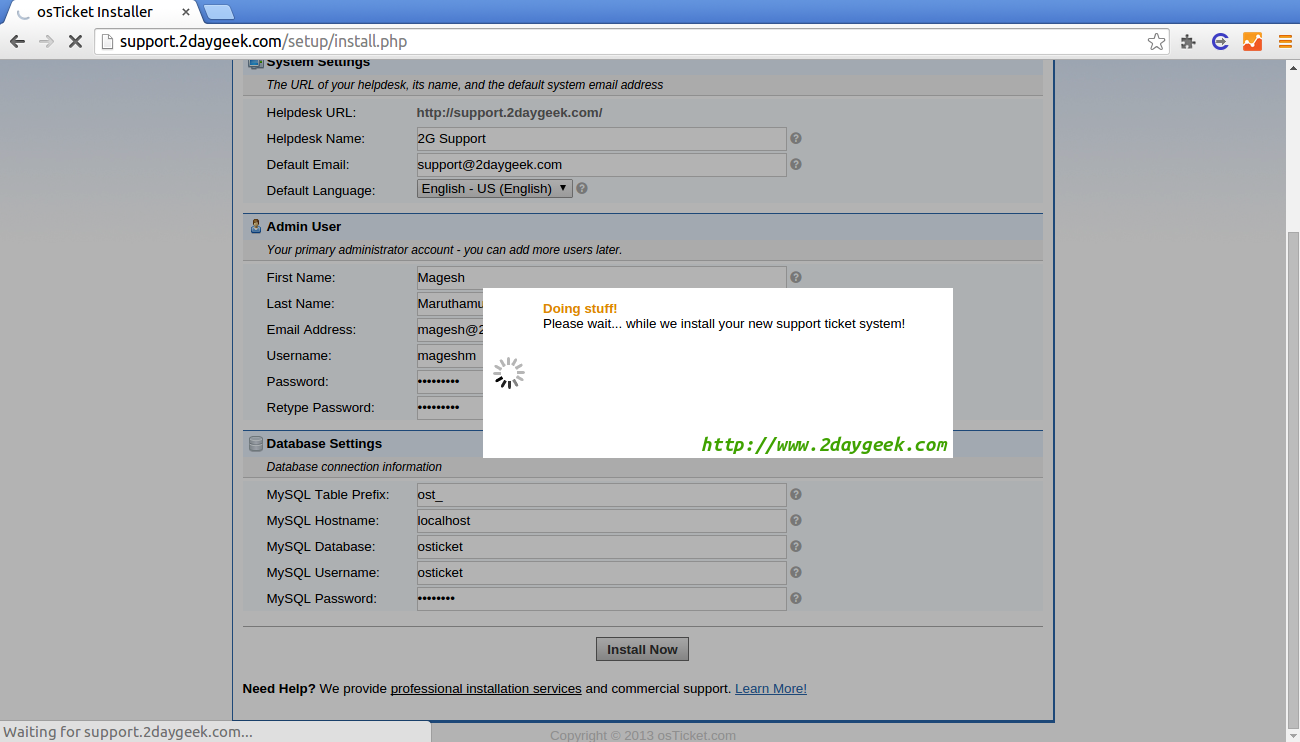
Installation under processing
Installation under processing and it will take a while.
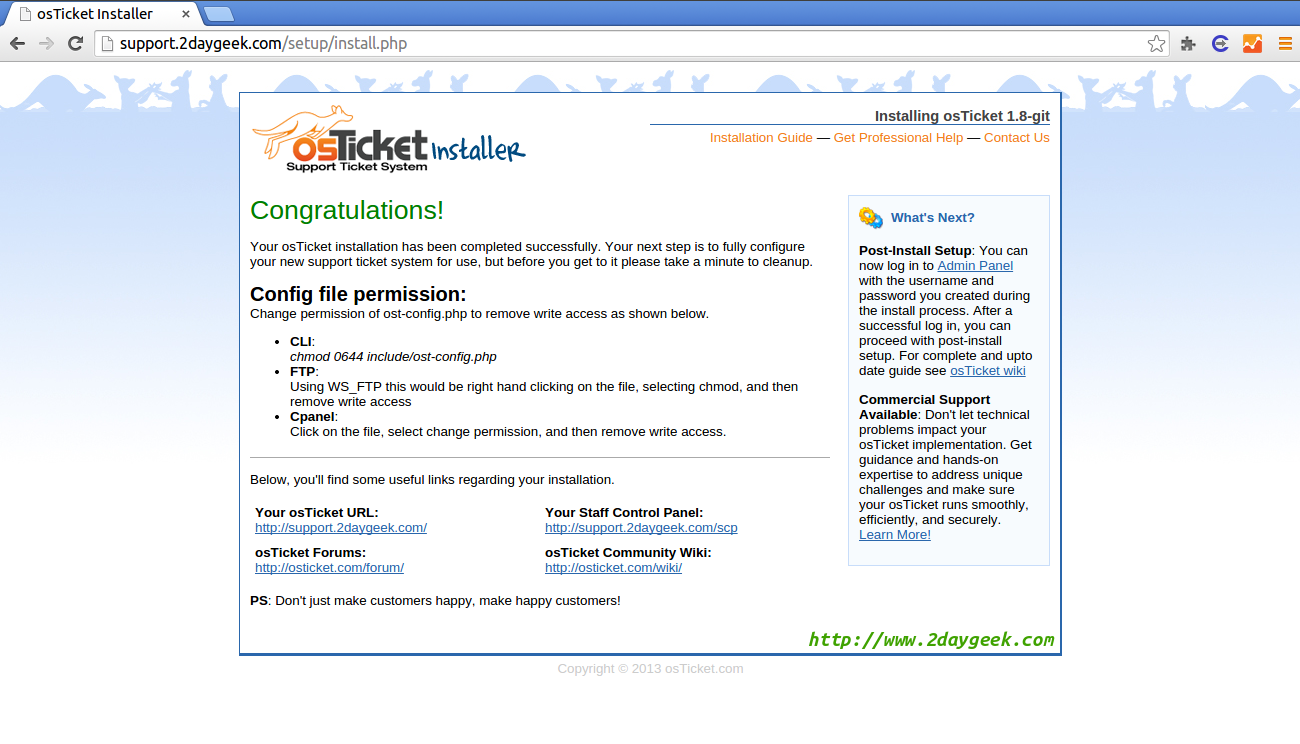
Installation Completed
Now, you have successfully installed osTicket. Change the ost-config.php file permission to 0644 and remove setup directory for security reason
$ sudo chmod 644 ost-config.php
$ sudo rm -Rf setup
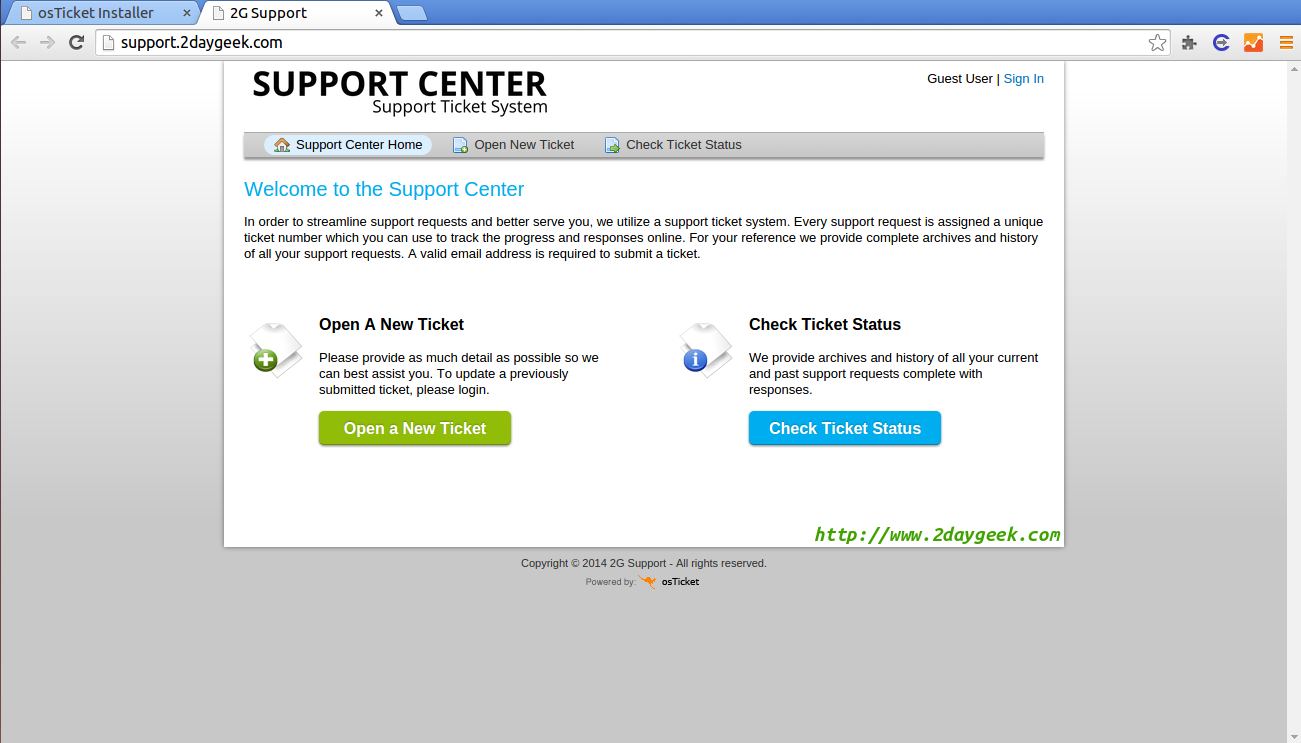
Support center home page
Your support center home page.
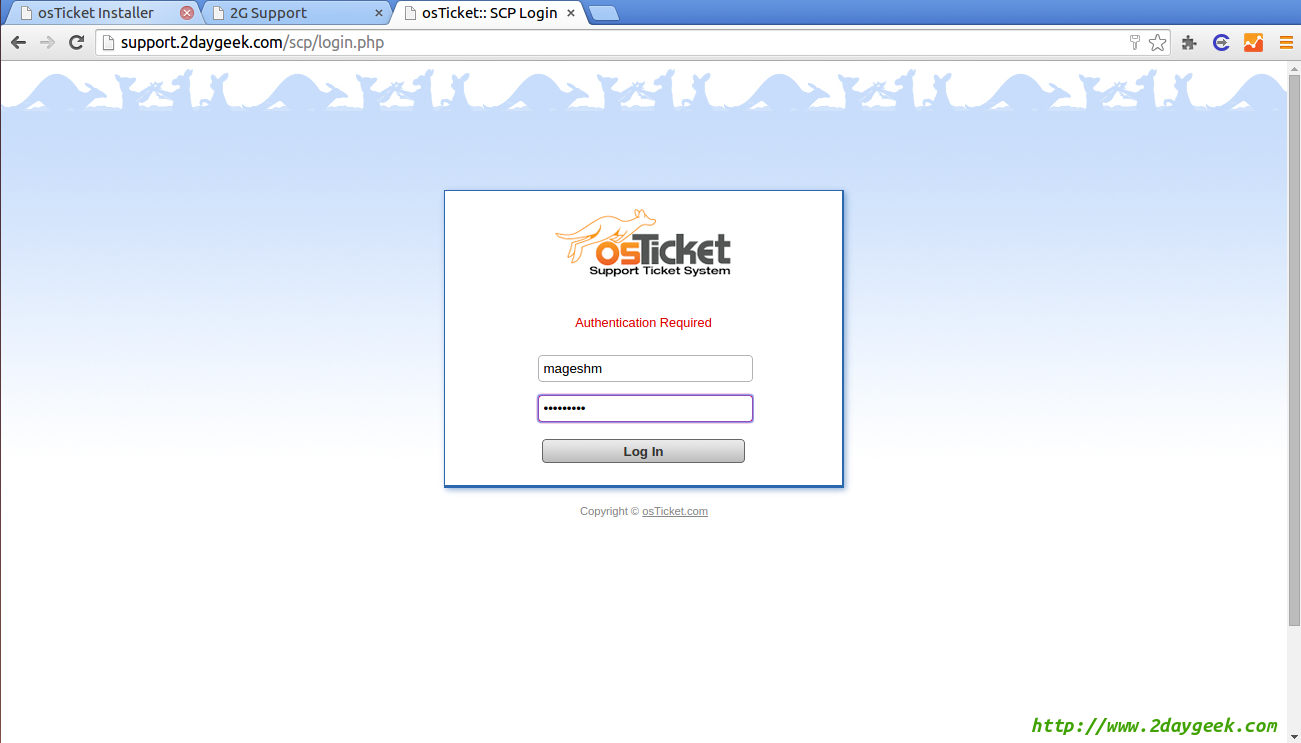
Admin/Staff login URL
Your Admin/Staff login URL page.
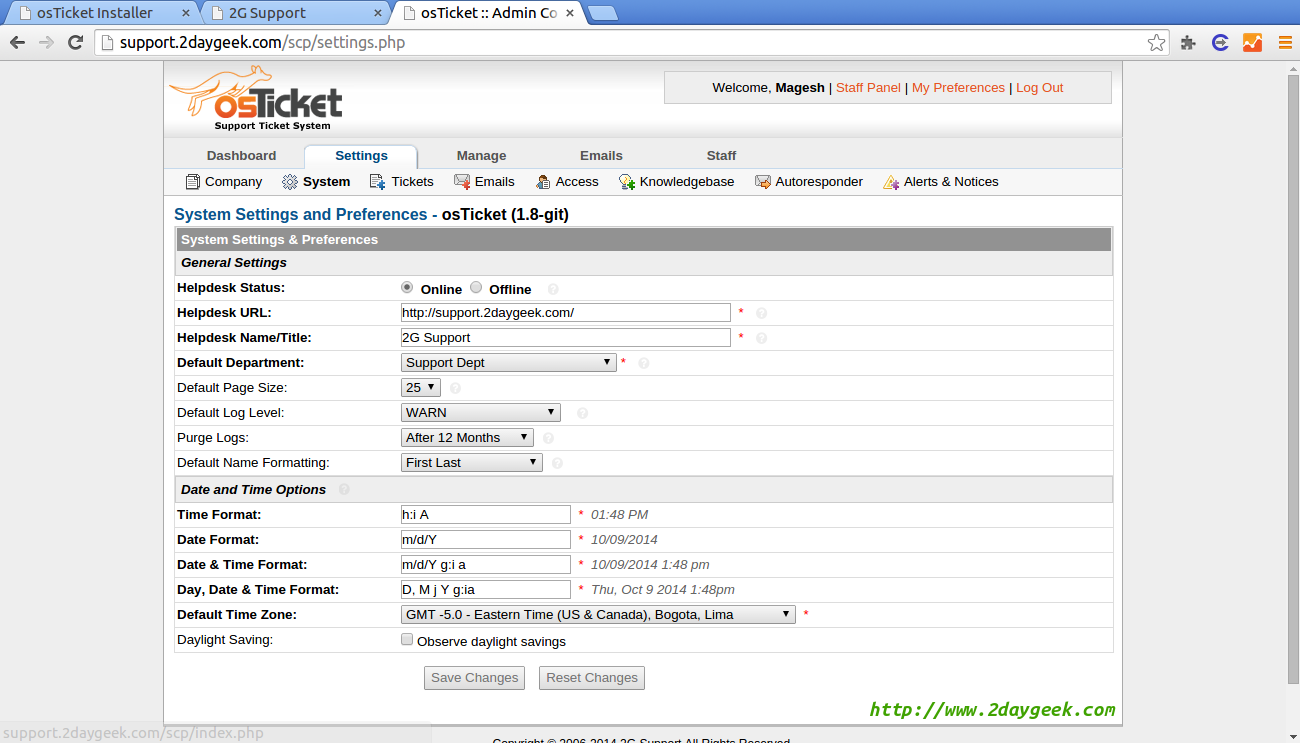
Admin Page
You can manage your support portal here as per your need.
Hope you will give nice support to your customer using osTicket and take your business to next level.

