Tilda is a highly configurable and feature-rich Gtk based drop down terminal emulator for Linux and Unix operating systems. It’s similar to Tilix terminal emulator but doesn’t offer horizontally or vertically split and there are tons of customization’s you can make.
It’s not like other traditional terminal emulators such as gnome-terminal (Gnome), Konsole (KDE), xterm and many others because this can be pulled up and down from the top of the screen with a special hotkey instead of launching from application menu, basically this will save your time and launch quickly.
It’s Highly customizable which allows you to add colors to text, increase text size, toggling scroll-bar on and off, and turning backgrounds transparent, etc,.
Tilda is a very lean terminal emulator, It requires few dependencies and consuming very very less resources compare with others.
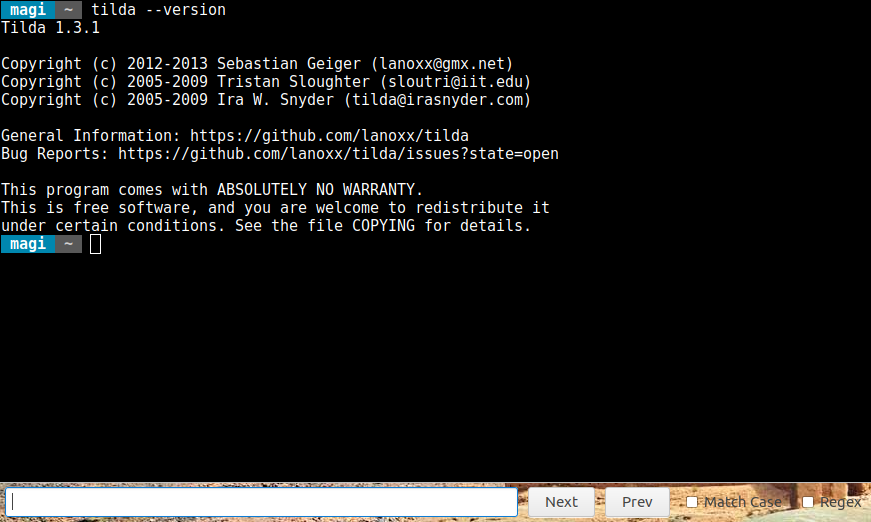
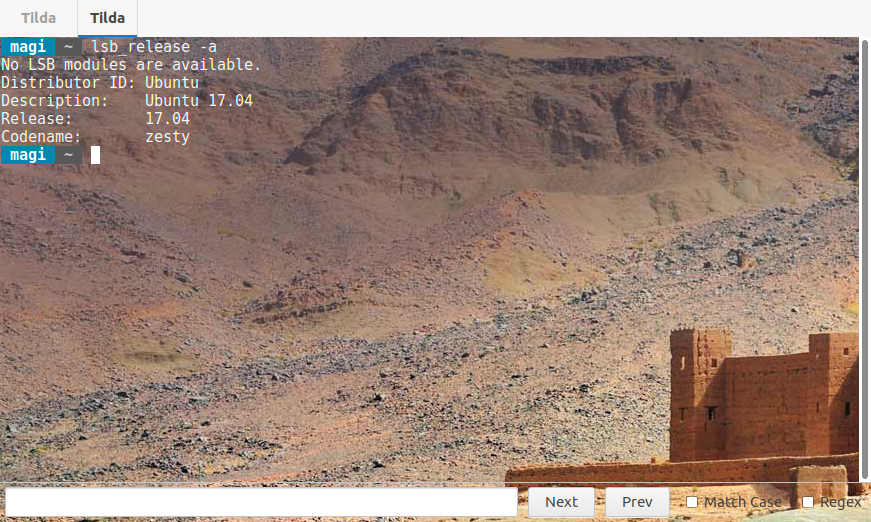
Starting with version 1.3 Tilda came with a search bar, which supports forward, backward, case sensitive, and regular expressions. This can be enabled from the context menu or through configurable hotkey that defaults to Ctrl+Shift+F.
When you run Tilda first time, it will create the default configuration file for you, and show the configuration wizard. If you do not want to change any settings, just press the OK button to accept the defaults.
How to install Tilda in Linux
It can be installed through distribution package manager since it’s there in default repository.
For Debian/Ubuntu, use APT-GET Command or APT Command to install tilda.
$ sudo apt install tilda
For Fedora, use DNF Command to install tilda.
$ sudo dnf install tilda
For Arch Linux, use Pacman Command to install tilda.
$ sudo pacman -S tilda
For openSUSE, use Zypper Command to install tilda.
$ sudo zypper in tilda
How to Launch & Use Tilda
Launch Tilda either from Application menu or via terminal. When you run first time, it will create the default configuration file for you.
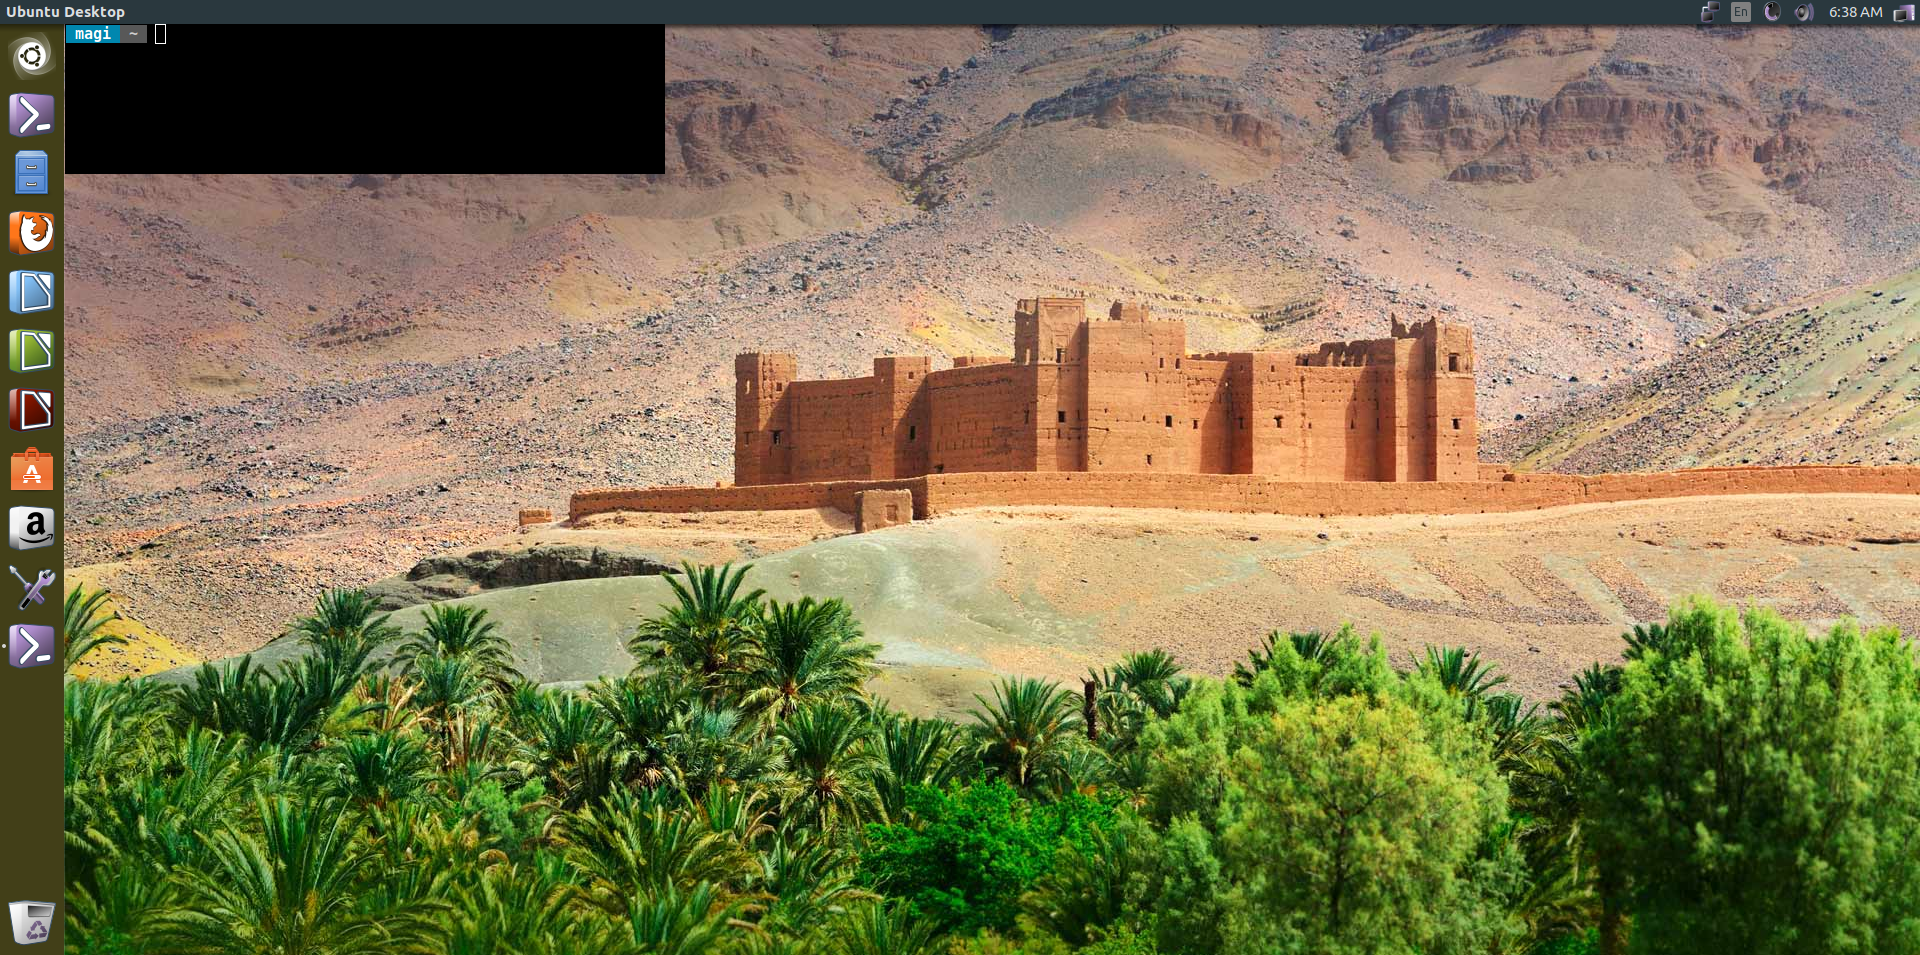
After tilda launch, you will get the similar output like below. I could see there is no window border, menu bar, title bar, scroll bar, minimize, maximize, and close button.
Screen shot with Scroll bar & Transparency.
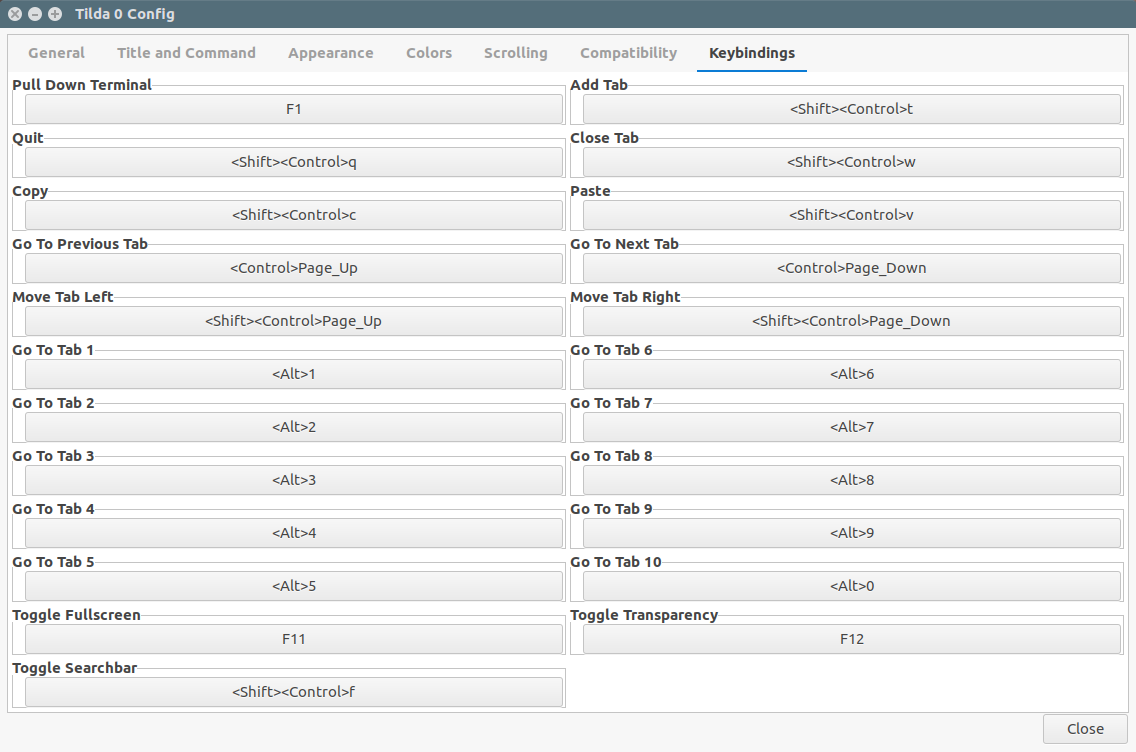
Have a look on default hotkeys which helps you to improve Tilda usage.
F1: To Pull Down & Pull Up TerminalShift+Ctrl+t: To open a new tapShift+Ctrl+c: To copy text from terminalShift+Ctrl+v: To past content on terminalShift+Ctrl+w: To close active windowShift+Ctrl+f: Toggle Search-barF12: Toggle TransparencyCtrl+Page Down: Go to next tabCtrl+Page Up: Go to previous tabShift+Ctrl+q: Exit Tilda
How to customize Tilda
As I told in the beginning of the article, Tilda highly configurable through GUI. It has seven tabs, each has many options which allows user to customize however they want. Open Tilda configuration from context menu.
- General
- Title and Command
- Appearance
- Colors
- Scrolling
- Compatibility
- Keybindings
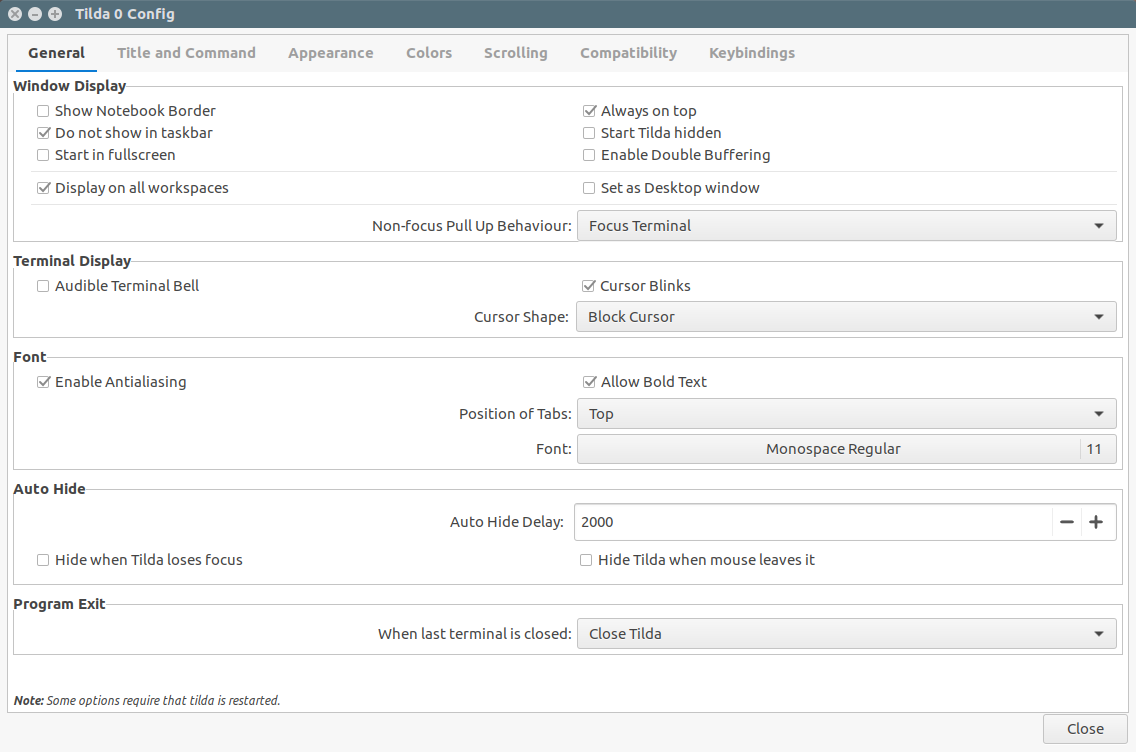
In General tab, we can enable or disable window display, terminal display, change your font, set auto hide delay, etc.
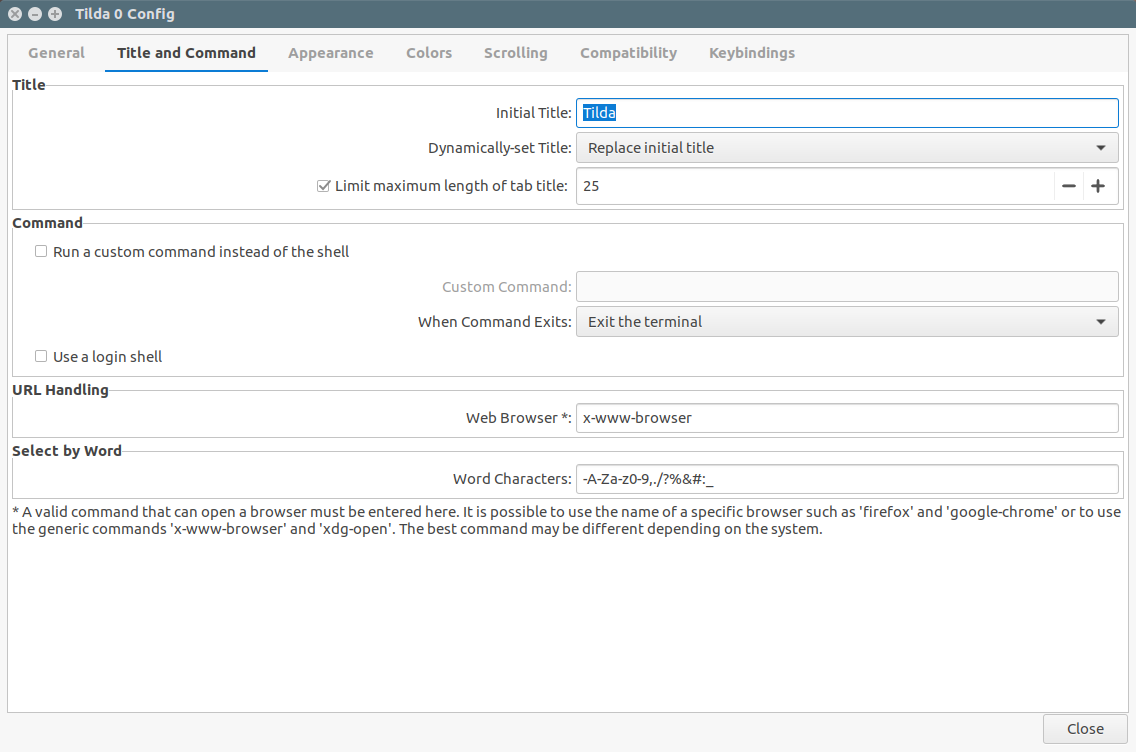
Title and Command, in this section, we can add a title for terminal and enable custom command instead of the shell.
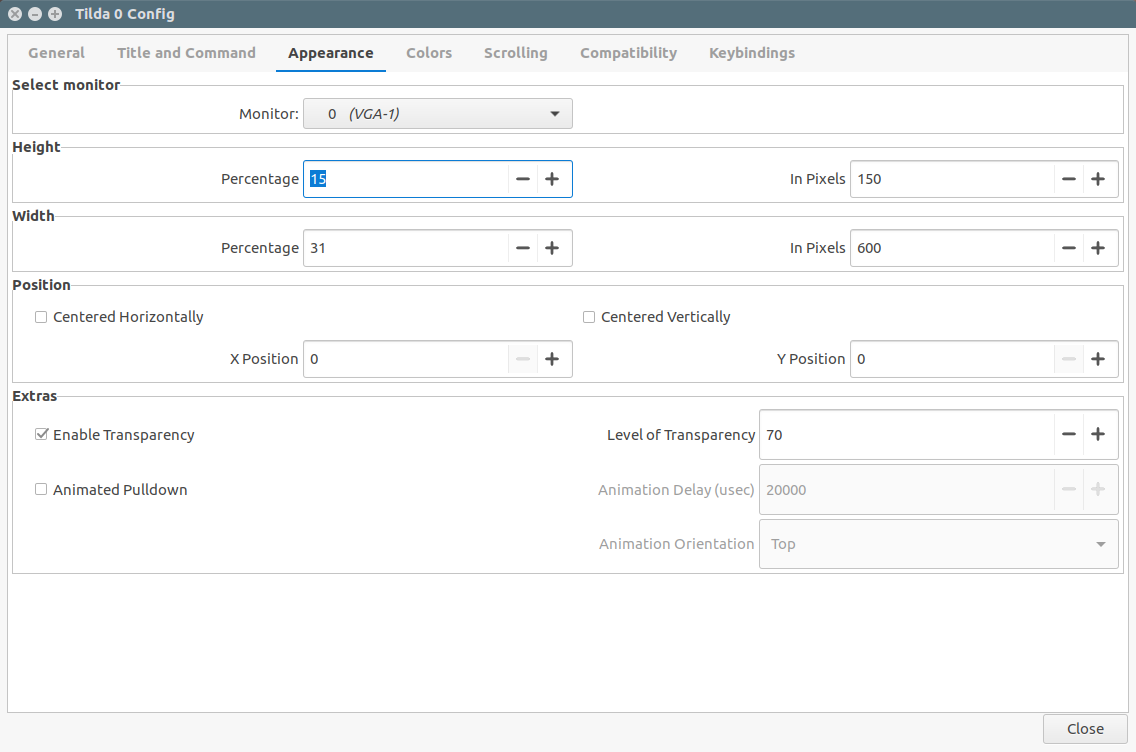
The Appearance tab allows you to adjust height & width pixels, set Tilda window position like centered horizontal or centered vertical, also you can adjust X & Y position. Additionally enable Transparency and animated pull down.
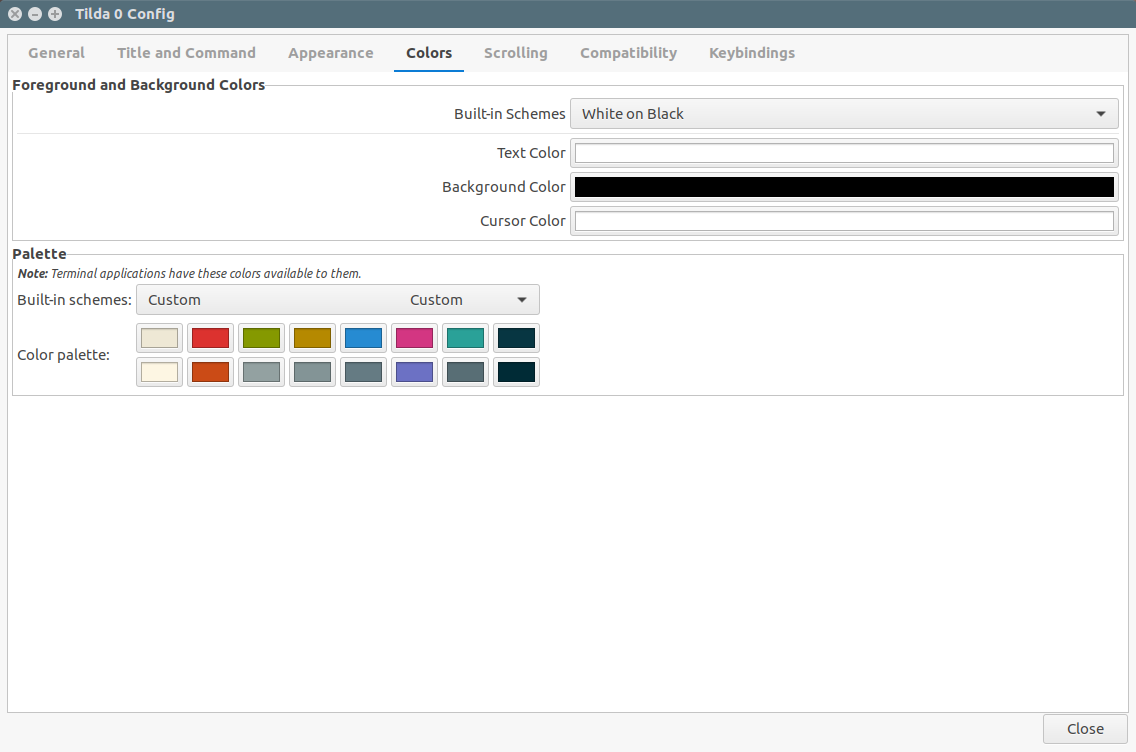
Colors section allow you to change foreground and background colors, and text and cursor color. Also we can modify palette color.
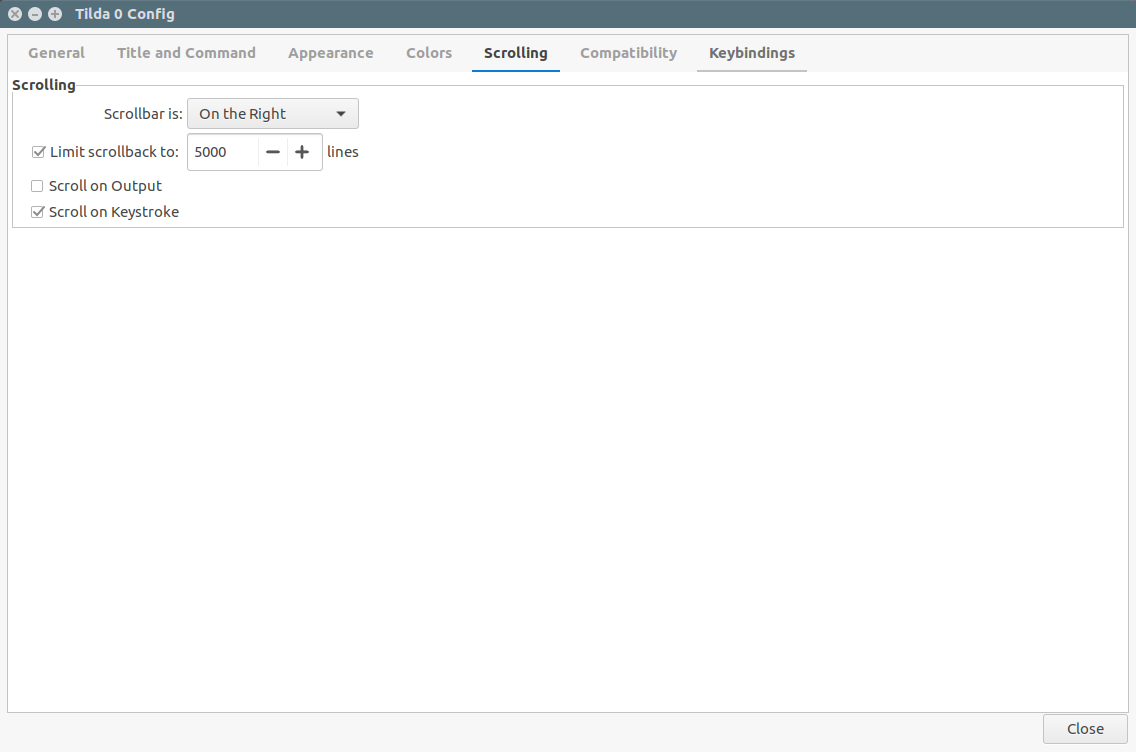
Scrolling tab allows user to enable scrollbar in the right side or left side.
Here you can view all the keybindings and you can modify any hotkeys as per your wish instead of default one.
